-
×
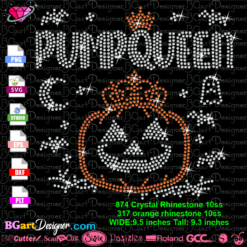 Download Rhinestone Pumpqueen svg
1 × $5.99
Download Rhinestone Pumpqueen svg
1 × $5.99 -
×
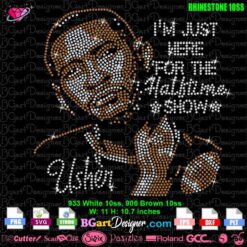 Usher Raymond Halftime Show Rhinestone SVG
1 × $5.99
Usher Raymond Halftime Show Rhinestone SVG
1 × $5.99 -
×
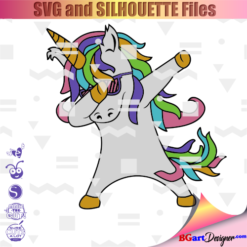 Dabbing unicorn
1 × $1.99
Dabbing unicorn
1 × $1.99 -
×
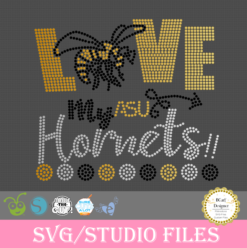 Love Asu hornets Rhinestone
1 × $5.99
Love Asu hornets Rhinestone
1 × $5.99 -
×
 Alabama State university ASU Hornets Rhinestone
1 × $5.99
Alabama State university ASU Hornets Rhinestone
1 × $5.99 -
×
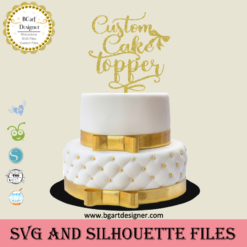 Custom cake topper
1 × $9.99
Custom cake topper
1 × $9.99 -
×
 Diva afro girl rhinestone svg
1 × $5.99
Diva afro girl rhinestone svg
1 × $5.99 -
×
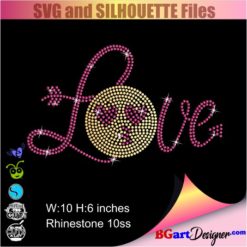 Love rhinestone emoji
1 × $3.99
Love rhinestone emoji
1 × $3.99 -
×
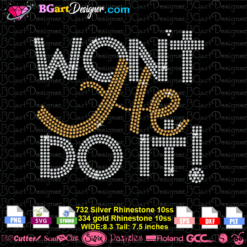 Won't he do it
1 × $5.99
Won't he do it
1 × $5.99 -
×
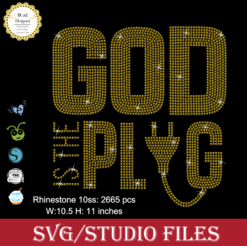 God is the Plug Rhinestone svg
1 × $5.99
God is the Plug Rhinestone svg
1 × $5.99 -
×
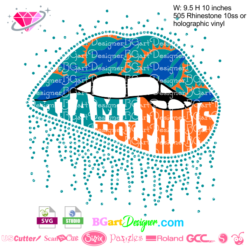 Dripping lips Miami Dolphins
1 × $3.91
Dripping lips Miami Dolphins
1 × $3.91 -
×
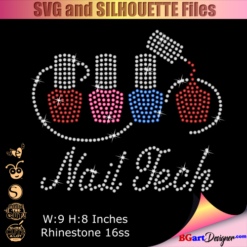 Nail Tech Rhinestone Design
1 × $5.99
Nail Tech Rhinestone Design
1 × $5.99 -
×
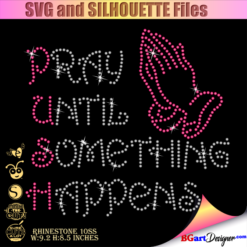 Pray until something happens
1 × $5.99
Pray until something happens
1 × $5.99 -
×
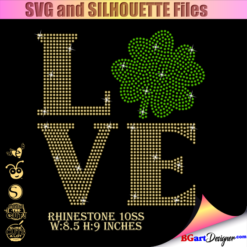 St Patrick's Day Rhinestone Love Clover svg
1 × $5.99
St Patrick's Day Rhinestone Love Clover svg
1 × $5.99 -
×
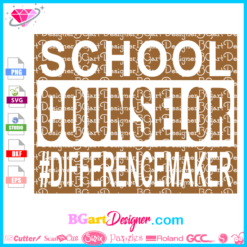 Download School Counselor SVG
1 × $1.99
Download School Counselor SVG
1 × $1.99 -
×
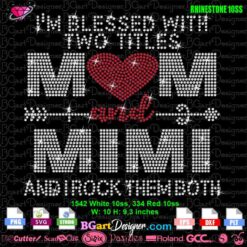 Blessed Two Titles Mom And Mimi Rhinestone SVG
1 × $5.99
Blessed Two Titles Mom And Mimi Rhinestone SVG
1 × $5.99 -
×
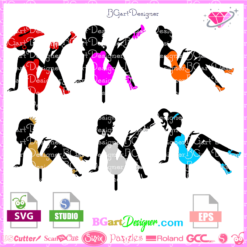
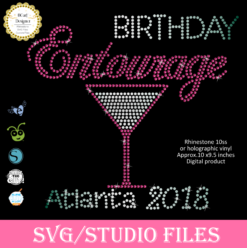 Birthday entourage girls
1 × $5.99
Birthday entourage girls
1 × $5.99 -
×
 Anna Princess wine glass SVG
1 × $2.45
Anna Princess wine glass SVG
1 × $2.45 -
×
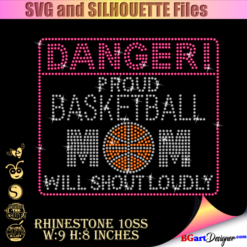 Danger proud basketball mom
1 × $5.99
Danger proud basketball mom
1 × $5.99 -
×
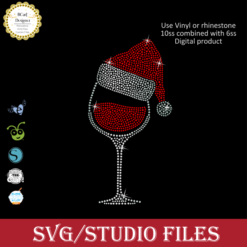 Santa Hat Wine glass svg
1 × $5.99
Santa Hat Wine glass svg
1 × $5.99 -
×
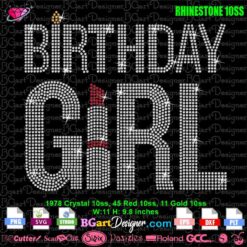 Birthday Girl Lipstick Women Rhinestone SVG
1 × $5.99
Birthday Girl Lipstick Women Rhinestone SVG
1 × $5.99 -
×
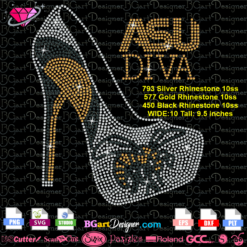
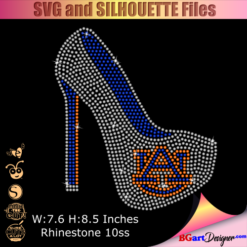 Auburn Rhinestone High Heel
1 × $5.99
Auburn Rhinestone High Heel
1 × $5.99 -
×
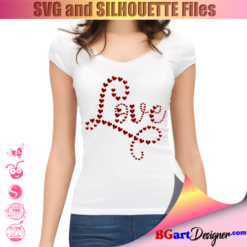 Love valentines day svg
1 × $1.49
Love valentines day svg
1 × $1.49 -
×
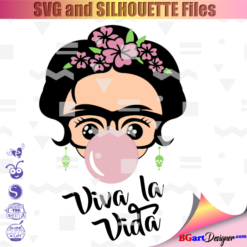 Frida Kahlo quotes SVG
1 × $2.49
Frida Kahlo quotes SVG
1 × $2.49 -
×
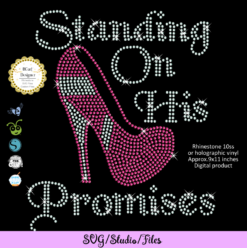 Standing on his promises heel Rhinestone file
1 × $5.99
Standing on his promises heel Rhinestone file
1 × $5.99 -
×
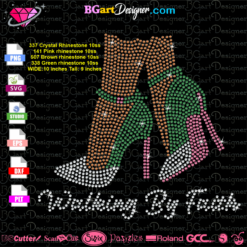 Download Walking By Faith Rhinestone
1 × $5.99
Download Walking By Faith Rhinestone
1 × $5.99 -
×
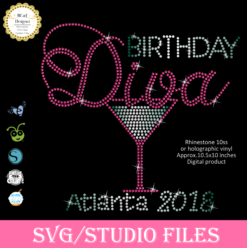 Birthday diva rhinestone
1 × $5.99
Birthday diva rhinestone
1 × $5.99 -
×
 Alabama AAMU University Bulldogs heel rhinestone
1 × $5.99
Alabama AAMU University Bulldogs heel rhinestone
1 × $5.99 -
×
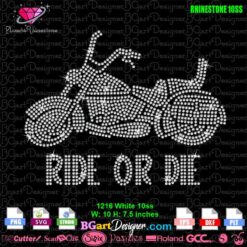 Ride Or Die Motorcycle Rhinestone SVG
1 × $5.99
Ride Or Die Motorcycle Rhinestone SVG
1 × $5.99 -
×
 Birthday Queen
1 × $2.49
Birthday Queen
1 × $2.49 -
×
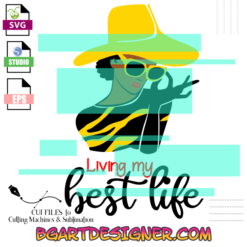 Living My Best life
1 × $2.99
Living My Best life
1 × $2.99 -
×
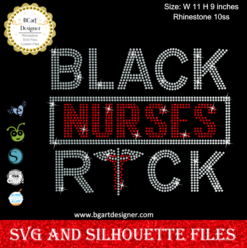 Black Nurses Rock
1 × $5.99
Black Nurses Rock
1 × $5.99 -
×
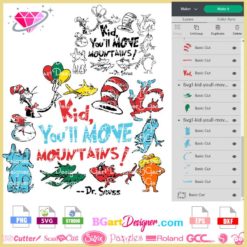 Kid Move Mountains Dr Seuss SVG
1 × $2.99
Kid Move Mountains Dr Seuss SVG
1 × $2.99 -
×
 I love my HBCU
1 × $5.99
I love my HBCU
1 × $5.99 -
×
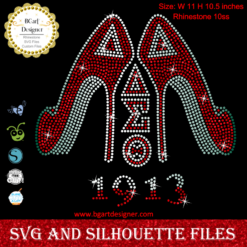 Delta sigma theta high heel
1 × $5.99
Delta sigma theta high heel
1 × $5.99 -
×
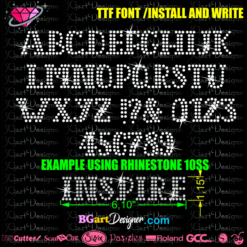 BGART1 TTF Rhinestone font
1 × $7.99
BGART1 TTF Rhinestone font
1 × $7.99 -
×
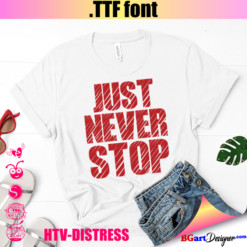 Distressed grunge vinyl font
1 × $5.99
Distressed grunge vinyl font
1 × $5.99 -
×
 Sitting girl cake topper download
1 × $7.49
Sitting girl cake topper download
1 × $7.49 -
×
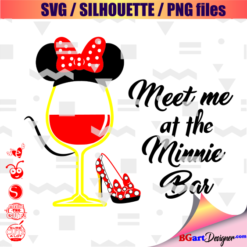 Minnie mouse wine glass svg
1 × $2.49
Minnie mouse wine glass svg
1 × $2.49 -
×
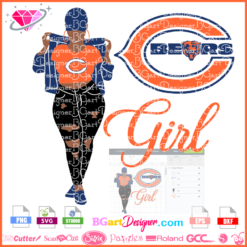 Fan Girl Chicago Bears
1 × $3.49
Fan Girl Chicago Bears
1 × $3.49 -
×
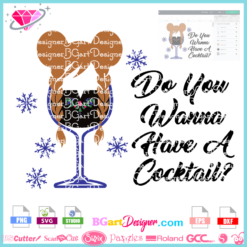
 Princess Disney wine glass
1 × $7.49
Princess Disney wine glass
1 × $7.49 -
×
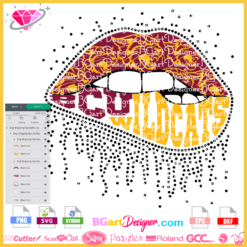 Dripping lips Bethune Cookman Wildcats
1 × $3.91
Dripping lips Bethune Cookman Wildcats
1 × $3.91 -
×
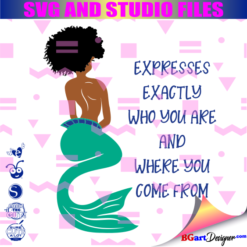 Mermaid Encouraging Natural Hair
1 × $3.99
Mermaid Encouraging Natural Hair
1 × $3.99 -
×
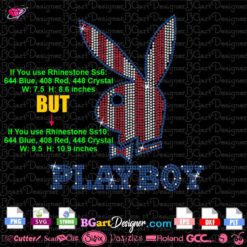 Playboy American Flag Rhinestone SVG
1 × $5.99
Playboy American Flag Rhinestone SVG
1 × $5.99 -
×
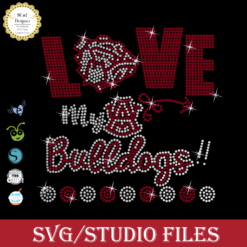 Love Alabama Bulldogs Rhinestone
1 × $5.99
Love Alabama Bulldogs Rhinestone
1 × $5.99 -
×
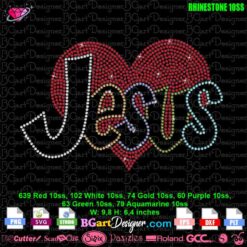 Jesus Multicolor Heart Rhinestone SVG
1 × $5.99
Jesus Multicolor Heart Rhinestone SVG
1 × $5.99 -
×
 Easter egg emoji
1 × $2.49
Easter egg emoji
1 × $2.49 -
×
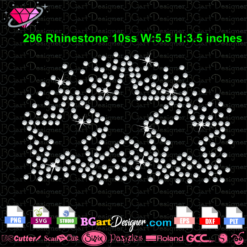 Three stars rhinestone scatter svg
1 × $4.99
Three stars rhinestone scatter svg
1 × $4.99 -
×
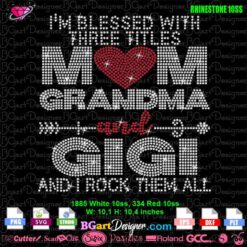 Blessed Three Titles Mom Grandma Gigi Rhinestone SVG
1 × $5.99
Blessed Three Titles Mom Grandma Gigi Rhinestone SVG
1 × $5.99 -
×
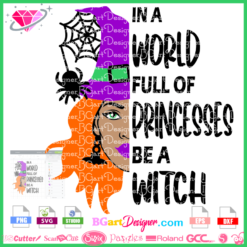 In a world full of princesses be a witch
1 × $2.99
In a world full of princesses be a witch
1 × $2.99 -
×
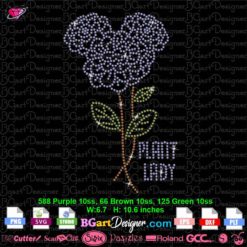 Plant Lady Mickey Head Rhinestone SVG
1 × $4.99
Plant Lady Mickey Head Rhinestone SVG
1 × $4.99 -
×
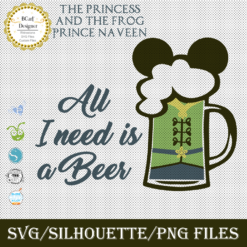 Prince Naveen beer mug
1 × $2.79
Prince Naveen beer mug
1 × $2.79 -
×
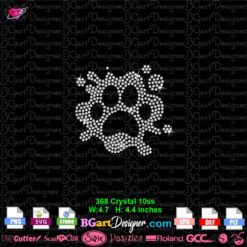 Splash Paw Print Rhinestone SVG
1 × $3.99
Splash Paw Print Rhinestone SVG
1 × $3.99 -
×
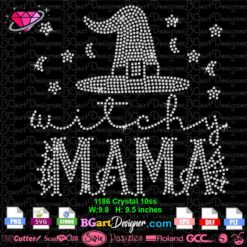 Witchy Mama Rhinestone SVG
1 × $4.99
Witchy Mama Rhinestone SVG
1 × $4.99 -
×
 Jamaican woman SVG file
1 × $5.99
Jamaican woman SVG file
1 × $5.99 -
×
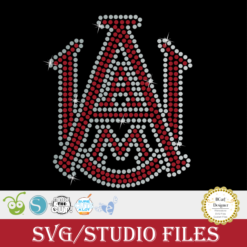 logo Alabama AAMU University Rhinestone
1 × $3.99
logo Alabama AAMU University Rhinestone
1 × $3.99 -
×
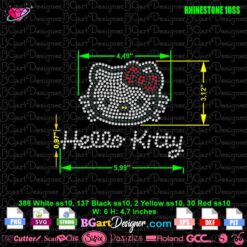 Small Hello Kitty Sign And Face Rhinestone
1 × $5.99
Small Hello Kitty Sign And Face Rhinestone
1 × $5.99 -
×
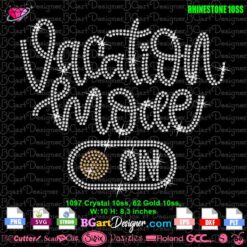 Vacation Mode On Rhinestone SVG
1 × $4.99
Vacation Mode On Rhinestone SVG
1 × $4.99 -
×
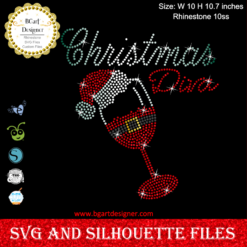 Christmas diva bling
1 × $5.99
Christmas diva bling
1 × $5.99 -
×
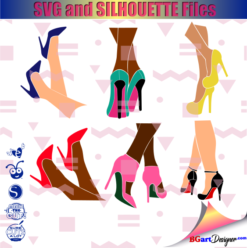 Legs in sexy high heels shoes
1 × $2.49
Legs in sexy high heels shoes
1 × $2.49 -
×
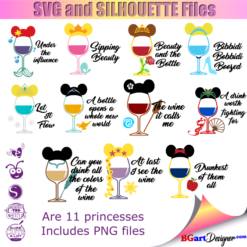
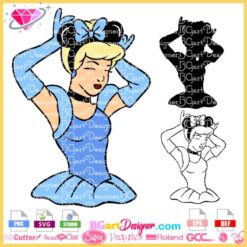 Cinderella Princess Mickey Ears Minnie Bow SVG
1 × $0.99
Cinderella Princess Mickey Ears Minnie Bow SVG
1 × $0.99
Cutting and Crafting
3 ways to use Football designs with Cricut
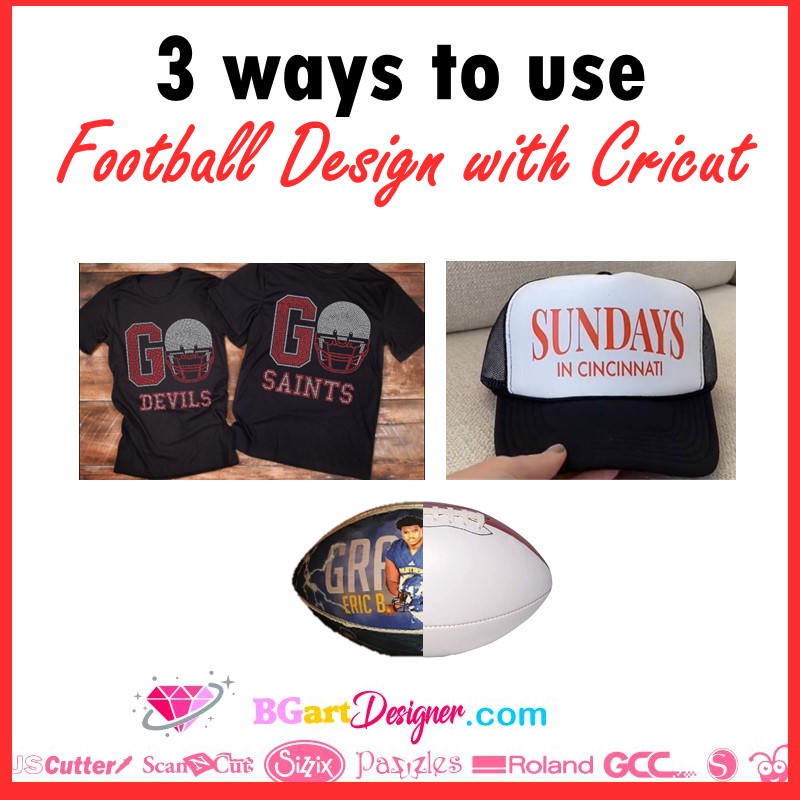
Learn how to use football designs with a cricut on different blanks. It can be for sale or to give as a gift. 3 different ways to use a design for all football fans.
1. Sublimate a football
The first way here to use football designs with a Cricut is to sublimate a football itself! For all you football fans out there, here is a complete tutorial on how to use your favorite soccer team logo or any other design on a football.
Supplies needed
- Football
- Iron-on transfer paper for dark fabrics
- Cricut easy press mini
- X-ACTO knife
- Heat resistant tape
- Parchment paper
- Washer Save mod podge
First of all, it is possible to find the soccer ball at wallmart for around $5. The other option here is to buy a Wilson autograph soccer ball for around $15, it has two blanks on the sides of the ball on which it is possible to add a design easily.
To create the design, first go to BGArtDesigner.com, where you can find many of the most famous soccer team logos, as well as other related types of designs!
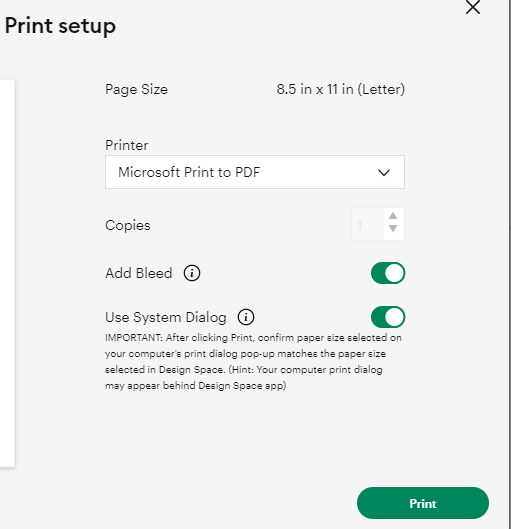
Open Cricut Design space, and upload the design. To make it look better you can add a background, find some free and high quality images on freepik.com. Once you have the design send it to the printer and don’t mirror it. Click on use system dialog, and change the quality to high.
Measure the ball and create a square template, to make sure the design will cover the surface but leaving enough room that passes the seams, to finally, once it is adhered to the football, trim the excess with an X-ACTO knife making sure the get nice straight borders.
In other words, size and print the image larger than the blank ball, as it is then easier to trim the excess following the seams at the end. Now, to sublimate the design on the ball, first, peel off the back of the design and place it on the surface. Especially, if you buy a ball from wallmart, make sure to sand the surface a bit so the designs will adhere better to the surface.
Sublimating the football
Start on one side of the ball. With some heat resistant tape, adhere the design. Above all, put the heat-resistant tape on the edges behind where the seams are. This will avoid leaving a tape mark when ironing and you will only have to trim the tape with the excess iron.
Most importantly, we need some partience to get the wrinkles out. stretch the iron-on and make sure it is smooth, and start pressing from one side, then tape another part, press and keep going this way.
To press it do not forget to use some parchment paper so as not to damage our heat press. Hold the press for about 5 seconds and then press elsewhere. The design will darken when it is well pressed.
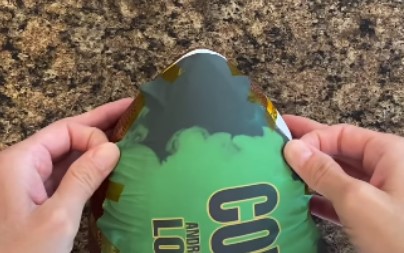
After that, with the X-ACTO knife, trim off the excess. Run the knife a few times without too much pressure so as not to cut the ball. Run the knife in both directions. Then carefully pull off the excess and heat press over the seams to make sure it adheres well.
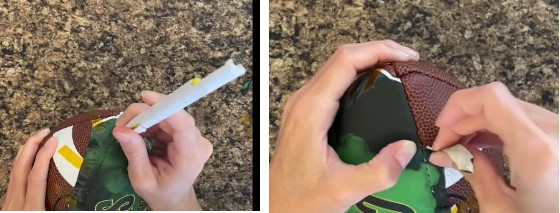
Finally, apply some mod podge to seal the design. Use a brush, a silicone one will work well, apply a thick layer and let it sit until dry for 1 hour or more. This is so the image stays vibrant and remains on the ball much longer.
2. Rhinestone Customized jerseys
Secondly, it is possible to use football designs with a Cricut with rhinestones! This project is perfect and durable, best of all, it is possible to wear it on any occasion if you are a fan! With rhinestones it is possible to customize a football team jersey or create one from the beginning.
Supplies needed
- Cotton t-shirts
- Easy heat press
- parchment paper
- Rhinestones
- Cardstock
- Transfer tape
First of all, look for the t-shirt of your preference, HERE you have a great variety of t-shirts and the link to buy them at the best prices. Maybe you have a t-shirt without a name or logo, this is the perfect occasion to personalize it for your own or to give as a gift. Or maybe you are thinking of selling these wonderful personalized t-shirts!
Choose the design and measure the jersey to adjust the size to the design. It is possible to add team logos, names, numbers and much more. Download a design HERE, and open cricut design space.
Set the design to cut, and put some cardstock on the cricut mat. Peel off the little circles to obtain the template. Finally, start pouring the rhinestones on the template and with a painters brush, move the rhinestones so each one of them has a spot.
If any bling is upside down, use tweezers to flip it over. Finally, adhere the design with transfer tape, just as we do with the vinyl. Pre-press the surface for a couple of seconds to remove any wrinkles or moisture. Then, place the design on the t-shirt and heat press it at 350 degrees for 12 seconds. For a more detailed process, take a look at THIS POST!
3. Sublimate a Cap
Finally, use any football designs you want to custom with a Cricut a cap. Now that the Circut hat press is on the market, it’s super easy to customize any type of hats and caps! Of course, if you don’t have it, it is possible to use the Cricut easy press mini, but consider buying the hat press to boost your business.
Supplies needed
- Cricut Hat press or Cricut easy press mini
- Polyester hat
- HTV
- Parchment paper
This procedure is super easy if you have the Circut hat press kit. It comes with a form, to put inside the hat, that allows you to have a sturdy surface to work on. HERE is a post with more details about the Cricut hat press.
All you have to do is print or cut out the design on iron-on vinyl. Then, with some heat transfer tape, place it on the surface. And with the cricut heat application, select the settings for the heat press and start pressing. For a more detailed step by step take a look at THIS post.

In case of using an easy press mini, it is important to find a form to put inside the hat in order to have a surface to press and get better results. Place some parchment paper on top of the design. Then press the surface by holding the heat press in one spot for a couple of seconds and moving it around. Repeat the process until you see that the entire design is well adhered.