Cutting and Crafting
How to avoid Press Marks On Your Project?
Press or scorch marks can often mar the beauty of your vinyl or sublimation project, but with the right techniques, you can ensure a flawless finish every time. Let’s delve into how to avoid these pesky marks and keep your projects looking pristine.
Mindful Pressing Techniques for avoid marks
When using a heat press, it’s essential to apply even pressure to prevent marks from forming. Take your time and ensure consistent pressure across the entire project.
Choose the Right Materials for the project
Selecting the appropriate materials for your project can make a significant difference in avoiding press marks. Opt for high-quality materials that can withstand the heat and pressure of the press without leaving unwanted marks.
Proper Project Preparation
Before pressing, prepare your project by smoothing out any wrinkles or imperfections. This step ensures a smooth surface for the press to work its magic without leaving behind unsightly marks.
Adjust Press Settings Accordingly
Different projects require different press settings. Take the time to adjust the temperature and pressure of your heat press to match the needs of your specific project. This customization helps avoid excessive heat or pressure that could result in unwanted marks.
Use Protective Layers
Adding a protective layer between your project and the heat press can help prevent marks from forming. Consider using Teflon sheets or parchment paper to create a barrier that distributes heat evenly and minimizes direct contact.
Monitor Pressing Time
Over-pressing can lead to marks on your project. Keep a close eye on the pressing time to ensure that you don’t exceed the necessary duration. This attention to detail can make all the difference in achieving a flawless finish.
Test Before Pressing
Before committing to pressing your entire project, conduct a test run on a small, inconspicuous area. This allows you to adjust your press settings and techniques as needed to avoid any potential marks on the final product
Post-Pressing Care
After pressing, allow your project to cool completely before handling it. Rushing this step can cause marks to form as the material settles. Once cooled, gently remove any protective layers to reveal your mark-free masterpiece.
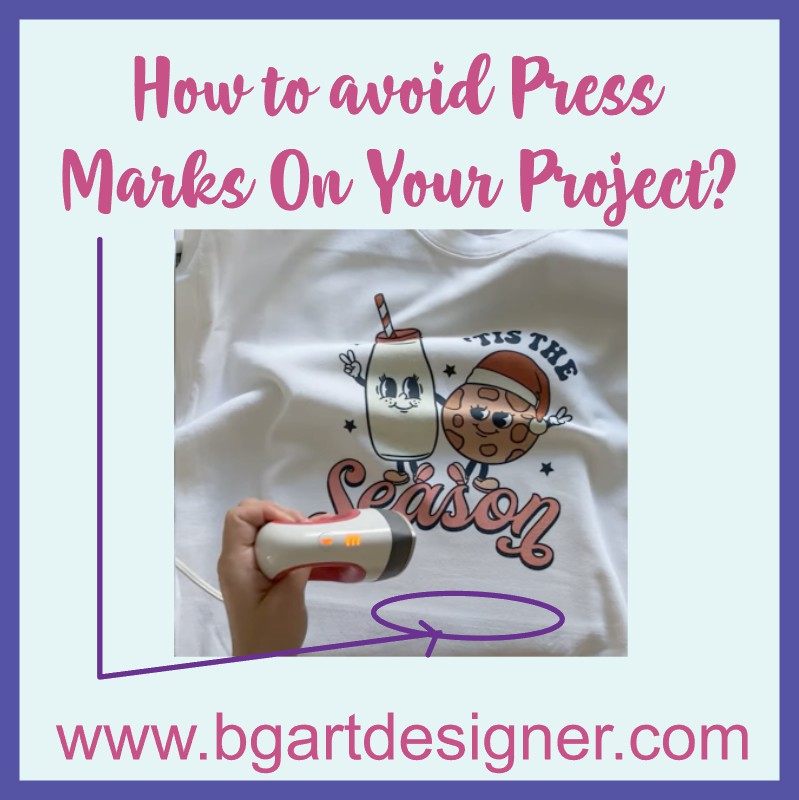
If the scorched mark has already been left on your garment, then you can use the mini easy press of cricut to try to make that edge disappear.
By following these steps and paying attention to detail, you can avoid press marks on your projects and achieve professional-quality results every time. Happy crafting!