Cutting and Crafting
Cricut Hat Press: Blanks, tips and more
In this post will be plenty of tips and tricks when working with the Cricut Hat Press, as well as a list of some blanks on the market to work with that turn out well which are not Cricut hats!
The Cricut Hat Press is certainly the perfect machine for working with hats, its design allows efficiently working with hat surfaces, resulting in amazing projects. To learn more about the Cricut Hat Press and its features go HERE.
Cricut has its own line of caps for sublimation, infusible ink, and HTV projects that work impressively well, however, it is possible to do projects with non-Cricut hats. For this keep in mind that they have to be heat resistant, and for infusible ink and sublimation they have to be 80 or 100% polyester.
Steps to prepare the hat
- Remove any cardboard that the hat may have inside.
- Place the hat on the form, if possible by opening the back of the hat. Once the hat is in the form it will stand up.
- Pull out any sweatband or inner sleeve, to create a flat pressing surface.
- Close the back again and press it tightly, making sure there are no gaps, wrinkles, or even bulges.
- Lint roll the surface
- pre-heat the surface for 5 seconds
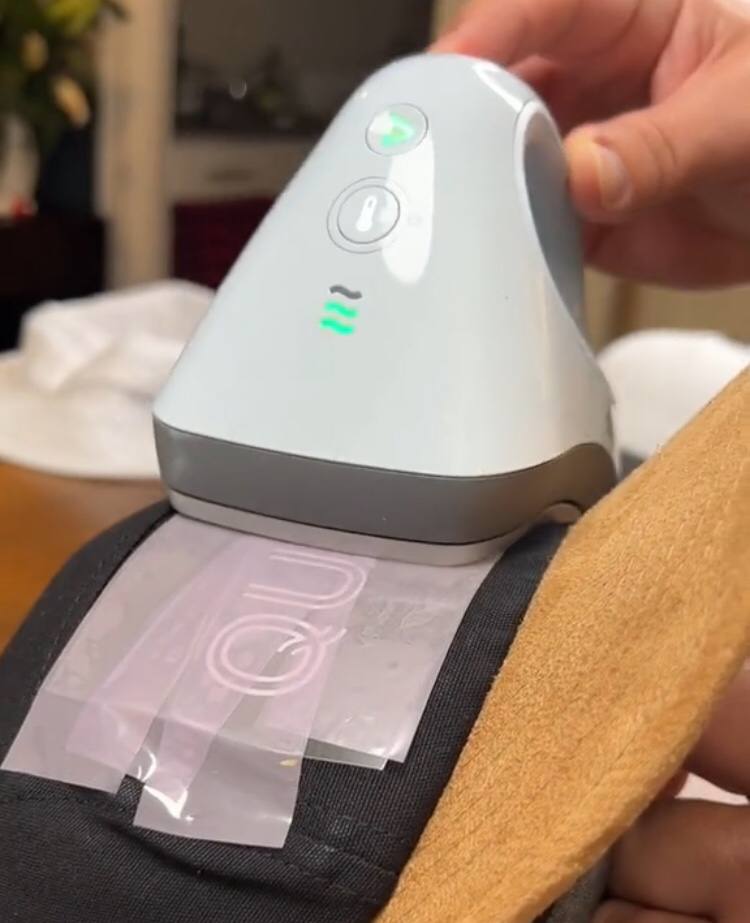
- Select in the Cricut heat app the settings to use, so to get the timer and temperature settings. When the Cricut Hat Press is ready to operate, the arrows button will turn green.
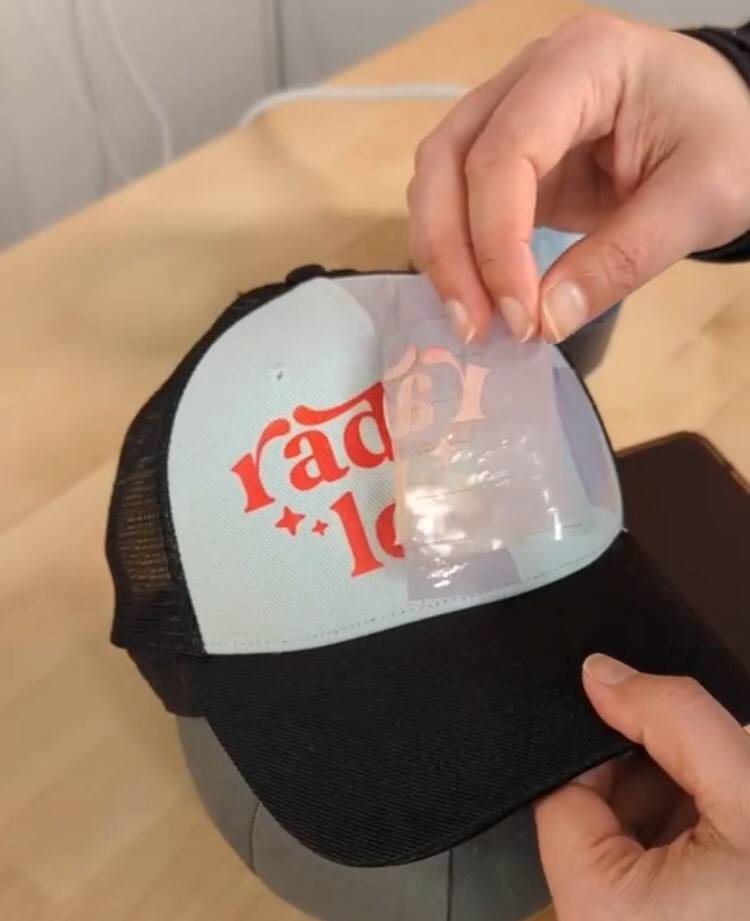
Tips to add the designs
- When placing a design on the front of the hat, it is recommended to cut some small slits in the backing sheet, especially from the top. This will allow the transfer to be really curved and shaped around the hat.
- On hats, it is possible to add designs made with infusible ink or sublimation on the entire surface, except on the bill, as heat damages it.
- On hats, it is possible to add HTV designs on the entire surface, including the bill.
- The maximum recommended design is 2.25 inches by 4.25 inches wide, but it is possible to add larger designs by cutting and pressing them in sections. When doing this do not remove the carrier sheet so as not to damage any sections of the design, it also works for applying multiple designs to a surface.
- The design should be half an inch from the bill of the hat to ensure that the hat press can move around the surface and to ensure the design can adhere completely to the surface.
- It is best to have a thicker design that can hold on to the surface and not distort.
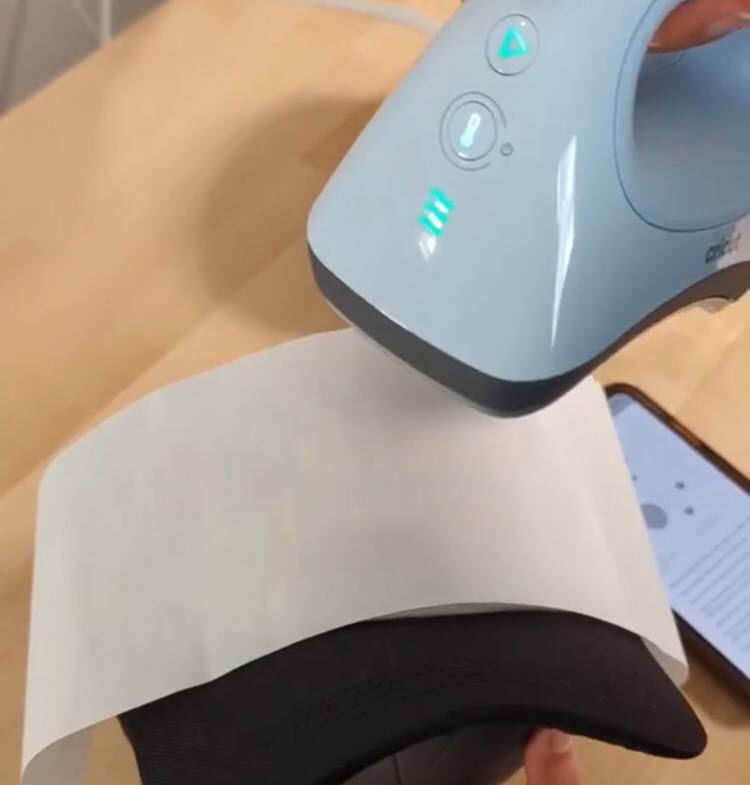
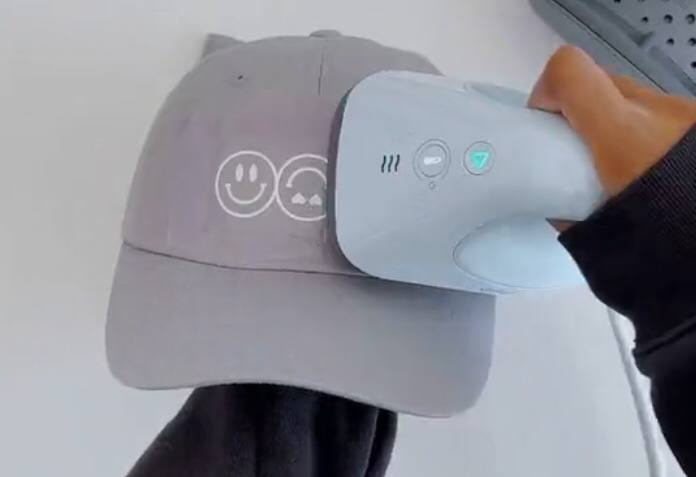
Tips when pressing with the Cricut Hat Press
- Always put heat-resistant tape over the designs to press them down, and to make a smooth surface to work on, put some butcher paper, adding it with some heat-resistant tape on top to make pressure and move the hat press without trouble. With HTV it is possible to reuse butcher paper, but not with infusible ink or sublimation because they can leave their mark on future projects
- To press kid hats turn the form up on its side, place the kid hat with its back facing to the same side as the form handle. And work the sweatband out.
- Move the hat press back and forth over the design while pressing to evenly distribute heat.
- To press a bill with HTV find a place on the form that is stable for the area of the bill to add the design.
- Remove the pressing marks by pressing the design again without the carrier sheet, but with a Teflon sheet on top of it for a couple of seconds. This will help with the lines.
WORKABLE HAT BLANKS LIST
After reading several tips it is time to read the list of blanks to work with the Cricut Hat Press and HTV, infusible ink or sublimation. So remember to create some designs or find some beautiful ones on my website BGARTDESIGNER.
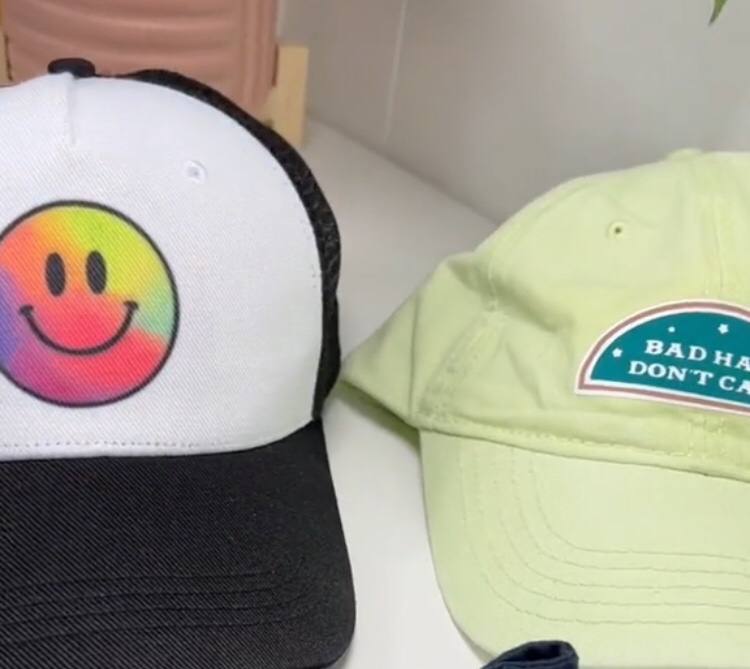
Cricut trucker hats
The front of the Cricut trucker hat is made with polyester so it is perfect for infusible ink or sublimation projects.
Plain polyester baseball hats
This amazon polyester hat works well with sublimation, this cap can also be sublimated on the back so it looks very nice. no ghosting effect. can be used with this HTV as well.
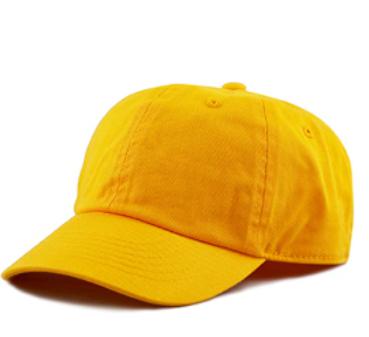
Cotton baseball hats
This cotton baseball hat, Work well with HTV designs!
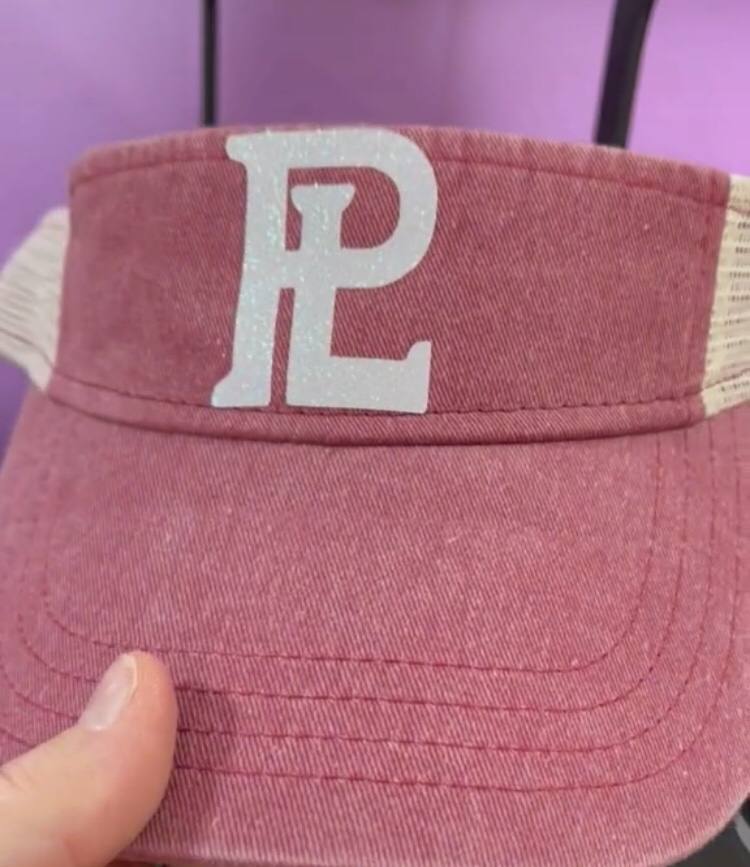
Cotton Visor
Put it on the form the same way as the other caps. add the HTV and press through. Works super well.
kid hats
HTV sticks great on these kid hats too!
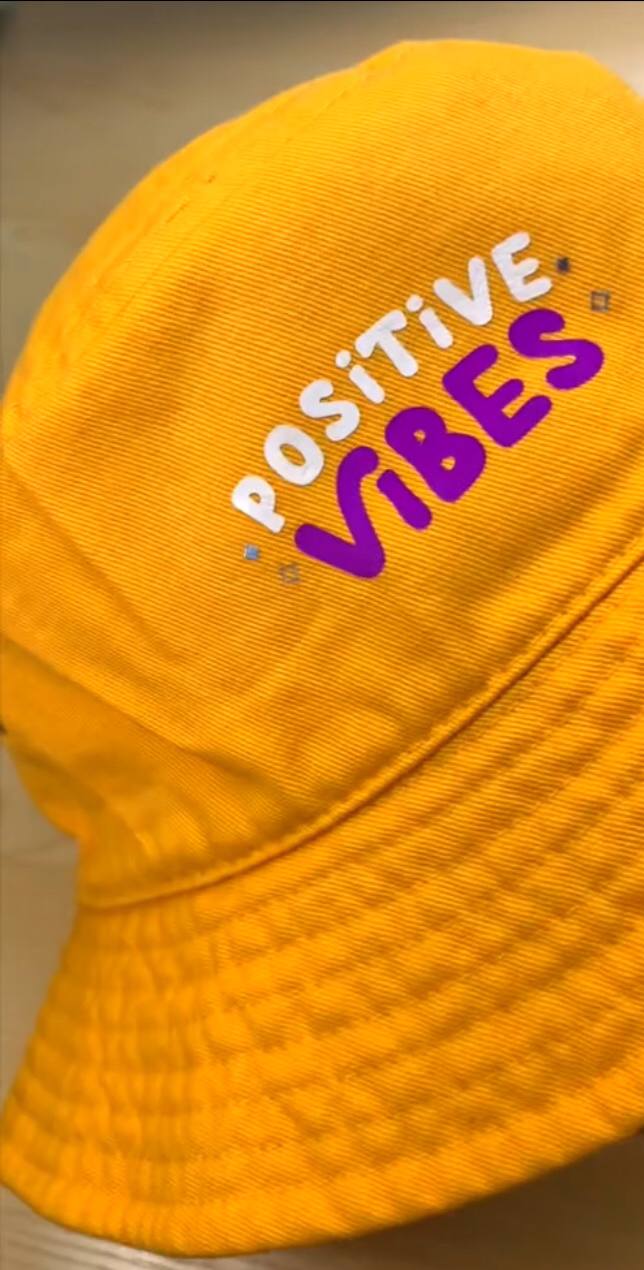
Bucket hats
It is possible to add an HTV design on the entire surface, on the front, on the top, and the bill. it is definitely possible to make a design on the entire surface with the Cricut Hat Press.
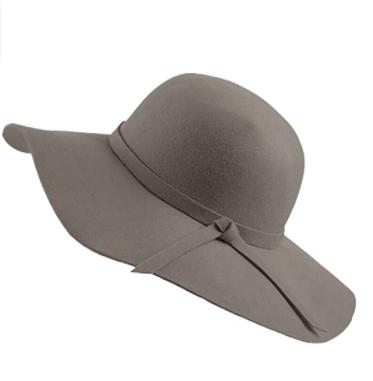
Felt hat
Customize a felt hat by adding a full line of a design around it. To do this remember that it is best to cut the line into sections and lay it over the hat to get a straight line; without removing the backing sheet until the end.
Wide-brimmed hats/ Beach hats
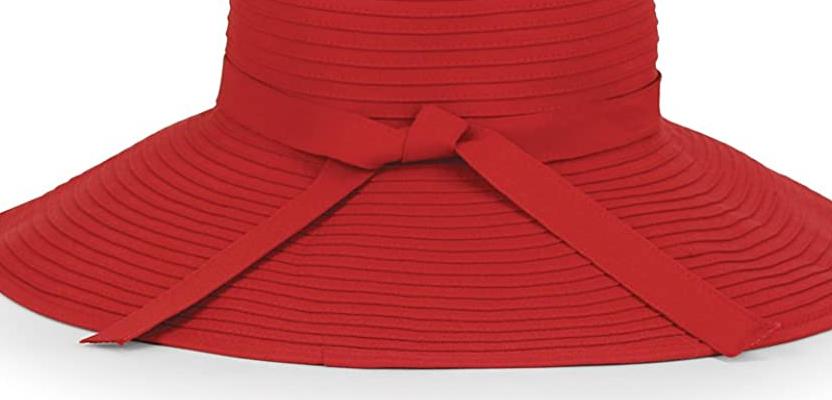
To these hats, you can add a little HTV to the ribbons that come with the hats. It is also possible to add the design to the texture part. It is much more difficult but it is possible. To do this, press the design, and then remove the carrier sheet; get a Teflon sheet, put it over the design. Press again for a couple of seconds. Then with some scraping tool push the HTV into the texture.
Hope these tips and the list of blanks to use with the Cricut Hat Press have been helpful. Let me know your comments below!