-
×
 Diamond lips clipart png
1 × $2.99
Diamond lips clipart png
1 × $2.99 -
×
 Frida Kahlo quotes SVG
1 × $2.49
Frida Kahlo quotes SVG
1 × $2.49 -
×
 Regular Svg file convert
1 × $5.99
Regular Svg file convert
1 × $5.99 -
×
 Download Rhinestone alphabet BGART7
1 × $9.99
Download Rhinestone alphabet BGART7
1 × $9.99 -
×
 Love Asu hornets Rhinestone
1 × $5.99
Love Asu hornets Rhinestone
1 × $5.99 -
×
 Christmas Wine glass svg
1 × $3.99
Christmas Wine glass svg
1 × $3.99 -
×
 Black Nurses Rock
1 × $5.99
Black Nurses Rock
1 × $5.99 -
×
 Dripping lips Carolina Panthers
1 × $3.91
Dripping lips Carolina Panthers
1 × $3.91 -
×
 God is the Plug Rhinestone svg
1 × $5.99
God is the Plug Rhinestone svg
1 × $5.99 -
×
 Diva afro girl rhinestone svg
1 × $5.99
Diva afro girl rhinestone svg
1 × $5.99 -
×
 logo Alabama AAMU University Rhinestone
1 × $3.99
logo Alabama AAMU University Rhinestone
1 × $3.99 -
×
 Won't he do it
1 × $5.99
Won't he do it
1 × $5.99 -
×
 Fairy Godmother wine svg
1 × $2.49
Fairy Godmother wine svg
1 × $2.49
Cutting and Crafting
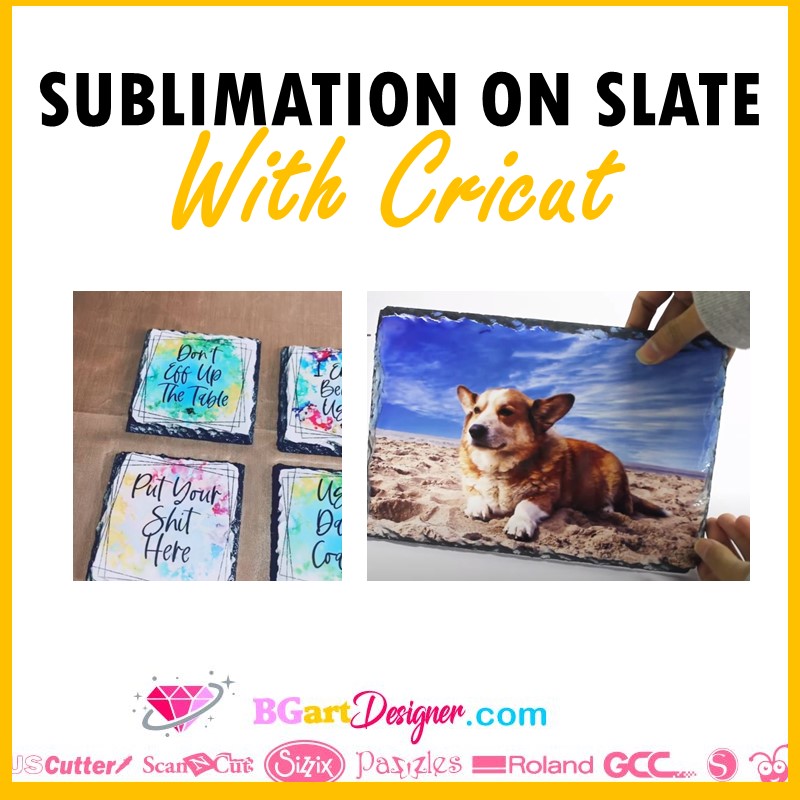
How to sublimate on Slate with Cricut
Learn to sublimate on Slate with a Cricut. This is different from sublimate on a T-shirt but it is possible to tearn to get consistent results and use your favorite photos and designs. They are amazing gift ideas because give a super good impression!
Supplies needed
- Slate for sublimation
- Cooling tray
- Heat Press or 12×10 easy press
- Butcher paper
- Heat resistant gloves
- Heat resistant tape
- Lint roller
For this project on how to sublimate on slate with cricut, it is super important to have a piece of slate meant for sublimation, otherwise it won’t work. Above all, shiny pieces make the design pop, so you can try it out. The raw slate pieces are not cheap, but it is possible to try them at your own risk.
On the other hand, the cooling tray will serve to put the slate on a surface while it solidifies. But from now on, jsut use it for crafting, not for cooking.
For this project the pressing time is long, so as a recommendation use the heaviest easy press which is the Cricut 12 by 10 press because it does not require the extra pressure. The autopress will work just fine or any other press you have. Just make sure the press covers the entire area you want to decorate.
Design process
First of all, measure the blank, just the area in which we are going to work. Next, find amazing designs HERE! Open Cricut Design Space, and as always, create a template using a form to insert the proper size. It is super important to design the images to be proportionate to the blanks. As a recommendation, size the design a quarter of inch smaller than the imprint area.
Finally, remember to mirror the design. In order the design looks correct once sublimated. With the design already printed, trim the borders as close as possible to the design.
Sublimate on Slate
First of all, remember that sublimating uses high heat that creates fumes, so it is important to open the windows and be careful. Preheat the press to 400 degrees Farenheit and set the time to 420 seconds, that is 7 minutes. Above all, with the the cricut auto press it is the same time a temperature of 400 degrees Fahrenheit.
As a recommendation, have a cooling rack nearby where the project can sit undisturbed for up to half an hour.
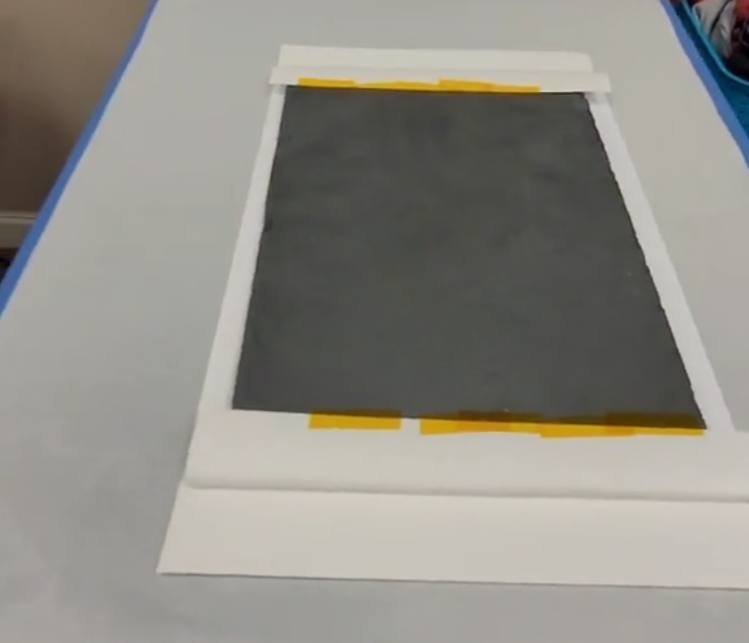
After pressing, with the blank side of the board face up, remove any debris or moisture with a lint roller. Next, place the sublimation design face down on the board. Center it and use heat-resistant tape to hold the image in place. Above all, leave some tape longer than the size of the board for easier removal at the end.
Cover the pressing surface with butcher paper. Place the slate on the hot plate with the design facing down to help distribute the heat and pressure. Finally, cover the slate with another sheet of butcher paper.
Begin heat pressing and start the timer. With the easy press, apply firm pressure with both hands. After the time runs out, let the slate stand for about 30 seconds to allow the ink to set and solidify. This will prevent the image from being accidentally erased.

With heat resistant gloves remove the top sheet of butcher paper. Then place the slate on the cooling rack face up. Carefully remove the sublimation paper from the slate using the tape we leave longer before.
Most importantly, the slate retains heat. So be sure to let it cool for at least 10 minutes before touhing it without gloves. To clarify, larger pieces will stay hotter for longer so be careful. And keep in mind that the color will darken as it gets cool.
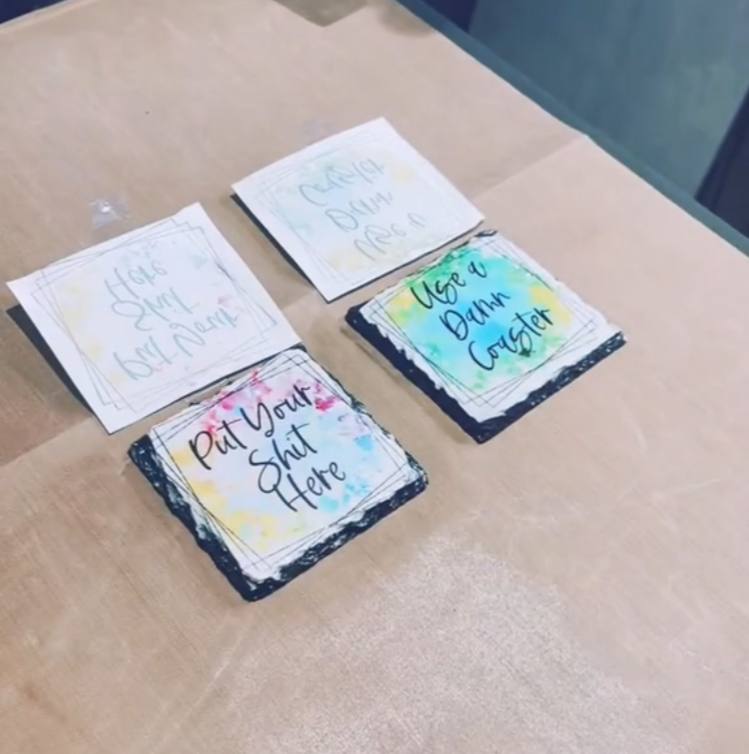
Finally, once it is cool to the touch the project is ready to display! Some of the blanks come with display feet or with holes to put a rope, choose the better for you.
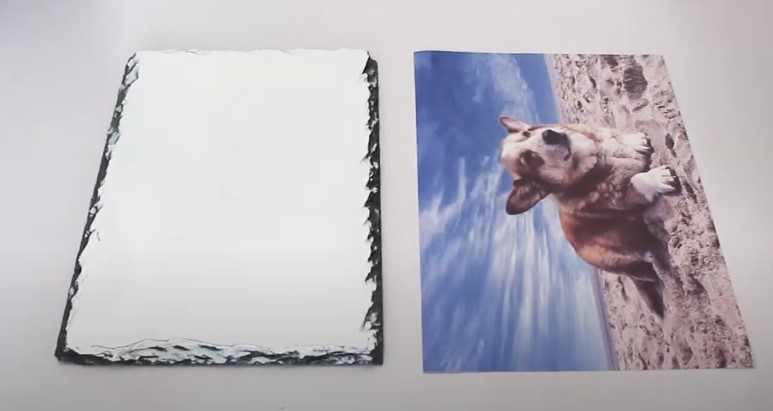
Sublimating a photo on slate
A very common project is to sublimate photos in different blanks. Of course it’s possible to sublimate photos on slate with cricut! First of all, print the photo a half an inch larger than the plate so it covers the edges. That will help to cover the white spots with ink. Don’t forget to mirror the photo to send it to the printer.

To place the photo on the blank, leave the photo face up on the work space. Then place the sublimation side of the slate over the photo. This way we can put it in the right orientation. Finally, repeat the previous steps on pressing and let it sit.