-
×
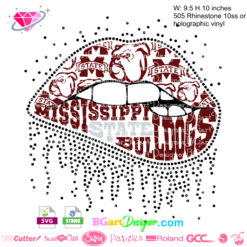 Dripping lips Mississippi Bulldogs
1 × $3.91
Dripping lips Mississippi Bulldogs
1 × $3.91 -
×
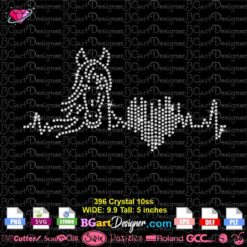 Horse HeartBeat Rhinestone SVG
1 × $3.99
Horse HeartBeat Rhinestone SVG
1 × $3.99 -
×
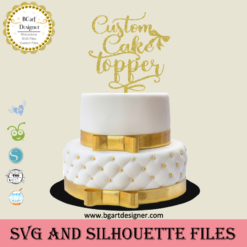 Custom cake topper
1 × $9.99
Custom cake topper
1 × $9.99 -
×
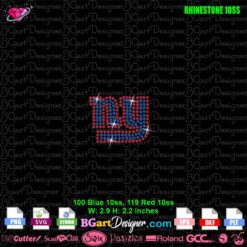 Giants Fueled By Haters Rhinestone SVG
1 × $3.99
Giants Fueled By Haters Rhinestone SVG
1 × $3.99 -
×
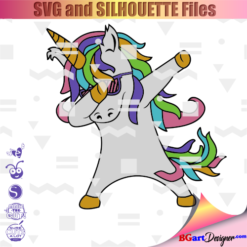 Dabbing unicorn
1 × $1.99
Dabbing unicorn
1 × $1.99 -
×
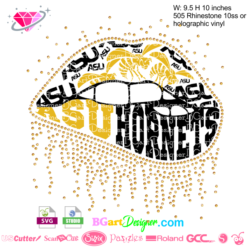 Dripping lips ASU hornets
1 × $3.91
Dripping lips ASU hornets
1 × $3.91 -
×
 LSU tigers Rhinestone SVG
1 × $5.99
LSU tigers Rhinestone SVG
1 × $5.99 -
×
 logo Alabama AAMU University Rhinestone
1 × $3.99
logo Alabama AAMU University Rhinestone
1 × $3.99
Cutting and Crafting
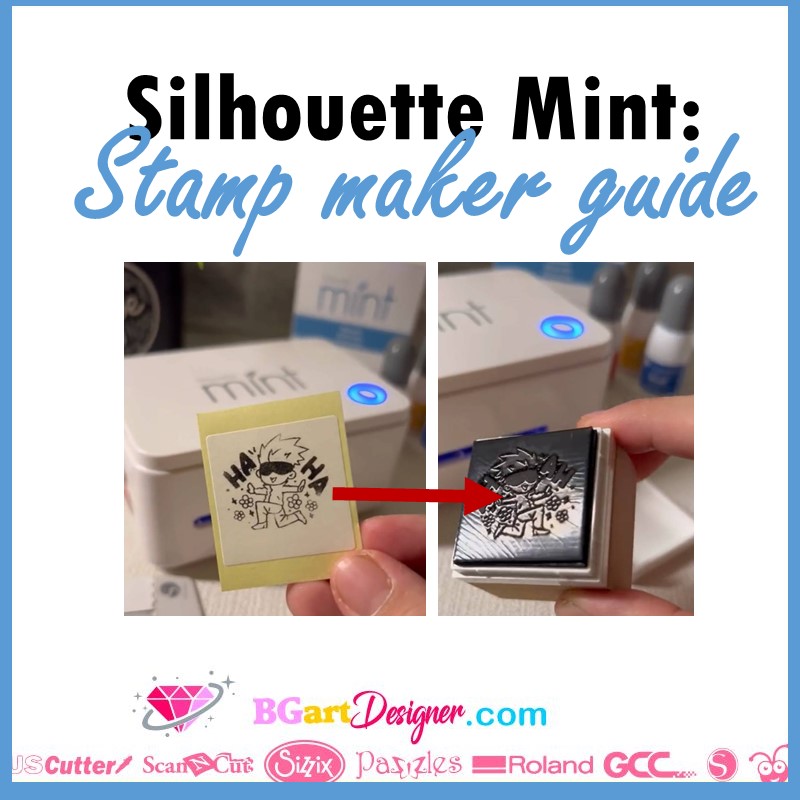
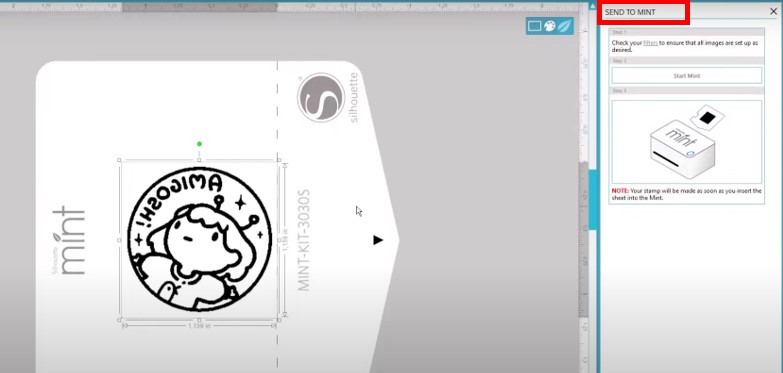
Silhouette Mint: Stamp maker guide
Silhouette Mint is a custom stamp maker from the Silhouette brand. With it, it is possible to design stamps for personal projects, business, for gifts or even to sell!
The Mint uses a thermal printing process. That creates detailed images on the mint stamp sheets. Then, it is possible to apply the ink, which will soak the printed part of the stamp sheet. And after removing the excess ink from the edges, it is possible to use the stamp 50 times before reapplying ink.
Above all, it is possible to use multiple ink colors on a single stamp!
On the other hand, if you are interested on learning how to make stamps with a Cricut machine, take a look at THIS POST!
How to use it
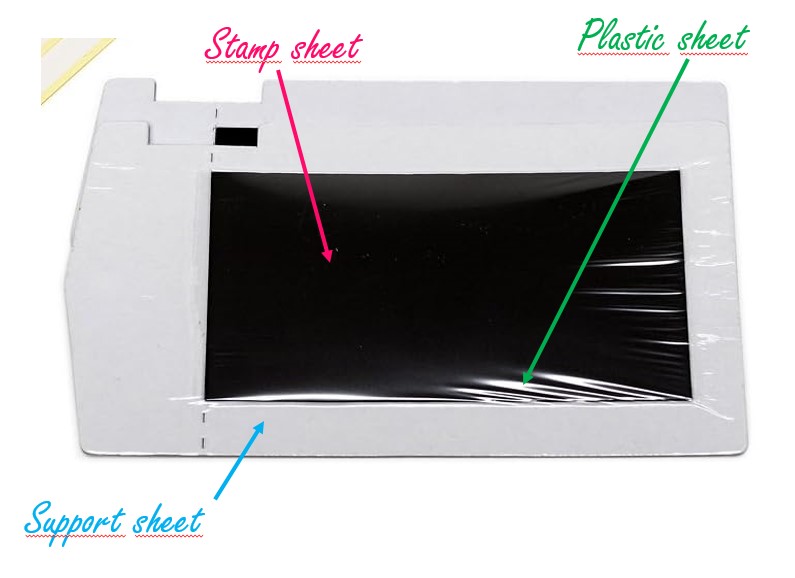
Certainly, we need tools and supplies to use the Silhouette Mint Stamp maker. The stamp kit comes with two sheets, a wooden base and labels to identify the stamp with the design at the end. To clari, it is possible to use the same wooden base for as many stamps of the same size as desired. It has a kind of trace in which the stamp sheet is inserted and removed.
This way it is possible to buy replacement stamp sets instead of buying the stamp set base each time.
Supplies needed
- Stamp kit
- Stamp kit sheet
- Mint Ink
- Paper
- Toothpicks
- Mint Studio software
Above all, the stamp sheet comes with a thin layer of plastic covering the stamp sheet itself (black color) and the sheet holder (white color). It is very important to leave that thin layer of plastic intact when inserting the sheet into the silhouette.
Design on the silhoutte mint software
First to use the Silhouette Mint Stamp maker, download the free silhouette mint software from silhouette america.com by going to the software section.
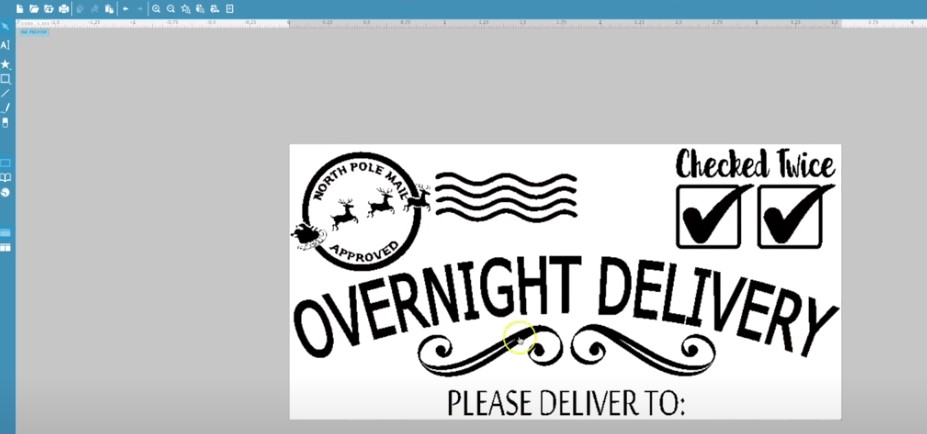
To customize the stamps, it is possible to write your own text. Mint Studio has a curved text function that you can play with. It is also possible to change the style of the lines to dots, and other things, just like with the silhouette studio software. It is also possible to add images, and if they have a colored background, just send them to the back and align everything. Find some amazing images HERE!
To do that, go to “object” then “align” and then “align options” to have a visual representation of the elements. There is also a “center to stamp” option, this will not change the size of the image just move according to the size of the stamp, it is perfect to align the frames easily!
Images format
It is important to know that the design purchased in the design store will be opened as images in mint studio instead of a vector. So we cannot change its colors, nor modify the lines. But remember, on-screen colors do not matter because we will physically apply the ink color.
However here is a trick to convert silhouette mint images into vectors to use better the Silhouette Mint Stamp maker! Once logged in, all images will be uploaded to the silhouette Studio library because of the cloud. So it is possible to open silhouette studio and open the image. It will automatically be a vector. Then save the image as a “studio” file and open it in Mint Studio to manipulate the design.

To add an external image and use it, click on the folder icon and select the image you want. If it opens too large, select it and click “fit to stamp” in the lower left corner. Best of all, it is possible to stamp photos. Just add the photo and put a filter on it. Note that the parts of the photo that are outside the stamp size will not receive the filter and will not be printed.
Finally, in case you apply different colors later on, make sure that the designs are not too close together.
Create the design for the stamps
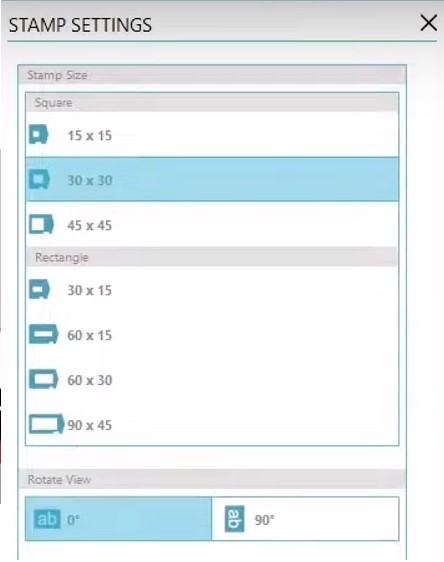
1. Insert the images and size the stamp
To create the design, adjust the size of the stamp. To do this, go to the stamp adjustment window. Note that its measurements are in millimeters. Above all, note that you can change the orientation of the stamp in the stamp adjustment panel.
It is possible to use imported images, photos, designs from the silhouette design store, drawing tools and frames. Above all, in the software it is possible to add a new drawing on the top left. And in the library it is possible to find all the designs preloaded with the mint machine.
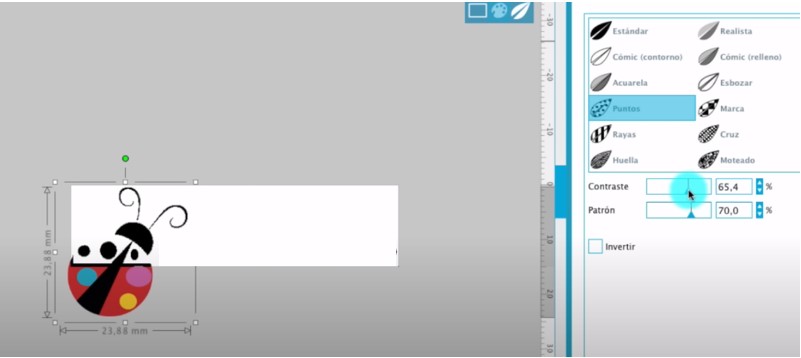
2. choose the filter
The next step is to choose the filter. To do this click on the palette icon in the design area.
Select the filter of your preference, and adjust the brightness until you see the image better.
Sometimes colors are too light and with filters they tend to disappear, but by decreasing the brightness it is possible to recover those color lines.
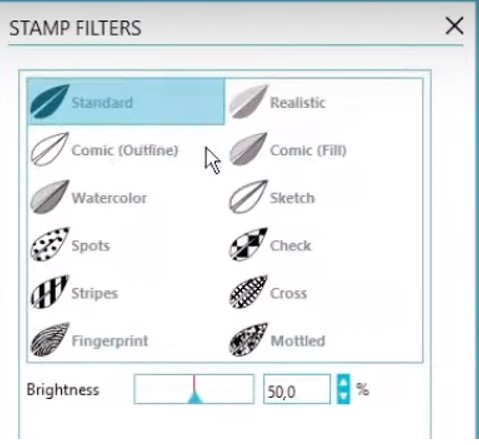
To clarify, the color in the design software only works as a reference for you, because we will print the unicolor stamp and apply the ink physically.
3. Print the stamp
Finally, click on the mint sheet icon and turn on the mint machine. The image will automatically be mirrored so that it will print correctly. Then click on the software to start the machine. Insert the mint sheet into the back of the machine, with the black seal facing up.
The machine will automatically pick it up. And you’ll know the design is done when the lights on the machine stop flashing.
Assembling the stamp
The first step to assemble the stamp is to choose the right base, with the right size. Open the lid and expose the adhesive by removing the protective paper.
Next, take the printed stamp piece and fold it through the perforations to separate the stamp itself from the support sheet. Remove the plastic layer. Then place the stamp sheet on the adhesive, making sure that the printed side is facing up. Be careful not to touch the printed side with your fingers.
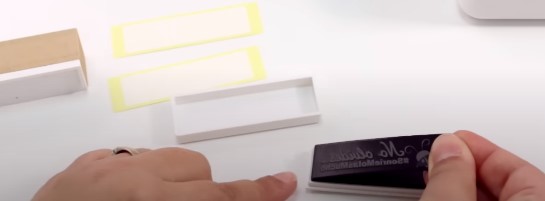
Here it is important to press down the stamp on some paper, to make sure it adheres well, and to not leave fingerprints.
How to use the stamp
To apply the ink, as a recommendation use toothpicks to spread the ink and make sure that the colors of a multi-colored stamp do not bump into each other. Spread the ink over the entire surface to cover the entire design. Above all, the ink will only soak into the printed area. Wait about 5 minutes for the design to absorb the ink, the rest of the material will resist the ink.
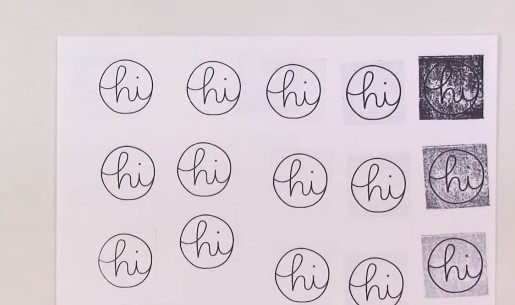
Next, stamp the image on clean paper to remove excess ink. Stamp it about 10 times until the image starts to show clearly and without ghosting. Then stamp it on the label to adhere it to the wooden base and recognize the stamp later.
Of course, you can re-ink the stamp as many times as you like.
Can we use non-mint inks?
Mint inks were created exactly for the absorption process of their stamp sheets. These stamps do not really lift much from the surface and seem to absorb the ink like a sponge. But, In fact it is possible to use other inks but at our own risk. It’s all a matter of testing.
Let’s talk first about Ink pads. The ranger archival ink pad works fine. For it to work, press the stamp on the pad for three minutes and then remove the excess. It will leave a kind of shadow in the background but it is possible to clean it with a paper towel.
On the other hand, the Distress ink It is very liquid as the mint ink, but not as liquid as the Alcohol Ink. So it gave pretty good results. Just let it sit for 3 minutes. And finally, the StazOn black ink is very crisp and clean and also works well.
But some inks from other brands do not abort at all. Pigment ink is too thick to work with this type of stamp. On the other hand Adirondack alcohol ink is too liquid and dries out very quickly so is not a good choice.