-
×
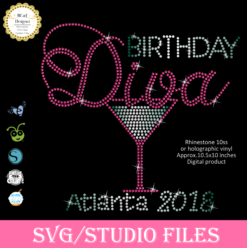 Birthday diva rhinestone
1 × $5.99
Birthday diva rhinestone
1 × $5.99 -
×
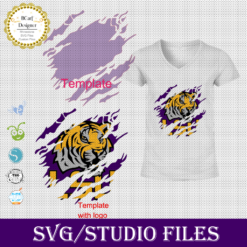
 LSU tigers Rhinestone SVG
1 × $5.99
LSU tigers Rhinestone SVG
1 × $5.99 -
×
 Diva afro girl rhinestone svg
1 × $5.99
Diva afro girl rhinestone svg
1 × $5.99 -
×
 logo Alabama AAMU University Rhinestone
1 × $3.99
logo Alabama AAMU University Rhinestone
1 × $3.99 -
×
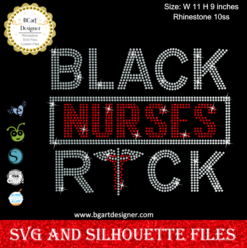 Black Nurses Rock
1 × $5.99
Black Nurses Rock
1 × $5.99 -
×
 Break Every Chain BGART1 Rhinestone SVG
1 × $5.99
Break Every Chain BGART1 Rhinestone SVG
1 × $5.99 -
×
 Template for use slice in design space app
1 × $3.91
Template for use slice in design space app
1 × $3.91 -
×
 Alabama AAMU University Bulldogs heel rhinestone
1 × $5.99
Alabama AAMU University Bulldogs heel rhinestone
1 × $5.99 -
×
 Hallothanksmas Wine Glass Rhinestone SVG
1 × $5.99
Hallothanksmas Wine Glass Rhinestone SVG
1 × $5.99 -
×
 Pray until something happens
1 × $5.99
Pray until something happens
1 × $5.99 -
×
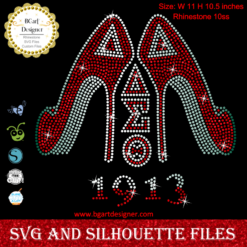 Delta sigma theta high heel
1 × $5.99
Delta sigma theta high heel
1 × $5.99 -
×
 Isaiah 40 Wait Lord Eagles Rhinestone SVG
1 × $5.99
Isaiah 40 Wait Lord Eagles Rhinestone SVG
1 × $5.99 -
×
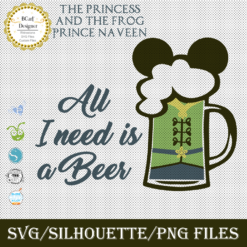 Prince Naveen beer mug
1 × $2.79
Prince Naveen beer mug
1 × $2.79 -
×
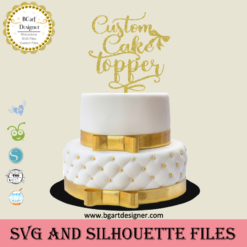 Custom cake topper
1 × $9.99
Custom cake topper
1 × $9.99 -
×
 Jeep Life Renegade SVG
1 × $2.99
Jeep Life Renegade SVG
1 × $2.99 -
×
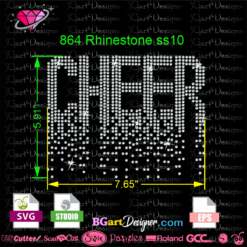 Cheer Scatter Rhinestone File
1 × $3.99
Cheer Scatter Rhinestone File
1 × $3.99 -
×
 Auburn Rhinestone High Heel
1 × $5.99
Auburn Rhinestone High Heel
1 × $5.99 -
×
 Love valentines day svg
1 × $1.49
Love valentines day svg
1 × $1.49 -
×
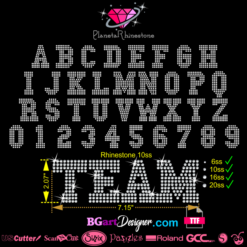 Athletic Fonts Rhinestone
1 × $6.99
Athletic Fonts Rhinestone
1 × $6.99 -
×
 Santa Hat Wine glass svg
1 × $5.99
Santa Hat Wine glass svg
1 × $5.99 -
×
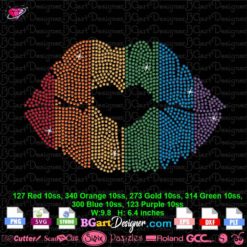 LGBT Rainbow Lips Rhinestone SVG
1 × $5.99
LGBT Rainbow Lips Rhinestone SVG
1 × $5.99 -
×
 Miss Dior Rhinestone SVG
1 × $5.99
Miss Dior Rhinestone SVG
1 × $5.99 -
×
 Jasmine Princess Mickey Ears Minnie Bow SVG
1 × $0.99
Jasmine Princess Mickey Ears Minnie Bow SVG
1 × $0.99 -
×
 Sitting girl cake topper download
1 × $7.49
Sitting girl cake topper download
1 × $7.49 -
×
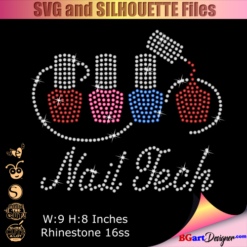 Nail Tech Rhinestone Design
1 × $5.99
Nail Tech Rhinestone Design
1 × $5.99 -
×
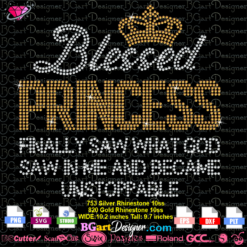 Blessed Princess Unstoppable Rhinestone
1 × $5.99
Blessed Princess Unstoppable Rhinestone
1 × $5.99 -
×
 Retired Teacher Layered SVG
1 × $2.99
Retired Teacher Layered SVG
1 × $2.99 -
×
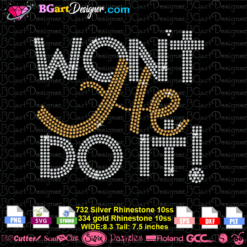 Won't he do it
1 × $5.99
Won't he do it
1 × $5.99 -
×
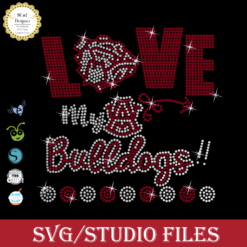 Love Alabama Bulldogs Rhinestone
1 × $5.99
Love Alabama Bulldogs Rhinestone
1 × $5.99 -
×
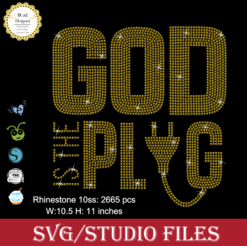 God is the Plug Rhinestone svg
1 × $5.99
God is the Plug Rhinestone svg
1 × $5.99 -
×
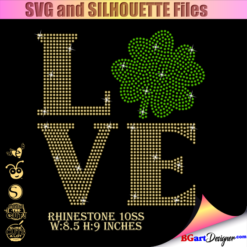 St Patrick's Day Rhinestone Love Clover svg
1 × $5.99
St Patrick's Day Rhinestone Love Clover svg
1 × $5.99 -
×
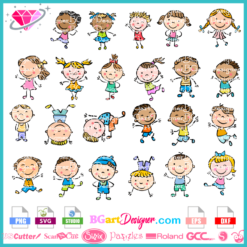 Happy Cartoon Kids SVG
1 × $3.99
Happy Cartoon Kids SVG
1 × $3.99 -
×
 Standing on his promises heel Rhinestone file
1 × $5.99
Standing on his promises heel Rhinestone file
1 × $5.99 -
×
 Love rhinestone emoji
1 × $3.99
Love rhinestone emoji
1 × $3.99 -
×
 Love Asu hornets Rhinestone
1 × $5.99
Love Asu hornets Rhinestone
1 × $5.99 -
×
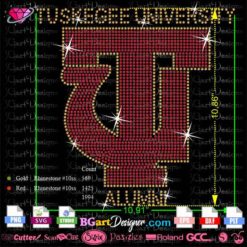 Tuskegee University Rhinestone
1 × $5.99
Tuskegee University Rhinestone
1 × $5.99 -
×
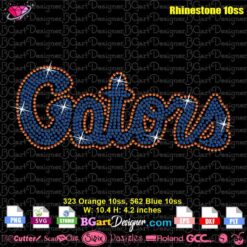 Gators Name Logo Rhinestone SVG
1 × $5.99
Gators Name Logo Rhinestone SVG
1 × $5.99 -
×
 I Love NKOTB Rhinestone SVG
1 × $5.99
I Love NKOTB Rhinestone SVG
1 × $5.99 -
×
 Jamaican woman SVG file
1 × $5.99
Jamaican woman SVG file
1 × $5.99 -
×
 Regular Svg file convert
1 × $5.99
Regular Svg file convert
1 × $5.99 -
×
 Cross Music Note Church SVG
1 × $2.99
Cross Music Note Church SVG
1 × $2.99 -
×
 Black woman With Dread svg
1 × $3.99
Black woman With Dread svg
1 × $3.99 -
×
 Alabama State university ASU Hornets Rhinestone
1 × $5.99
Alabama State university ASU Hornets Rhinestone
1 × $5.99 -
×
 Yoda wine glass cut file
1 × $2.49
Yoda wine glass cut file
1 × $2.49 -
×
 NHS heart rainbow rhinestone
1 × $5.99
NHS heart rainbow rhinestone
1 × $5.99 -
×
 Black Lady Face Short Hair SVG
1 × $2.99
Black Lady Face Short Hair SVG
1 × $2.99 -
×
 MLK Martin Luther King Crown Rhinestone SVG
1 × $5.99
MLK Martin Luther King Crown Rhinestone SVG
1 × $5.99 -
×
 Nebraska Huskers Rhinestone Download
1 × $4.99
Nebraska Huskers Rhinestone Download
1 × $4.99 -
×
 Queens are born
1 × $3.49
Queens are born
1 × $3.49 -
×
 Living My Best life
1 × $2.99
Living My Best life
1 × $2.99 -
×
 Olaf Frozen svg and printable
1 × $2.45
Olaf Frozen svg and printable
1 × $2.45 -
×
 Unicorn natural hair
1 × $2.99
Unicorn natural hair
1 × $2.99
Cutting and Crafting
Create magnetic bookmarks with a cricut
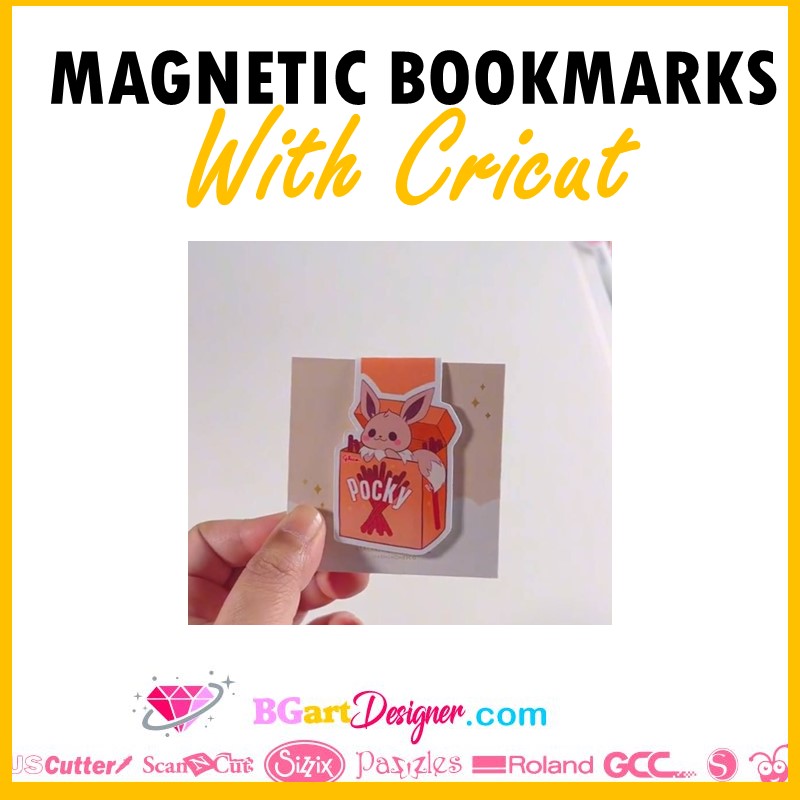
Learn how to create magnetic bookmarks using a Cricut machine! This is perfect for anybody who loves reading, and the posibilities are endless.
There are two options for creating a magnetic bookmark, the first is by using scrapbook paper with a laminated sheet to make it durable, and the other option is by using the print then cut function of the cricut machines. In this post you’ll learn both!
Magnetic bookmark with scrapbook paper
This is the easiest way to create magnetic bookmarks with a cricut, just find the scrapbook paper you like and start creating!
Supplies needed
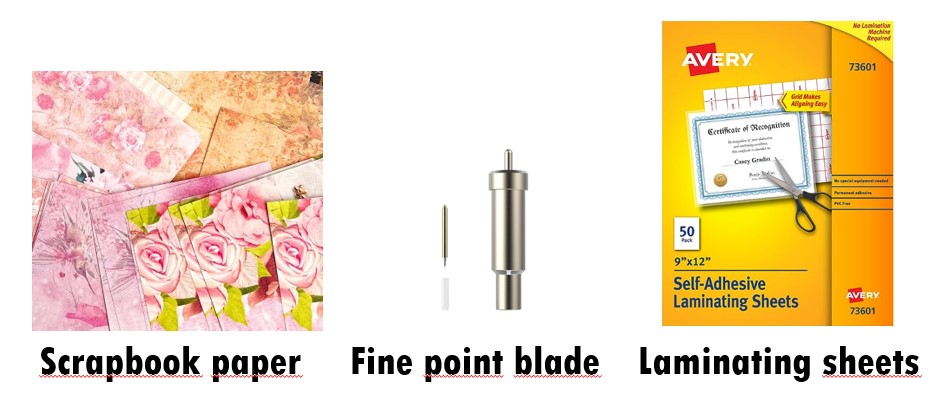
- Scrapbook paper
- avery self laminated sheets
- Magnetic sheet
- Cricut cutting machine
- Deep point blade
- Fine point blade
- Strong grip mat and light grip mat
- Scraper tool
Design process
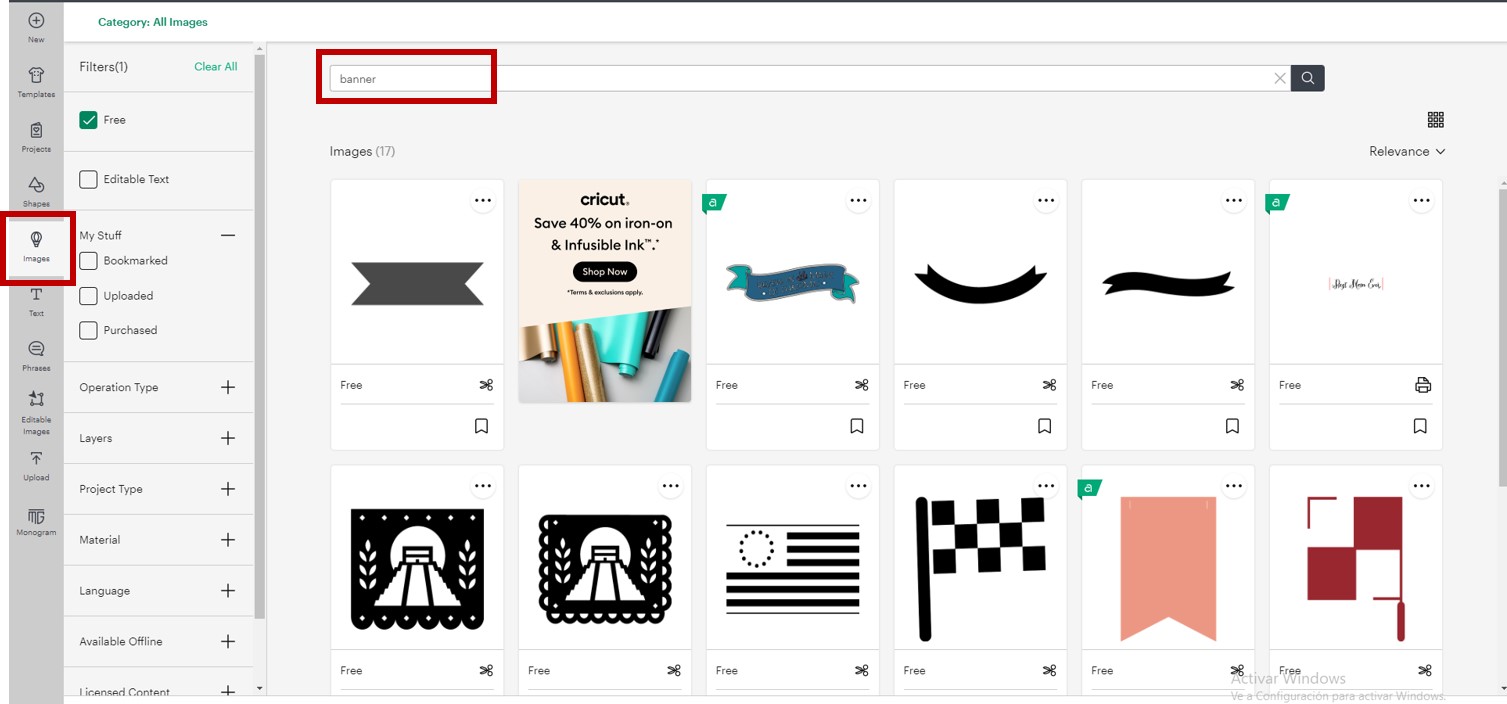
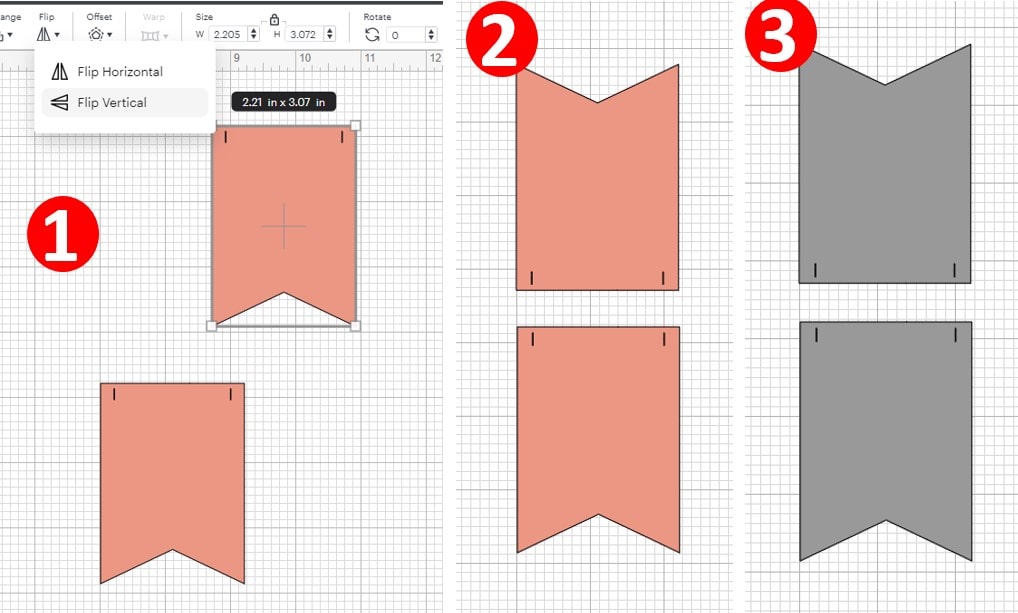
First of all, open Cricut Design Space, go to images and type “banner”. It will give you several banner options to choose from and create the magnetic bookmark with Cricut. After that, size the banner according to what you want, a size of 1.1 in wide and 2.2 in high will work well.
The next step is to duplicate the banner. Select the copy and flip it vertically, to place it in a superior position with respect to the other banner. Change the color of both pieces to gray to identify it as the magnetic layer of the bookmark.
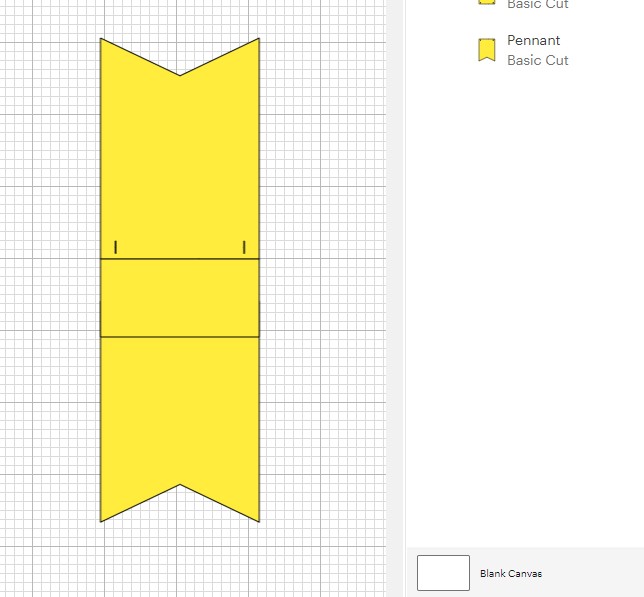
Now, create the layer of the sheet of paper. Duplicate the gray banner pieces, select only the new copy and attach them together. You need to add a square to connect both banner pieces to be able to fold the magnetic bookmark. This square will be on the scrapbook paper layer.
To do this, insert a square 2.5 cm wide and 2.5 cm high. Place the square right in the middle of both banner pieces, centering it horizontally. Finally, attach everything that will be the paper piece and change the color of the layer to identify it as the scrapbook paper layer.
Cricut design space will put the pieces on different mats depending on the color, so it is important to change the colors according to the layers.
To clarify, we are going to adhere the magnetic sheet to the paper and the paper is the one that will be folded on itself to create the magnetic bookmark. Finally, it is possible to duplicate both pieces depending on the number of bookmarks we are going to make.
Laminating the scrapbook paper
To make durable magnetic bookmarks with a cricut it is necessary to use some lamianting sheets! Before cutting the scrapbook paper, we need to adhere the laminating sheet on it first. To do this, use adhesive laminating sheets.
In order not to waste material, or in case you use different scrapbooking styles, cut both the laminate and the scrapbook paper as individual pieces. Just make sure they are a little larger than the actual size in the design space mat. This is to laminate each piece individually.
To do this, remove some of the backing. Place the laminate sheet on the scrapbook paper and, using the scraper tool, scrape the laminate while carefully pulling the backing. If there is too much left over, trim it off, but don’t worry about getting a perfect edge.
Cutting process
Click on make it, and select the material. As we are cutting different materials, we will select one first and once the machine finishes cutting, we must change the material configuration.
For the magnetic sheet use the 0.6 mm magnetic sheet setting, in case you use this magnetic sheet. But as a recommendation, make some test cuts in order not to waste material. Most importantly, to cut the magnetic sheet you need to use the deep point blade and a strong grip mat.
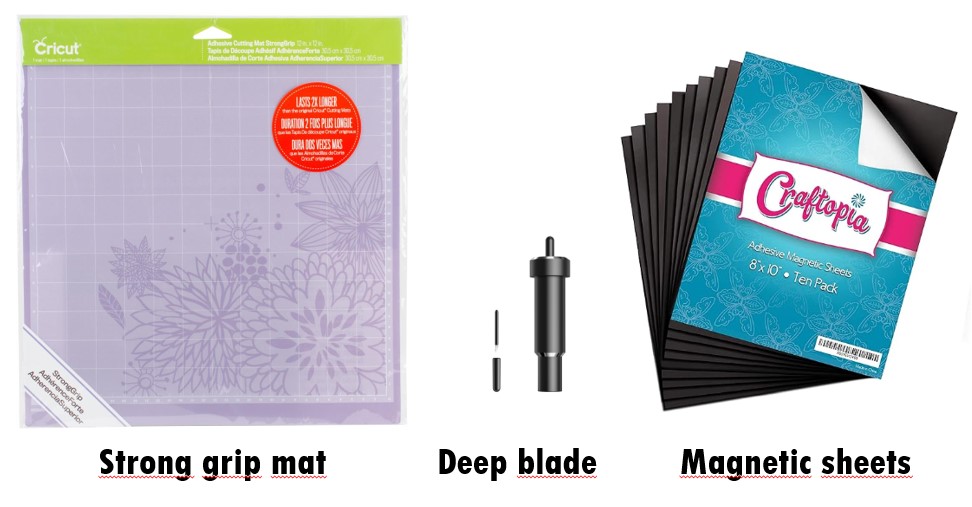
On the other hand, for the scrapbook paper, adjust the material to medium cardstock, change the blade to fine point blade and apply more pressure. This is because we are going to add a laminated sheet on top of the scrapbook paper in order to increase durability.
Above all, when placing the materials on the mat, be sure to separate the pieces in case you are using different styles of scrapbook paper. Be sure to line up the paper on the grip mat in exactly the same place as the cricut design space mat. Finally, send the machine to cut.
Once finished, before unloading the mat, peel some material off the mat to see if it has cut all the way through. If it doesn’t, simply send the machine back to cut in the same place. Keep in mind that it takes a little force to peel off the magnets.
To assemble the laminate magnetic bookmark first test the pair of magnets to make sure they fit correctly. After that, use the adhesive on the back of the magnet. Just adhere the backside of the scrapbook paper to it carefully and scrap it down.
Print then cut method
Of course there are other ways to create a magnetic bookmarks using a Cricut machine, and this is using the awesome print then cut feature! Learn the step by step process below.
Supplies needed
- Sticker paper or printable vinyl
- Non-adhesive magnet sheet
First of all, open cricut design space. Upload the images of preference and select “complex image”. Make sure to remove the background and save the design as a print then cut file.
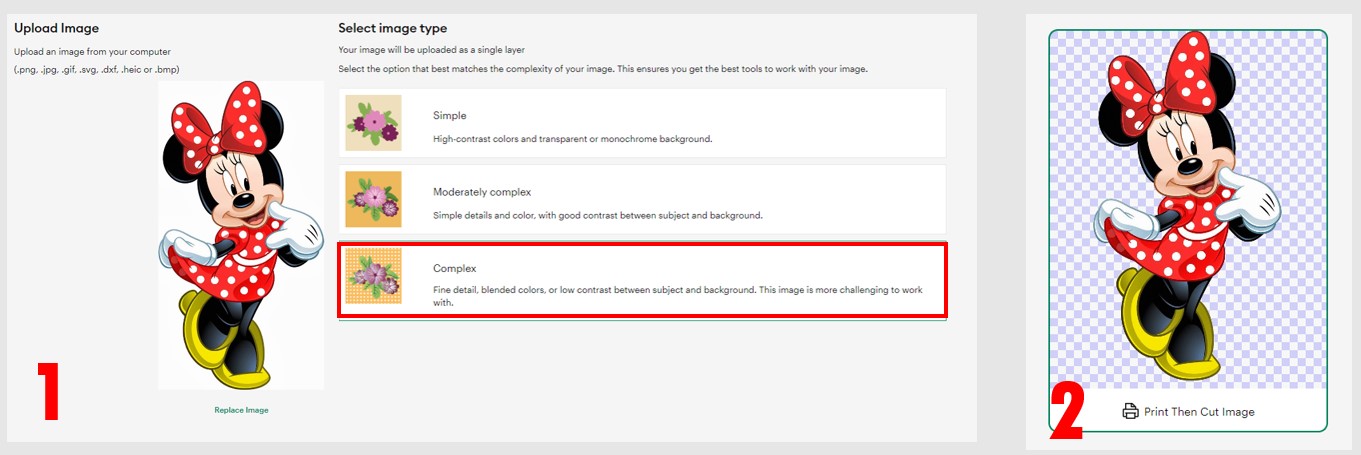
Add the design to the canvas. Select the design and add an offset to it and attach it to the design. This is to cut only the edges of the design and not each piece. Remember to change the color of the offset because we are going to print it. Set it to white or use any other color of your choice. In case it is white, put some colored shape as a background layer just to see how it looks, then delete it.
Creating the bookmark in design space
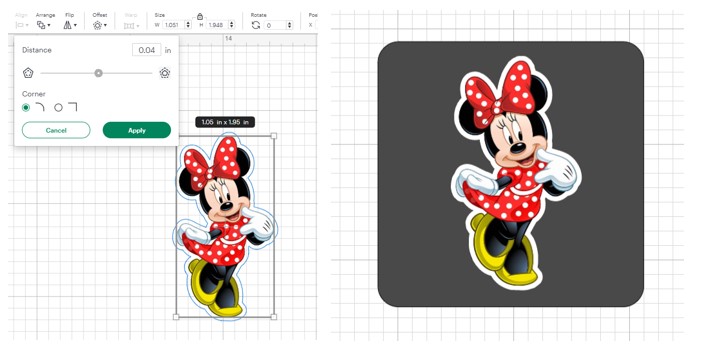
The next step is to duplicate the image. This is to have the top part of the bookmark and to be able to fold it. With the images we first have to flip the design horizontally, so that it is mirrored. And secondly, rotate the image 180 degrees, to turn it upside down. Then select both images and center them horizontally.
This way the image will match correctly. The final step is to join the two images, as we did before, adding a square in the center. That is To have a little area to fold the bookmark over. Size the square by eye, making sure to leave some space between the two images to fold the bookmark over.
Don’t forget to change the color of the square to match with the color of the offset. And send it to the back so it doesn’t interfiere with the image. Finally, select all the pieces and click on “flatten”.

Above all, in case of printing several images, make sure that they do not overlap. And as a recommendation, fix them to make sure they fit in the print then cut area. Learn more about printing then cut processes with Cricut HERE.
Printing the bookmark
To create the magnetic bookmarks with cricut we have to print the design! Click on make it, and send the design to the printer. For this project it’s not necesary to leave the bleed on, since the borders of the design are all white. Just select on, “use system dialog” to change the quality from standard to high in the printing preferences.
Once we have the printed images, stick the sheet on the magnet sheet. For this magnetic bookmark it is not necessary to use sheets of adhesive magnets, but if they are the only ones you have, it is possible to use them, just stick adhesive side to adhesive side.
Most of the time, the magentic sheets are a little smaller, so make sure to place the design parts on the magnet. Don’t worry if you have an excess of adhesive, just place the magnet sheet with the design on the strong grip mat. Send it to cut using the deep point blade.
As a recommendation, do some test cuts because the settings could be different, according to the printable material and magnet sheet.
Once the machine is done cutting, before unloading the mat, check to see if it cut all the way through. Peel a little off the sheet. Finally, fold the magnets to start using them! First match the bottoms and then fold the magnet piece in half. After that, it’s ready to use, and they won’t damage book pages.