-
×
 Toronto Maple Leafs Rhinestone SVG
1 × $5.99
Toronto Maple Leafs Rhinestone SVG
1 × $5.99 -
×
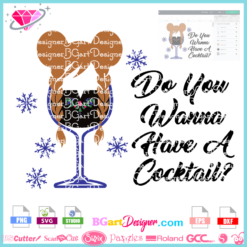
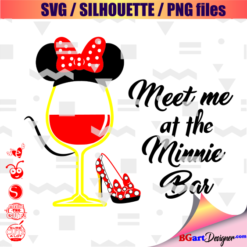 Minnie mouse wine glass svg
1 × $2.49
Minnie mouse wine glass svg
1 × $2.49 -
×
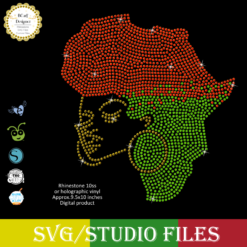 Jamaican woman SVG file
1 × $5.99
Jamaican woman SVG file
1 × $5.99 -
×
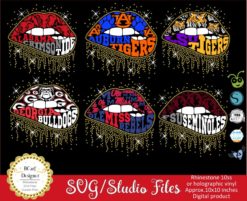 College Football NCAA
1 × $7.49
College Football NCAA
1 × $7.49 -
×
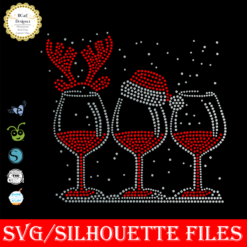
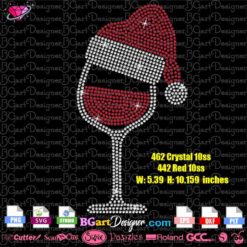 Christmas Wine glass svg
1 × $3.99
Christmas Wine glass svg
1 × $3.99 -
×
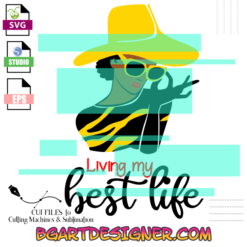 Living My Best life
1 × $2.99
Living My Best life
1 × $2.99 -
×
 Christmas wine glass svg
1 × $5.99
Christmas wine glass svg
1 × $5.99 -
×
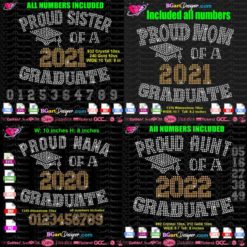 Bundle Proud Of A Graduate Rhinestone SVG
1 × $9.99
Bundle Proud Of A Graduate Rhinestone SVG
1 × $9.99 -
×
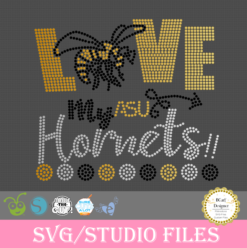 Love Asu hornets Rhinestone
1 × $5.99
Love Asu hornets Rhinestone
1 × $5.99 -
×
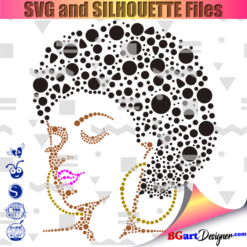
 Diva afro girl rhinestone svg
1 × $5.99
Diva afro girl rhinestone svg
1 × $5.99 -
×
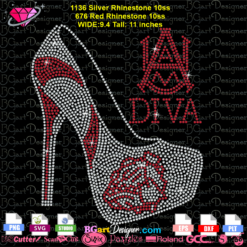 Alabama AAMU University Bulldogs heel rhinestone
1 × $5.99
Alabama AAMU University Bulldogs heel rhinestone
1 × $5.99 -
×
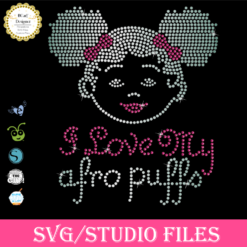 Afro Puffs Little Girl
1 × $5.99
Afro Puffs Little Girl
1 × $5.99 -
×
 Princess Disney wine glass
1 × $7.49
Princess Disney wine glass
1 × $7.49 -
×
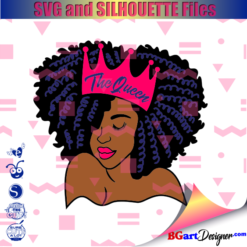 Black woman queen
1 × $2.99
Black woman queen
1 × $2.99 -
×
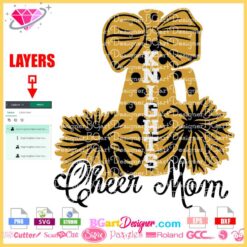 Knights Cheer Mom Megaphone Bow SVG
1 × $2.99
Knights Cheer Mom Megaphone Bow SVG
1 × $2.99 -
×
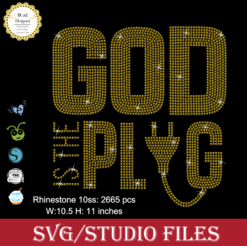 God is the Plug Rhinestone svg
1 × $5.99
God is the Plug Rhinestone svg
1 × $5.99 -
×
 Anna Princess wine glass SVG
1 × $2.45
Anna Princess wine glass SVG
1 × $2.45 -
×
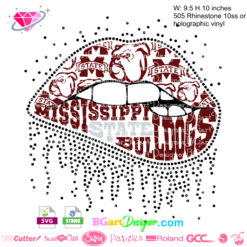 Dripping lips Mississippi Bulldogs
1 × $3.91
Dripping lips Mississippi Bulldogs
1 × $3.91 -
×
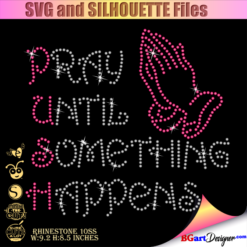 Pray until something happens
1 × $5.99
Pray until something happens
1 × $5.99 -
×
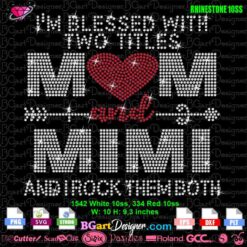 Blessed Two Titles Mom And Mimi Rhinestone SVG
1 × $5.99
Blessed Two Titles Mom And Mimi Rhinestone SVG
1 × $5.99 -
×
 Small Blue Star Dallas Cowboys Rhinestone SVG
1 × $4.99
Small Blue Star Dallas Cowboys Rhinestone SVG
1 × $4.99 -
×
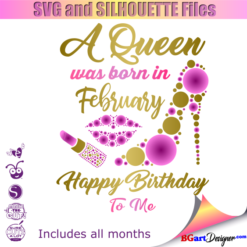
 Queens are born
1 × $3.49
Queens are born
1 × $3.49 -
×
 logo Alabama AAMU University Rhinestone
1 × $3.99
logo Alabama AAMU University Rhinestone
1 × $3.99 -
×
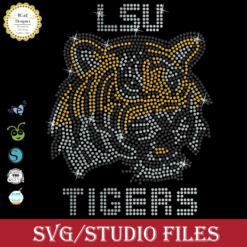 LSU tigers Rhinestone SVG
1 × $5.99
LSU tigers Rhinestone SVG
1 × $5.99 -
×
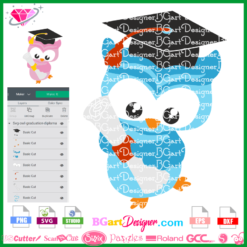 Owl Graduation Diploma SVG
1 × $2.99
Owl Graduation Diploma SVG
1 × $2.99 -
×
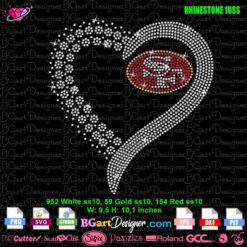 Heart San Francisco 49ers Rhinestone SVG
1 × $5.99
Heart San Francisco 49ers Rhinestone SVG
1 × $5.99 -
×
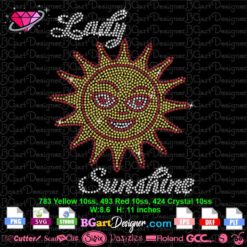 Lady Sunshine Sun Rhinestone SVG
1 × $5.99
Lady Sunshine Sun Rhinestone SVG
1 × $5.99 -
×
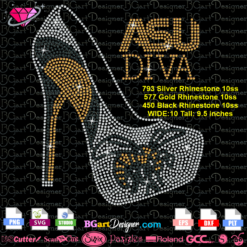 Alabama State university ASU Hornets Rhinestone
1 × $5.99
Alabama State university ASU Hornets Rhinestone
1 × $5.99 -
×
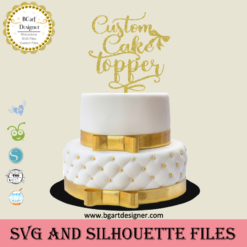 Custom cake topper
2 × $9.99
Custom cake topper
2 × $9.99 -
×
 Skyline New York Family Reunion Rhinestone SVG
1 × $5.99
Skyline New York Family Reunion Rhinestone SVG
1 × $5.99 -
×
 I Am A Teacher cute face SVG
1 × $2.99
I Am A Teacher cute face SVG
1 × $2.99 -
×
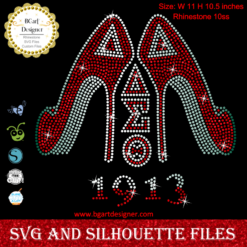 Delta sigma theta high heel
1 × $5.99
Delta sigma theta high heel
1 × $5.99 -
×
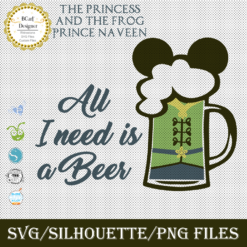 Prince Naveen beer mug
1 × $2.79
Prince Naveen beer mug
1 × $2.79 -
×
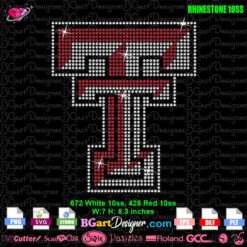 Texas Tech Red Raiders Rhinestone SVG
1 × $5.99
Texas Tech Red Raiders Rhinestone SVG
1 × $5.99 -
×
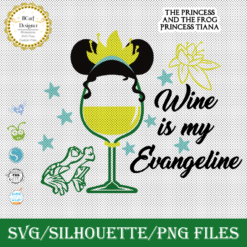 Princess Tiana wine glass
1 × $2.79
Princess Tiana wine glass
1 × $2.79 -
×
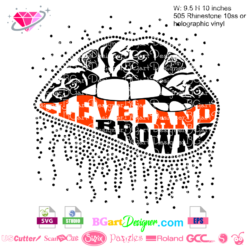 Dripping lips Cleveland Browns
1 × $3.91
Dripping lips Cleveland Browns
1 × $3.91 -
×
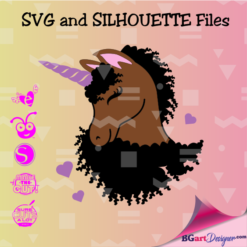 Unicorn natural hair
1 × $2.99
Unicorn natural hair
1 × $2.99 -
×
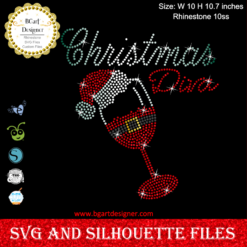 Christmas diva bling
1 × $5.99
Christmas diva bling
1 × $5.99 -
×
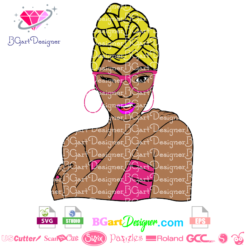 Black woman headwrap svg
1 × $3.49
Black woman headwrap svg
1 × $3.49 -
×
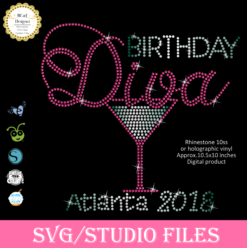 Birthday diva rhinestone
1 × $5.99
Birthday diva rhinestone
1 × $5.99 -
×
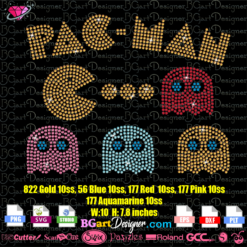 Pac Man Rhinestone Template SVG
1 × $5.99
Pac Man Rhinestone Template SVG
1 × $5.99 -
×
 Birthday Queen
1 × $2.49
Birthday Queen
1 × $2.49 -
×
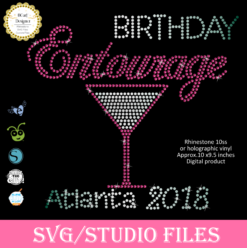 Birthday entourage girls
1 × $5.99
Birthday entourage girls
1 × $5.99 -
×
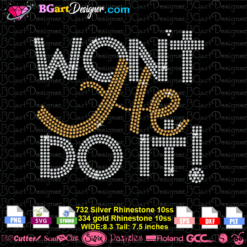 Won't he do it
1 × $5.99
Won't he do it
1 × $5.99 -
×
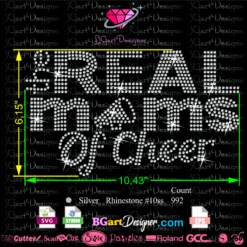 The Real Mom of cheer
1 × $5.99
The Real Mom of cheer
1 × $5.99 -
×
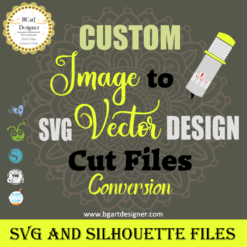 Regular Svg file convert
2 × $5.99
Regular Svg file convert
2 × $5.99 -
×
 Believe hairstylist salon quote
1 × $2.49
Believe hairstylist salon quote
1 × $2.49 -
×
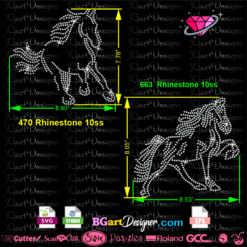 Horse Running Rhinestone outline
1 × $5.99
Horse Running Rhinestone outline
1 × $5.99 -
×
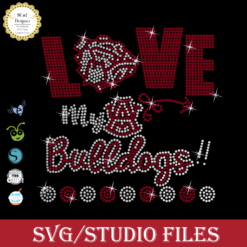 Love Alabama Bulldogs Rhinestone
1 × $5.99
Love Alabama Bulldogs Rhinestone
1 × $5.99 -
×
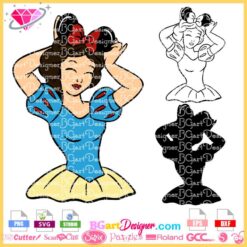 Snow White Princess Mickey Ears Minnie Bow SVG
1 × $0.99
Snow White Princess Mickey Ears Minnie Bow SVG
1 × $0.99 -
×
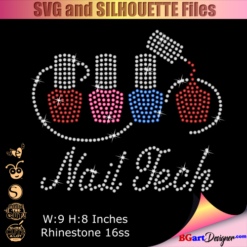 Nail Tech Rhinestone Design
1 × $5.99
Nail Tech Rhinestone Design
1 × $5.99 -
×
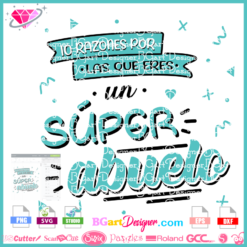 Download Super Abuelo SVG
1 × $2.99
Download Super Abuelo SVG
1 × $2.99 -
×
 Beauty afro black girl
1 × $2.99
Beauty afro black girl
1 × $2.99 -
×
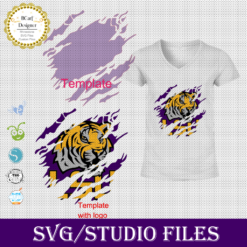 Template for use slice in design space app
1 × $3.91
Template for use slice in design space app
1 × $3.91 -
×
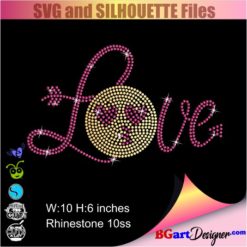 Love rhinestone emoji
1 × $3.99
Love rhinestone emoji
1 × $3.99 -
×
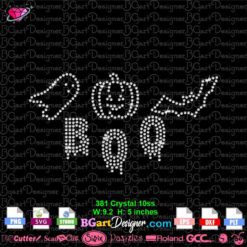 Ghost Pumpkin Bat Rhinestone SVG
1 × $3.99
Ghost Pumpkin Bat Rhinestone SVG
1 × $3.99 -
×
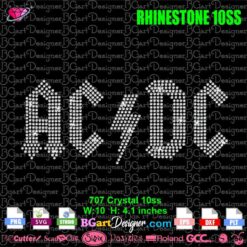 ACDC Logo Rhinestone SVG
1 × $5.99
ACDC Logo Rhinestone SVG
1 × $5.99 -
×
 Blessed and unstoppable svg
1 × $2.49
Blessed and unstoppable svg
1 × $2.49 -
×
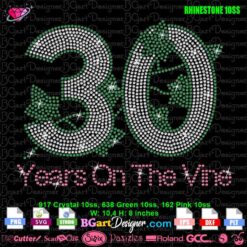 30 Years On The Vine Ivy Leaf Rhinestone SVG
1 × $5.99
30 Years On The Vine Ivy Leaf Rhinestone SVG
1 × $5.99 -
×
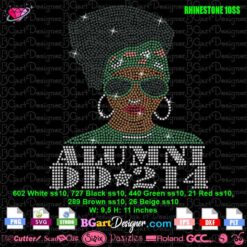 Download Alumni DD-214 Rhinestone SVG
1 × $5.99
Download Alumni DD-214 Rhinestone SVG
1 × $5.99 -
×
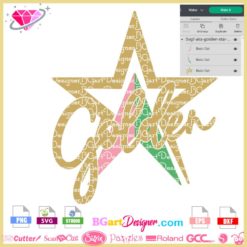 Golden Star AKA SVG
1 × $2.99
Golden Star AKA SVG
1 × $2.99 -
×
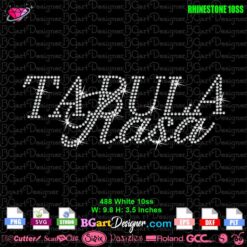 Tabula Rasa Rhinestone SVG
1 × $4.99
Tabula Rasa Rhinestone SVG
1 × $4.99 -
×
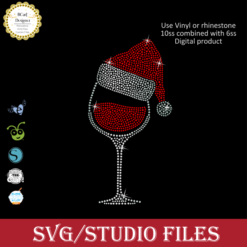 Santa Hat Wine glass svg
1 × $5.99
Santa Hat Wine glass svg
1 × $5.99 -
×
 I love my HBCU
1 × $5.99
I love my HBCU
1 × $5.99 -
×
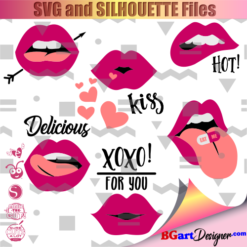 Lips svg bundle
1 × $1.99
Lips svg bundle
1 × $1.99 -
×
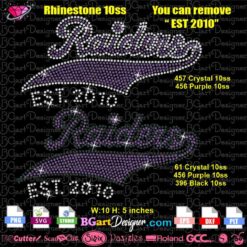 Raiders Script Logo Rhinestone SVG
1 × $5.99
Raiders Script Logo Rhinestone SVG
1 × $5.99 -
×
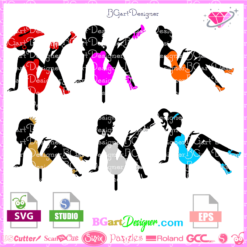 Sitting girl cake topper download
1 × $7.49
Sitting girl cake topper download
1 × $7.49 -
×
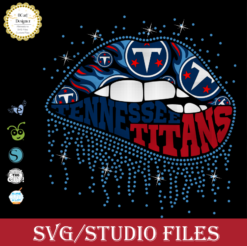 Tennessee titans lips svg
1 × $3.91
Tennessee titans lips svg
1 × $3.91 -
×
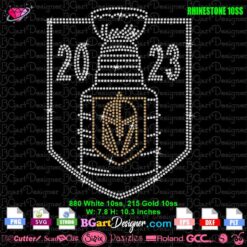 2023 Vegas Golden Knights VGK Rhinestone SVG
1 × $4.99
2023 Vegas Golden Knights VGK Rhinestone SVG
1 × $4.99 -
×
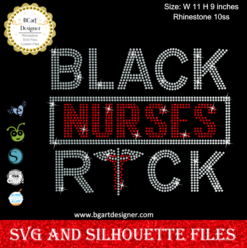 Black Nurses Rock
1 × $5.99
Black Nurses Rock
1 × $5.99 -
×
 Chiefs rhinestone download
1 × $2.49
Chiefs rhinestone download
1 × $2.49 -
×
 High heel USA flag Rhinestone
1 × $5.99
High heel USA flag Rhinestone
1 × $5.99 -
×
 Love valentines day svg
1 × $1.49
Love valentines day svg
1 × $1.49 -
×
 Dallas Cowboys Football Rhinestone SVG
1 × $5.99
Dallas Cowboys Football Rhinestone SVG
1 × $5.99 -
×
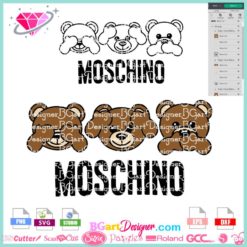 Moschino Bear Funny Face SVG
1 × $2.99
Moschino Bear Funny Face SVG
1 × $2.99 -
×
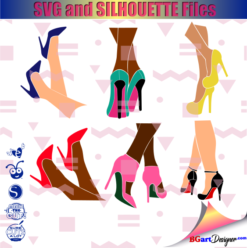 Legs in sexy high heels shoes
1 × $2.49
Legs in sexy high heels shoes
1 × $2.49
Cutting and Crafting
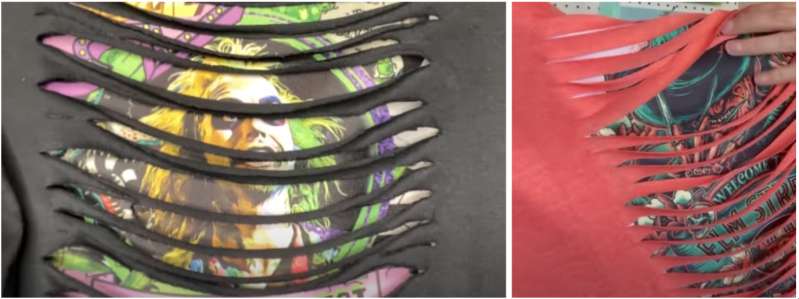
Peek a Boo sublimation shirt tutorial
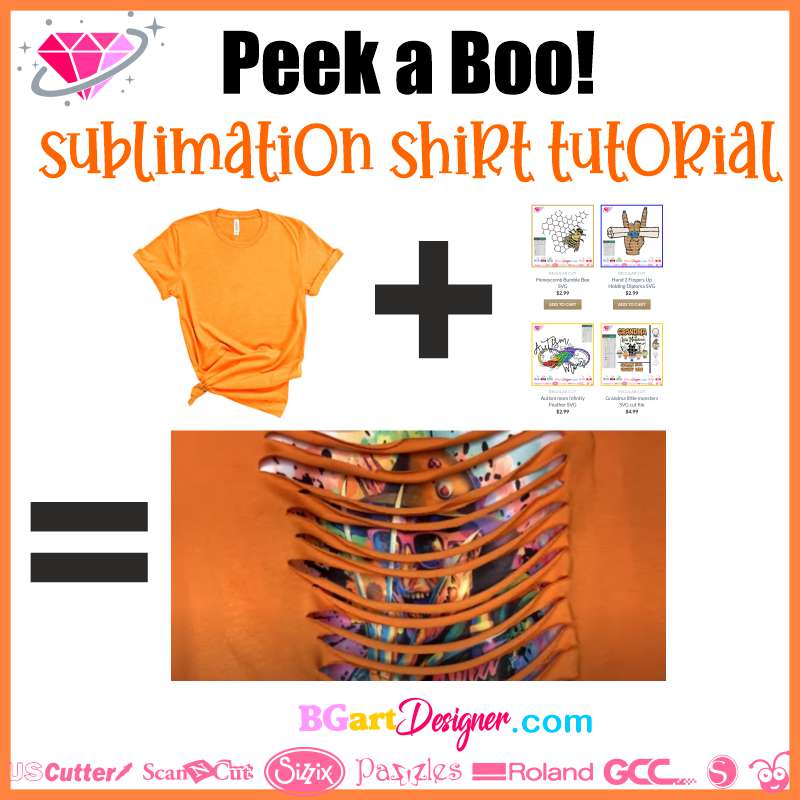
Innovative Peek a Boo sublimation shirt tutorial, awesome for this Halloween! or to impress someone with a very unique shirt design.
A few things needed to do this project
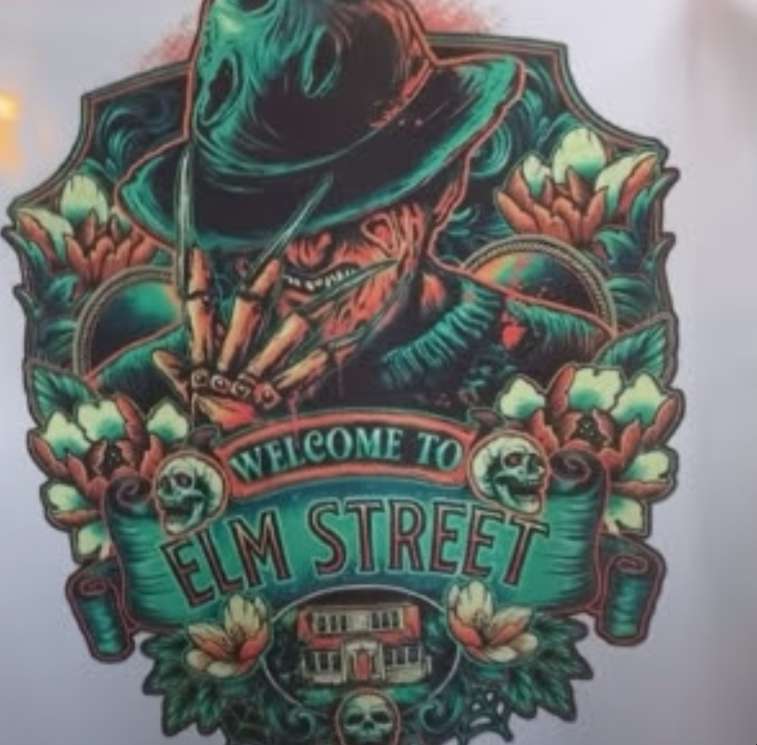
- Some image design to sublimate (could be a Halloween one)
- A 100% polyester piece of fabric (the high amount of polyester the better, the highest, and vibrant)
- A T-shirt
- A cutting board (some cardboard will work instead)
- A rotary cutter
First steps of the PEEKABOO process
Take the piece of polyester fabric previously cut out by the size of your preference, and run a lint roller over it, especially if it’s a lighter fabric. Before sublimating the image on it, pre-press the fabric for about 10 seconds to remove excess moisture. This will allow the ink to adhere perfectly to the fabric fibers.
- When pre-pressing the fabric make sure you have a piece of butcher paper or Teflon sheet on the top of the fabric and underneath, that’s super necessary to not harm the press!
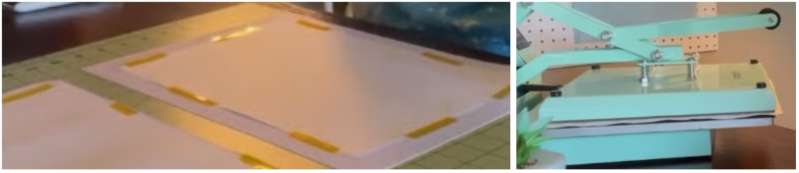
- Now, go ahead and press the selected image in there. Place the image face down on the fabric and put some heat-resistant tape on it to make sure it doesn’t move, and to avoid any ghosting. Remember that the press should have about 400 degrees to sublimate, and the fabric must be pressed for about 60 seconds.
- As a reminder don’t ever reuse the butcher paper, because the image will show up on your next sublimation!
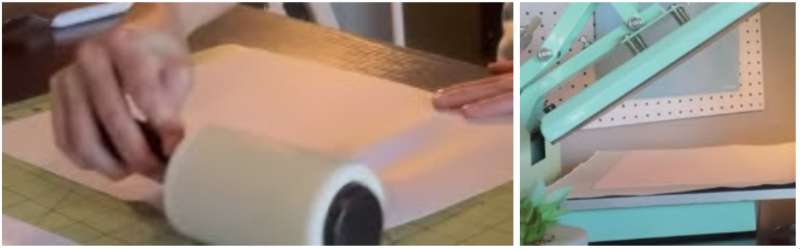
Cutting Peek a Boo T-Shirt
For this project, it’s needed to cut the T-shirts. Use a cutting board and a Fiskar rotary cutter to make the process easiest. If you don’t have any, some cardboard will work but the only problem with it is you use it once; because in contrast to the cutting board, you can’t reuse it.

Drape the cutting board through the shirt, so it gets in the middle-inside of it. It’s important to cut only what is necessary because the image needs space to glue.
To make sure the cuts are exactly where it was intended to be, take a piece of paper with the size of the design; and place it on the T-shirt. Put it four lengths down of the collar, and check the paper has the same space on each side, tape it down so it doesn’t shift.
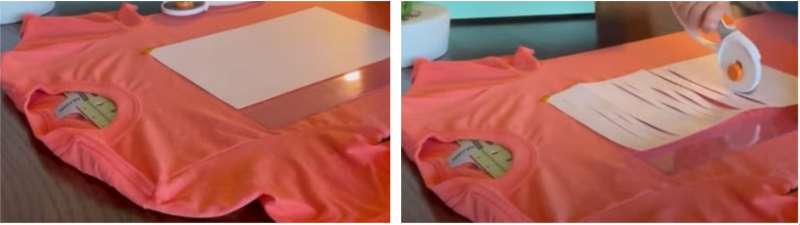
- The cuts don’t have to be perfect because this is supposed to be a scary Halloween ripped shirt.
Get a ruler to have an idea of how many inches to cut and make the lines, doing it every half will be cool! The idea of using a piece of paper is to don’t go too far on the borders.
Hooking the T-Shirt and the design together
The T-shirt has been cut, and the piece of polyester has been sublimated on, so now it’s time to hook them together!
Get the shirt and turn it inside out; Then put it face up. So that the slip marks can be seen, put some butcher paper in between the T-shirt and place it in the press. Put some sheets of iron-on adhesive on each side; Making the square all the way around. Check that none of them overlap!. You can cut a little bit if it happens.
Will be noticed that this tape has a smooth surface and a rough surface, the rough surface has to be facedown! then get the butcher paper, and cover the top, press it for about 5 seconds in a lower degree.

- For his case is not needed the piece of butcher paper underneath in the press. The press doesn’t have to be at 400 degrees; the instructions to use the iron-on adhesive is just to use a medium iron.
Peel off the top part of the tape, and there will be shiny glue underneath. Now lay the image and validate it is right side up, and that the white border is not showing, put some heat tape to make sure it stays right where it’s at.
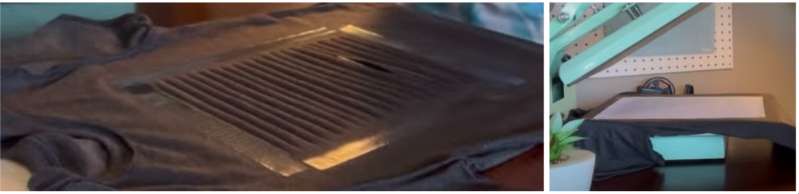
- The butcher paper is still in between the T-shirt; To prevent the image from re-sublimating on the back of the T-shirt through the holes. Keep in mind that this part is only for the glue because the sublimation part is done.
Finally; Place some butcher paper on the top of the T-shirt and press again for about 10 seconds. Don’t try to peel the fabric off to see if it worked; Wait until it cooled down a little bit. If you have any fabric excess you can cut them off.
Remember part of the artwork is you deciding where you want it to go!. The main objective is that this Peek a Boo sublimation shirt tutorial; Will serve as an inspiration for future projects!. If it works for you, share your comments below.