-
×
 Custom cake topper
1 × $9.99
Custom cake topper
1 × $9.99 -
×
 Proud Member Bad Moms Club Rhinestone SVG
1 × $5.99
Proud Member Bad Moms Club Rhinestone SVG
1 × $5.99 -
×
 Love valentines day svg
1 × $1.49
Love valentines day svg
1 × $1.49 -
×
 God is the Plug Rhinestone svg
1 × $5.99
God is the Plug Rhinestone svg
1 × $5.99 -
×
 Black Nurses Rock
1 × $5.99
Black Nurses Rock
1 × $5.99
Cutting and Crafting
Bleaching and sublimating a T-shirt from start to finish

Bleaching and sublimating a t-shirt from start to finish!, detailed steps of the process which will bring amazing results.
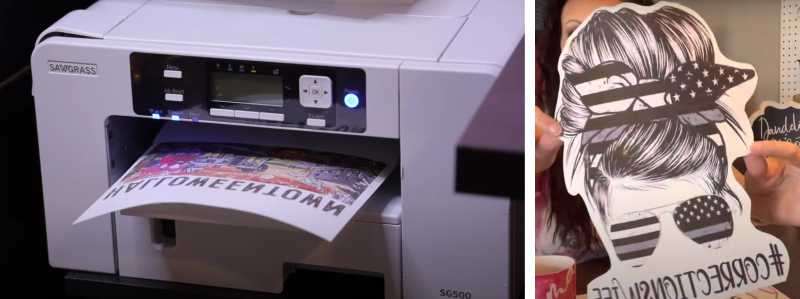
The beginning of the process
First of all, choose a design, HERE! print it out, then with a scissors cut all around it as close as possible; To be exact about 1/4 inch, after grab a T-shirt and follow the process shown below!
Before you get into bleaching and sublimating a t-shirt from start to finish, here’s a quick tip!. To make sure that the design to be sublimated is perfectly aligned, fold the T-shirt vertically in half and run any heat source you have over it; do the same by folding the T-shirt horizontally down the sleeves, this will give a guide!
Bleaching process from start to finish
The following bleaching process is used to sublimate an image on the T-shirt as well, just need to bleach exactly the silhouette of the desired image to be able to sublimate it then.
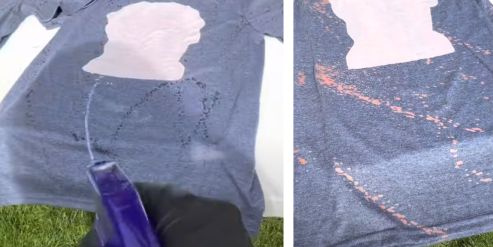
First, be sure to place something in the middle of the T-shirt so that it protects the back of the t-shirt. Otherwise, you’re going to have a big bleach stain on the back and it doesn’t look good, place a piece of cardboard.
Now then place the printed image face down on the T-shirt and start tracing with the bleach around the image; Do this about a quarter of an inch away from your sublimation paper.
- It’s very important not to touch the sublimation paper with the bleach, otherwise, the image could be damaged.
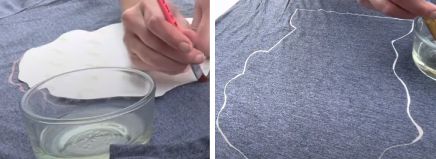
It is recommended to use a brush with stiff bristles, to dip into the bleach and then trace around the image; Because this way the bristles will not push too much and spread out, accidentally touching the sublimation paper with the bleach.
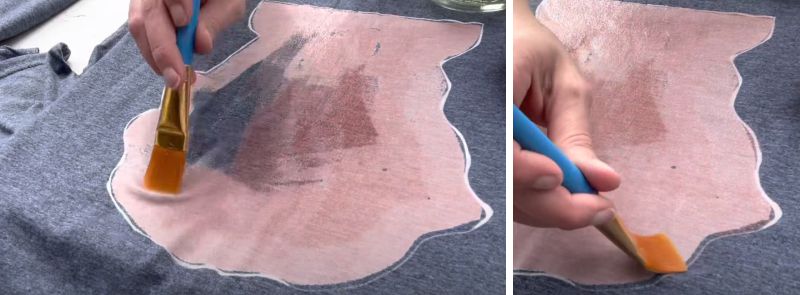
Next, save the print design and fill in the inside of the stroke; don’t go along the line, because it could bleed through, ruining the crisp line. First, go around the image very close to the line; then at the end go back and touch it up.
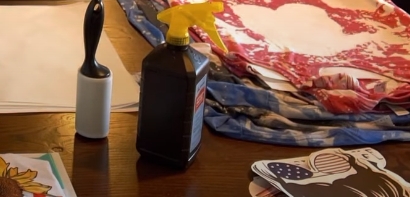
Now is time to spray the shirt for bleaching
Then take a typical spray bottle; Is important to use gloves to protect the hands, and start spraying the T-shirt all, over the front and back also; right away so that both sides are processed equally at the same time. This procedure is also done with the piece of cardboard between the T-shirts.
In this step of the process, make sure you are wearing gloves, to make the marbling effect; put out the cardboard that is in the middle of the T-shirt, and then crumple it up. Ensure that the white center where the image is going to go is not visible in this part, so it doesn’t look like it has blended in with the marble sections.
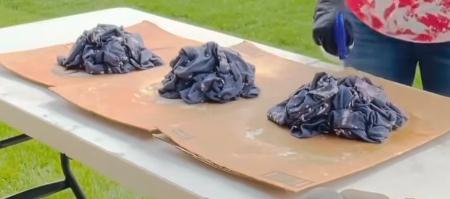
Now that the T-shirt is all crumpled up; Put the sprayer in the mist mode and lightly spray the surface of the shirt; keep in mind that it doesn’t need to be very wet. Then immediately flip the T-shirt to the other side and scrunch it back up, and spray that side just like the front.
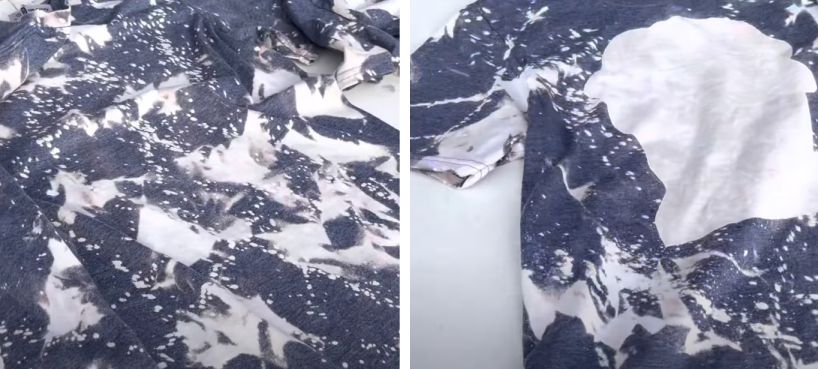
Finally crumple the T-shirt; And alternate the front and back, using the sun and getting the bleach to the color wanted. Wash and dry the shirt, but don’t use hard detergents, and either use heat in the dryer.
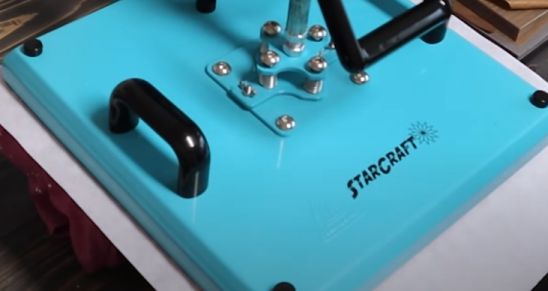
Sublimating shirt process from start to finish
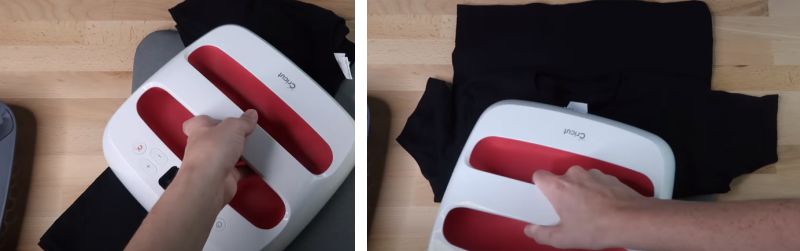
Before pressing the T-shirt it’s very important to put some butcher paper or teflon sheet between it, and leave it during the whole sublimation process; you can buy them on amazon. And then run the lint roller over it as well.
After that, take another piece of butcher paper or teflon sheet and put it over the T-shirt; this is to protect the t-shirt from getting scorched because of the heat and press it for about five seconds.
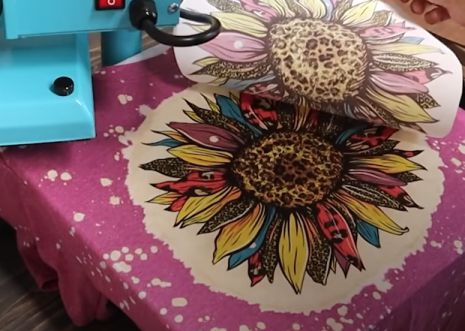
Now take the image and place it face down on the T-shirt; that’s why the bleaching part was so important because if you did it right the image will be in the center of the T-shirt.
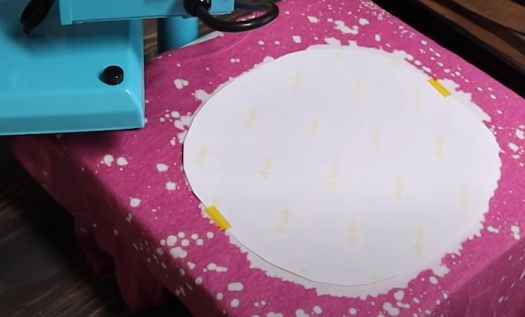
Adhere the image with heat-resistant tape, place another piece of butcher paper on top, and press for 60 seconds at 385 degrees. It’s going to be hot so be careful.
Remove the image as quickly as possible; To avoid any ghosting; then spray the image with some hydrogen peroxide and use your heat press without touching the image to help dry it.
It’s essential to use each piece of butcher paper only once; If you try to use it on the next T-shirt; The image from the previous shirt will appear on the next T-shirt and damage it.
- Here’s a tip when dealing with a lot of T-shirts at once!. Stack all the T-shirts in a pile making sure the butcher paper is already in the middle of each T-shirt; then stack the image print corresponding to each T-shirt on top as well, and put them in the same order.
As you’re going through the T-shirts. You can pick up the T-shirt you are working on and the image will match; This way you have a great assembly line of T-shirts to work on quickly.
That’s it! Super easy process of bleaching and sublimating a T-shirt from start to finish, isn’t it?, share your opinion below in the comments!