-
×
 Birthday entourage girls
1 × $5.99
Birthday entourage girls
1 × $5.99 -
×
 Birthday diva rhinestone
1 × $5.99
Birthday diva rhinestone
1 × $5.99 -
×
 Beauty afro black girl
1 × $2.99
Beauty afro black girl
1 × $2.99 -
×
 Hair salon font
1 × $5.99
Hair salon font
1 × $5.99 -
×
 Won't he do it
1 × $5.99
Won't he do it
1 × $5.99 -
×
 Love rhinestone emoji
1 × $3.99
Love rhinestone emoji
1 × $3.99 -
×
 Queens are born
1 × $3.49
Queens are born
1 × $3.49 -
×
 Cheer mom bow lips
1 × $3.91
Cheer mom bow lips
1 × $3.91 -
×
 Custom cake topper
2 × $9.99
Custom cake topper
2 × $9.99 -
×
 Future Mrs Rhinestone Template SVG
1 × $5.99
Future Mrs Rhinestone Template SVG
1 × $5.99 -
×
 Olaf Frozen svg and printable
1 × $2.45
Olaf Frozen svg and printable
1 × $2.45 -
×
 Love valentines day svg
1 × $1.49
Love valentines day svg
1 × $1.49 -
×
 Anna Princess wine glass SVG
1 × $2.45
Anna Princess wine glass SVG
1 × $2.45 -
×
 Princess Tiana wine glass
1 × $2.79
Princess Tiana wine glass
1 × $2.79 -
×
 Merry christmas wine glass
1 × $5.99
Merry christmas wine glass
1 × $5.99 -
×
 Diva afro girl rhinestone svg
1 × $5.99
Diva afro girl rhinestone svg
1 × $5.99 -
×
 Sitting girl cake topper download
1 × $7.49
Sitting girl cake topper download
1 × $7.49 -
×
 Black woman sisterhood sorority
1 × $5.99
Black woman sisterhood sorority
1 × $5.99 -
×
 Rhinestone font template bgartbasic3
1 × $9.99
Rhinestone font template bgartbasic3
1 × $9.99 -
×
 Diva Born Purse LV Rhinestone SVG
1 × $7.99
Diva Born Purse LV Rhinestone SVG
1 × $7.99 -
×
 It's Fall Time Pumpkin Rhinestone Template
1 × $5.99
It's Fall Time Pumpkin Rhinestone Template
1 × $5.99 -
×
 Dripping lips Cincinnati Bengals
1 × $3.91
Dripping lips Cincinnati Bengals
1 × $3.91 -
×
 Afro Puffs Little Girl
1 × $5.99
Afro Puffs Little Girl
1 × $5.99 -
×
 logo Alabama AAMU University Rhinestone
1 × $3.99
logo Alabama AAMU University Rhinestone
1 × $3.99 -
×
 God is the Plug Rhinestone svg
1 × $5.99
God is the Plug Rhinestone svg
1 × $5.99 -
×
 Birthday Queen On Purse butterfly Rhinestone
1 × $9.99
Birthday Queen On Purse butterfly Rhinestone
1 × $9.99 -
×
 Believe hairstylist salon quote
1 × $2.49
Believe hairstylist salon quote
1 × $2.49 -
×
 DAD svg, my favorite people
1 × $1.49
DAD svg, my favorite people
1 × $1.49 -
×
 Delta Sigma Theta Sorority Mask rhinestone
1 × $5.99
Delta Sigma Theta Sorority Mask rhinestone
1 × $5.99 -
×
 Lips NFL teams bundle
1 × $7.49
Lips NFL teams bundle
1 × $7.49 -
×
 Princess Disney wine glass
1 × $7.49
Princess Disney wine glass
1 × $7.49 -
×
 Waterslide Fruits Pen Wraps PNG
1 × $1.99
Waterslide Fruits Pen Wraps PNG
1 × $1.99 -
×
 Alabama State university ASU Hornets Rhinestone
1 × $5.99
Alabama State university ASU Hornets Rhinestone
1 × $5.99 -
×
 Birthday girl slay svg
1 × $3.49
Birthday girl slay svg
1 × $3.49 -
×
 Santa Hat Wine glass svg
1 × $5.99
Santa Hat Wine glass svg
1 × $5.99 -
×
 Sorority shoes bundle
1 × $5.99
Sorority shoes bundle
1 × $5.99 -
×
 Love Alabama Bulldogs Rhinestone
1 × $5.99
Love Alabama Bulldogs Rhinestone
1 × $5.99 -
×
 Christmas Wine glass svg
1 × $3.99
Christmas Wine glass svg
1 × $3.99 -
×
 Living My Best life
1 × $2.99
Living My Best life
1 × $2.99 -
×
 Prince Naveen beer mug
1 × $2.79
Prince Naveen beer mug
1 × $2.79 -
×
 Standing on his promises heel Rhinestone file
1 × $5.99
Standing on his promises heel Rhinestone file
1 × $5.99 -
×
 Bride Ring Sister bundle Rhinestone SVG
1 × $9.99
Bride Ring Sister bundle Rhinestone SVG
1 × $9.99 -
×
 Dripping lips Kansas chiefs
1 × $3.91
Dripping lips Kansas chiefs
1 × $3.91 -
×
 Try Jesus Cuttable Rhinestone SVG
1 × $6.99
Try Jesus Cuttable Rhinestone SVG
1 × $6.99 -
×
 Unicorn natural hair
1 × $2.99
Unicorn natural hair
1 × $2.99 -
×
 Athletic Fonts Rhinestone
1 × $6.99
Athletic Fonts Rhinestone
1 × $6.99 -
×
 Saints Girl Heels
1 × $3.99
Saints Girl Heels
1 × $3.99 -
×
 Delta sigma theta high heel
1 × $5.99
Delta sigma theta high heel
1 × $5.99 -
×
 Lips svg bundle
1 × $1.99
Lips svg bundle
1 × $1.99 -
×
 Black Nurses Rock
1 × $5.99
Black Nurses Rock
1 × $5.99 -
×
 Christmas diva bling
1 × $5.99
Christmas diva bling
1 × $5.99 -
×
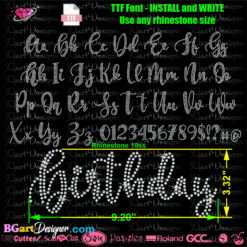 Rhinestone font template bgarscript
1 × $9.99
Rhinestone font template bgarscript
1 × $9.99 -
×
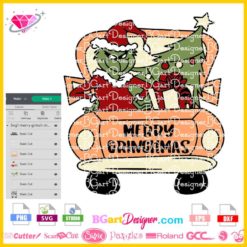 Merry Grinchmas Truck SVG
1 × $2.99
Merry Grinchmas Truck SVG
1 × $2.99 -
×
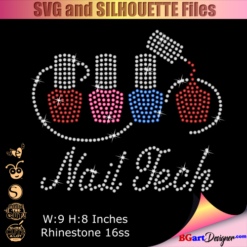 Nail Tech Rhinestone Design
1 × $5.99
Nail Tech Rhinestone Design
1 × $5.99 -
×
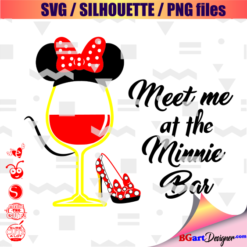 Minnie mouse wine glass svg
1 × $2.49
Minnie mouse wine glass svg
1 × $2.49 -
×
 Dripping lips Cleveland Browns
1 × $3.91
Dripping lips Cleveland Browns
1 × $3.91 -
×
 St Patrick's Day Rhinestone Love Clover svg
1 × $5.99
St Patrick's Day Rhinestone Love Clover svg
1 × $5.99 -
×
 Love Asu hornets Rhinestone
1 × $5.99
Love Asu hornets Rhinestone
1 × $5.99 -
×
 Dripping lips Tuskegee svg
1 × $3.91
Dripping lips Tuskegee svg
1 × $3.91 -
×
 Jamaican woman SVG file
1 × $5.99
Jamaican woman SVG file
1 × $5.99 -
×
 Auburn Rhinestone High Heel
1 × $5.99
Auburn Rhinestone High Heel
1 × $5.99 -
×
 Pray until something happens
1 × $5.99
Pray until something happens
1 × $5.99
Cutting and Crafting
How to make a Tumbler Template on procreate
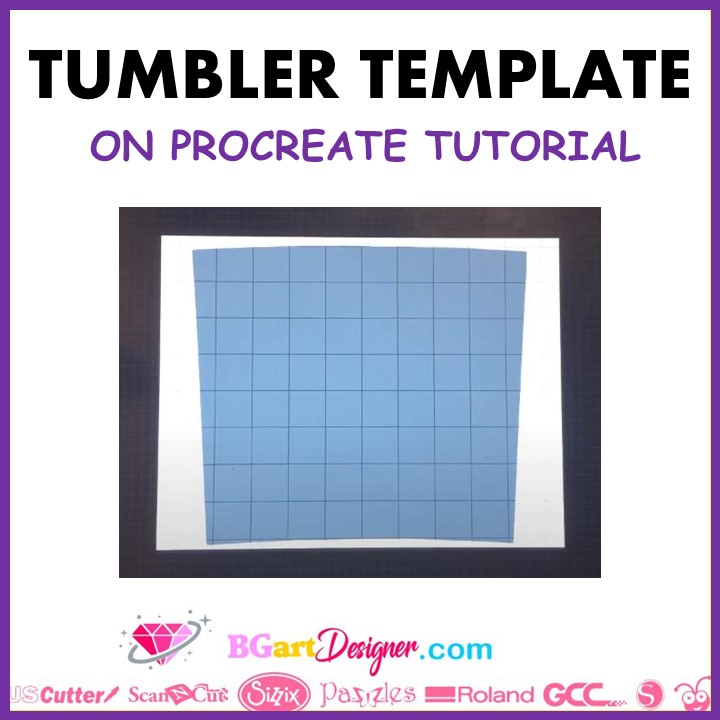
Make a tumbler template on procreate! Customize tumblers in a easy but beautiful way!
These tips and tricks can also be used to customize Starbucks cups, just know the size of the decals and repeat the steps in this post! Get the starbucks cup decal size guide HERE!
Template for a straight Tumbler
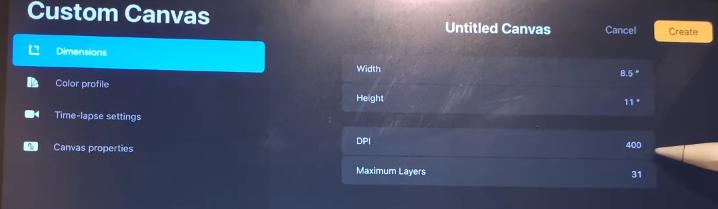
So first click on the plus button, and click on the plus below that, set the units to inches; and set the measurement to 8.5 and 11. Set the DPI to 400, this is pixels per inch. Then lay it horizontally to make the tumbler stencil.
Now select the color tool at the top and make sure you are on a layer, fill the layer with that color. Then click on the “click icon”, this is to change the square to the size of the cup template. For a 20 oz straight tumbler the dimensions are 9.3 by 8.2 inches, or 3720 x 3280 pixels (400 DPI). For a 12 oz sippy tumbler the dimensions are 8.9 x 4.6 inches or 3560 x 1840 pixels (400 DPI).
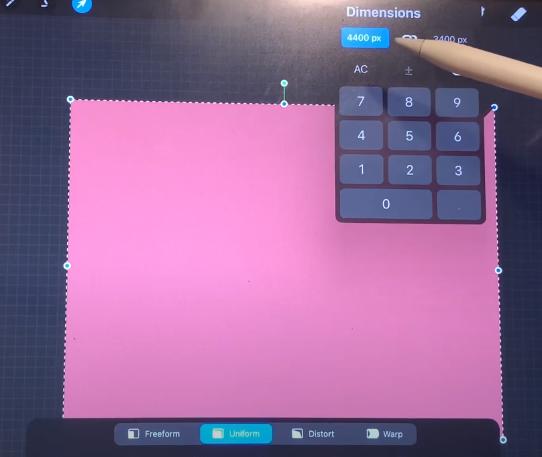
To type a different number on each side of the dimensions make sure the string icon is not blue, if it is, click on it and you can put different numbers to size the template
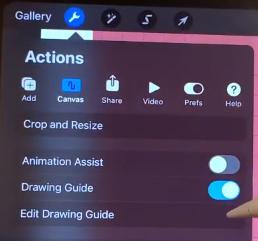
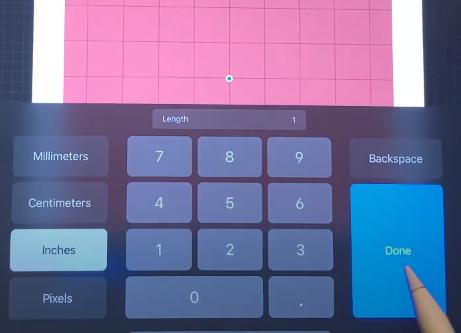
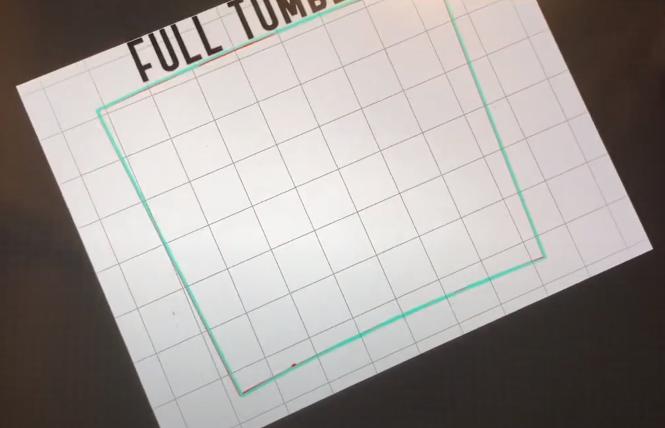
Set the dimensions of the tumbler. Now click on the adjustable wrench icon, go to the canvas, and set the drawing guide, to get all the squares just like in the design space. Go to the drawing guide settings; change the grid dimensions, change it to inches and make it one inch. This will help you determine the size of the stencils, this method applies to making many types of stencils.
Now align the template design to the grid, now add a layer, and click again on the adjustable wrench icon, click add, and insert the image, or design. Align the design on the template; then click on the layers icon and click on the layer where the design is, finally click on the “clipping mask” option, this is to put the image over the template.
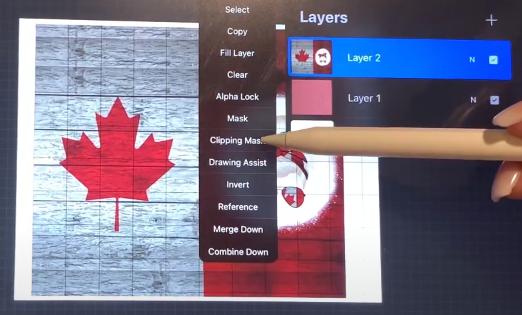
This way it will cut perfectly in the dimension of the tumbler.
Save the template file as a png, so you can use this in the future; and not have to make a template each time.
For a tapered Tumbler
Now to make a template for a tapered tumbler, go to google and pull up an image of a tapered tumbler template, add the image to the photos, and insert that photo into the procreate canvas. Make it as big as possible; right now the size of it doesn’t matter. Then add another layer and select a bright color to trace.
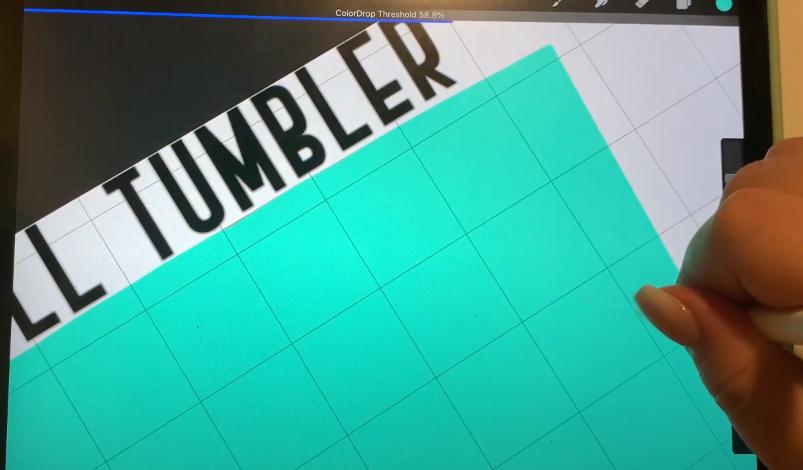
When drawing a line, hold it a little and it will become a straight line. Draw the whole stencil as close as possible. And then fill it with the color; so that it fills in completely and avoids the threshold. Put the color and drag the pencil over it, move the pencil to the right without lifting it from the screen, and at the top, you will see a line increasing. This will change the threshold.
Now lower the opacity of the color layer; to see the lines underneath, to make sure it’s well-drawn. Erase everything that’s gone over and make sure the stencils look good; covering all the lines well. When everything is fine, erase the image layer.
And finally resize the tracing, to make the template. Select the layer, click on the click icon, and click on one of those little dots to bring up the dimension adjustment box. The dimensions are 9.3 by 8.2 inches, or 3720 by 3280 pixels (400 DPI). Repeat the process of adding an image and that is it!
It’s super awesome isn’t it, with this it’s possible to make designs with a template so easily in procreate and send it to print or cut afterwards!