-
×
 Merry Grinchmas Truck SVG
1 × $2.99
Merry Grinchmas Truck SVG
1 × $2.99 -
×
 Cheer mom bow lips
1 × $3.91
Cheer mom bow lips
1 × $3.91 -
×
 Sitting girl cake topper download
1 × $7.49
Sitting girl cake topper download
1 × $7.49 -
×
 Custom cake topper
1 × $9.99
Custom cake topper
1 × $9.99 -
×
 Legs in sexy high heels shoes
1 × $2.49
Legs in sexy high heels shoes
1 × $2.49 -
×
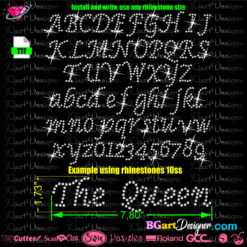 Rhinestone font template bgartbasic3
1 × $9.99
Rhinestone font template bgartbasic3
1 × $9.99 -
×
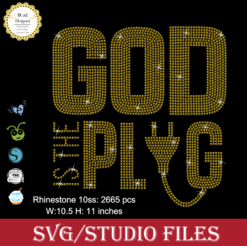 God is the Plug Rhinestone svg
1 × $5.99
God is the Plug Rhinestone svg
1 × $5.99 -
×
 I love my HBCU
1 × $5.99
I love my HBCU
1 × $5.99 -
×
 Alabama AAMU University Bulldogs heel rhinestone
1 × $5.99
Alabama AAMU University Bulldogs heel rhinestone
1 × $5.99 -
×
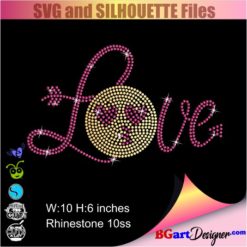 Love rhinestone emoji
1 × $3.99
Love rhinestone emoji
1 × $3.99 -
×
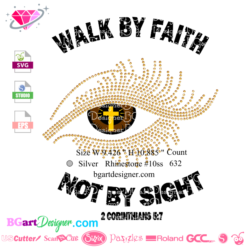 Walk by faith svg
1 × $3.49
Walk by faith svg
1 × $3.49 -
×
 Dripping lips JSU tigers
1 × $3.91
Dripping lips JSU tigers
1 × $3.91 -
×
 Mermaid Encouraging Natural Hair
1 × $3.99
Mermaid Encouraging Natural Hair
1 × $3.99 -
×
 Queens are born
1 × $3.49
Queens are born
1 × $3.49 -
×
 Sorority shoes bundle
1 × $5.99
Sorority shoes bundle
1 × $5.99 -
×
 Birthday entourage girls
1 × $5.99
Birthday entourage girls
1 × $5.99 -
×
 Christmas wine glass svg
1 × $5.99
Christmas wine glass svg
1 × $5.99 -
×
 Diva afro girl rhinestone svg
1 × $5.99
Diva afro girl rhinestone svg
1 × $5.99 -
×
 Nail Tech Rhinestone Design
1 × $5.99
Nail Tech Rhinestone Design
1 × $5.99 -
×
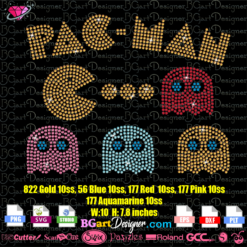 Pac Man Rhinestone Template SVG
1 × $5.99
Pac Man Rhinestone Template SVG
1 × $5.99 -
×
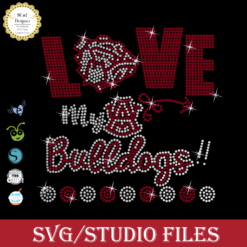 Love Alabama Bulldogs Rhinestone
1 × $5.99
Love Alabama Bulldogs Rhinestone
1 × $5.99 -
×
 Regular Svg file convert
1 × $5.99
Regular Svg file convert
1 × $5.99 -
×
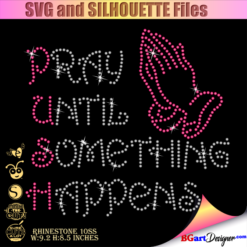 Pray until something happens
1 × $5.99
Pray until something happens
1 × $5.99 -
×
 Afro flag rhinestone
1 × $5.99
Afro flag rhinestone
1 × $5.99
Cutting and Crafting
Making a Coordinates Sign for a wedding gift
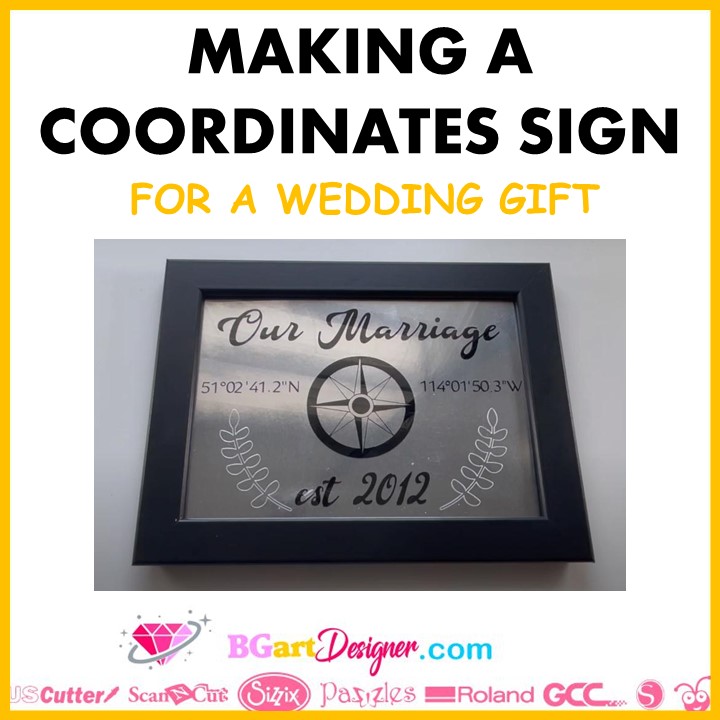
A tutorial of a coordinates sign for a wedding gift! Useful also for baby showers, for your first house, or other projects! Can be made in wood, engraved, or made in vinyl to put in a frame!
This tutorial is in Cricut design space, but feel free to use the design program of choice. Also for more tutorials and to get the design click HERE.
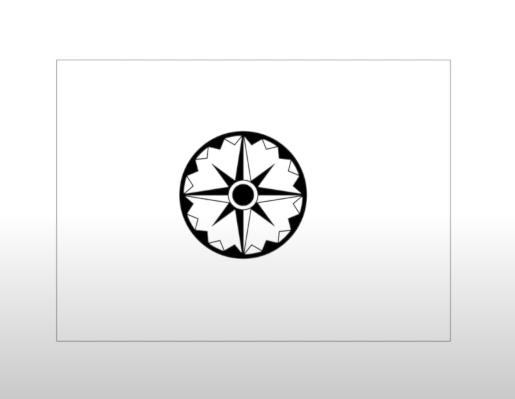
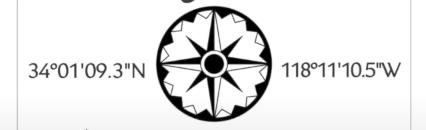
The first thing to do is to insert a template, a rectangle with the exact size of the blank you are going to put the design. Then look in the images of the Cricut for a compass, choose a single-layer design, and insert it in the Cricut design space.
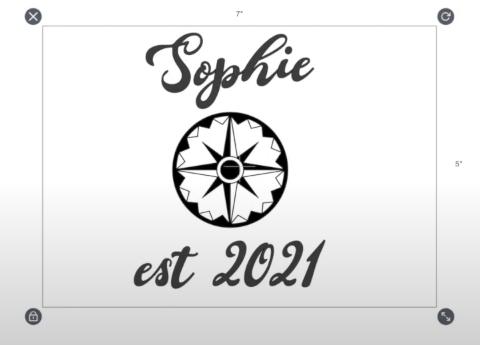
Now it is time for the text, insert one with the font of choice. The text can be a phrase, a name in case it is for a baby shower, or whatever you want depending on the situation.
After that insert another text with the same font that says “est”, which is the diminutive of “established” and next to it write the date. Size all the elements in the created template. Align them to the center horizontally; in the alignment settings at the top.
Now is the time to get the coordinates, it can be the place for example where the baby was born, or the place where someone got married; remember it depends on the situation.
Getting the coordenates for the wedding sign gift
Enter google maps on a computer, and look for the place, when you get to the point, click on the map once and at the bottom you will see that a small window appears. Click on the numbers at the bottom of the window; and on the left, you will get all the coordinates. Copy it and go back to the design space, open a text box and paste it.
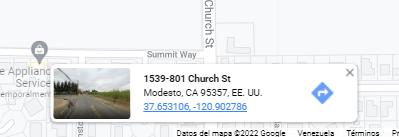
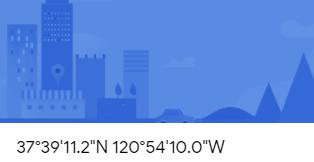
Size it and make sure the font has all the characters If a blank box appears; you should try a simple font. Look in the Cricut fonts. Now separate the coordinates to put on each side. Duplicate the coordinates text box and in each one delete a part.

Note that the west coordinate is longer than the north coordinate; it has one more digit, so it won’t be perfectly in the center. But you can close each character by changing the text spacing settings so that both are the same size.
Add an extra image, to detail the coordinates sign. This extra image can be engraved, or it can also be cut out of vinyl, card stock, glossy paper, or anything else. Search in the Cricut images for a design that matches the context of the coordinates poster. Size the extra image and put it in both sizes flipping it horizontally.

Make sure to align all elements. Align the coordinates text boxes at the bottom, and the extra images as well. Finally, cut in the material of preference! In this case, it is going to be cut in vinyl, with a Cricut machine, to paste it to a silver material and put it in a frame.
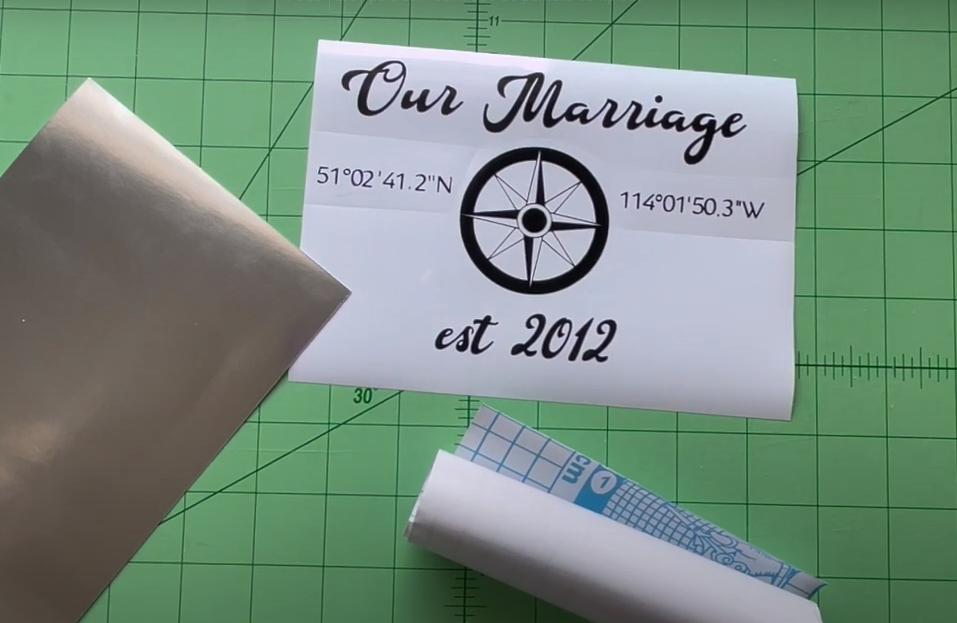
This Coordinates Sign for a wedding gift tutorial is super easy and cute, a different and beautiful gift!