-
×
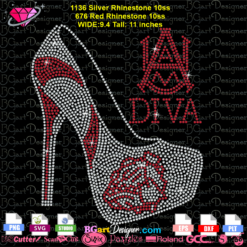 Alabama AAMU University Bulldogs heel rhinestone
1 × $5.99
Alabama AAMU University Bulldogs heel rhinestone
1 × $5.99 -
×
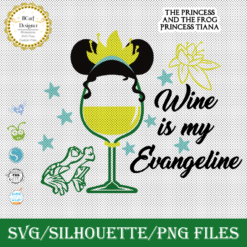
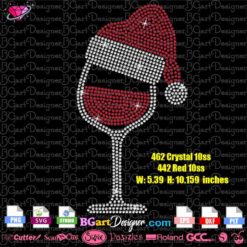
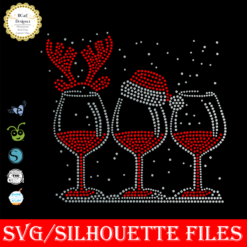 Christmas wine glass svg
1 × $5.99
Christmas wine glass svg
1 × $5.99 -
×
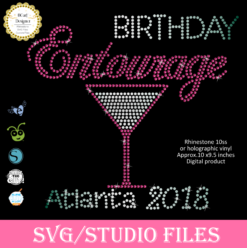 Birthday entourage girls
1 × $5.99
Birthday entourage girls
1 × $5.99 -
×
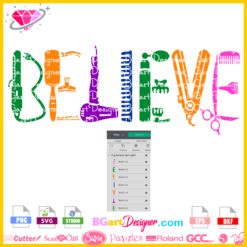 Believe hairstylist salon quote
1 × $2.49
Believe hairstylist salon quote
1 × $2.49 -
×
 Alabama State university ASU Hornets Rhinestone
1 × $5.99
Alabama State university ASU Hornets Rhinestone
1 × $5.99 -
×
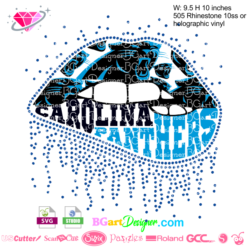 Dripping lips Carolina Panthers
1 × $3.91
Dripping lips Carolina Panthers
1 × $3.91 -
×
 Princess Tiana wine glass
1 × $2.79
Princess Tiana wine glass
1 × $2.79 -
×
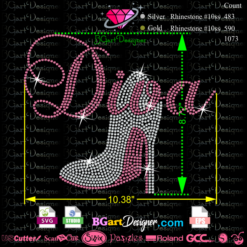
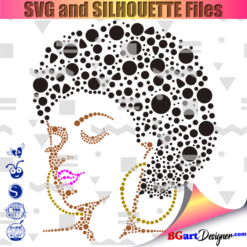
 Diva afro girl rhinestone svg
1 × $5.99
Diva afro girl rhinestone svg
1 × $5.99 -
×
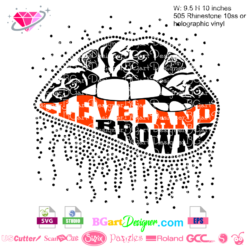 Dripping lips Cleveland Browns
1 × $3.91
Dripping lips Cleveland Browns
1 × $3.91 -
×
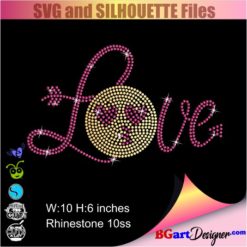
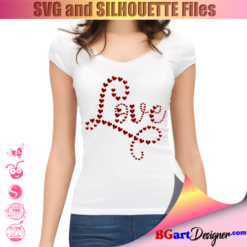 Love valentines day svg
1 × $1.49
Love valentines day svg
1 × $1.49 -
×
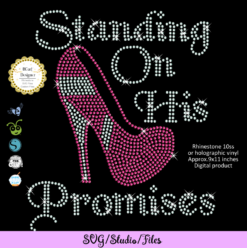 Standing on his promises heel Rhinestone file
1 × $5.99
Standing on his promises heel Rhinestone file
1 × $5.99 -
×
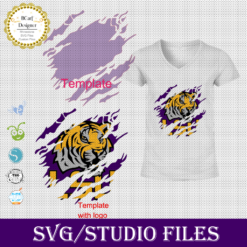
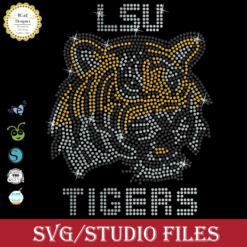 LSU tigers Rhinestone SVG
1 × $5.99
LSU tigers Rhinestone SVG
1 × $5.99 -
×
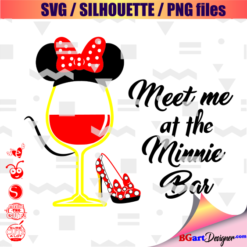 Minnie mouse wine glass svg
1 × $2.49
Minnie mouse wine glass svg
1 × $2.49 -
×
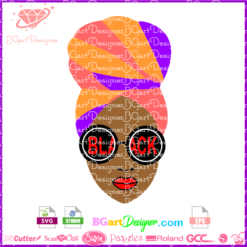 Black woman with glasses and turban
1 × $2.99
Black woman with glasses and turban
1 × $2.99 -
×
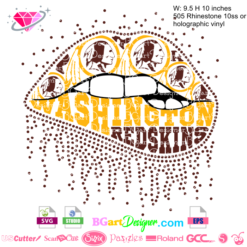 Dripping lips Washington Redskins
1 × $3.91
Dripping lips Washington Redskins
1 × $3.91 -
×
 Alabama A&M Bulldogs svg
1 × $3.91
Alabama A&M Bulldogs svg
1 × $3.91 -
×
 Christmas Wine glass svg
1 × $3.99
Christmas Wine glass svg
1 × $3.99 -
×
 Diva heel rhinestone
1 × $5.99
Diva heel rhinestone
1 × $5.99 -
×
 Love rhinestone emoji
1 × $3.99
Love rhinestone emoji
1 × $3.99 -
×
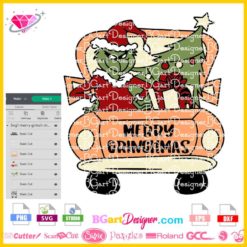 Merry Grinchmas Truck SVG
1 × $2.99
Merry Grinchmas Truck SVG
1 × $2.99 -
×
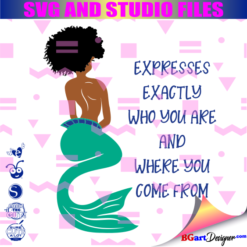 Mermaid Encouraging Natural Hair
1 × $3.99
Mermaid Encouraging Natural Hair
1 × $3.99 -
×
 Queens are born
1 × $3.49
Queens are born
1 × $3.49 -
×
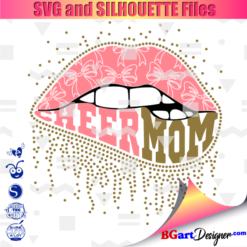 Cheer mom bow lips
1 × $3.91
Cheer mom bow lips
1 × $3.91 -
×
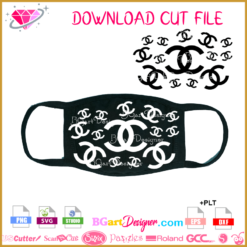 Download face mask CHANEL
1 × $2.99
Download face mask CHANEL
1 × $2.99 -
×
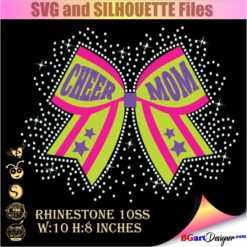 Cheer mom bow svg
1 × $2.99
Cheer mom bow svg
1 × $2.99 -
×
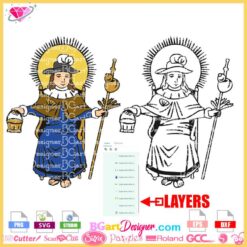 Santo Niño De Atocha Layered SVG
1 × $2.99
Santo Niño De Atocha Layered SVG
1 × $2.99 -
×
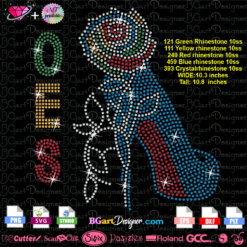 OES Heel rose rhinestone
1 × $5.99
OES Heel rose rhinestone
1 × $5.99 -
×
 Ohio state buckeyes lips
1 × $3.91
Ohio state buckeyes lips
1 × $3.91 -
×
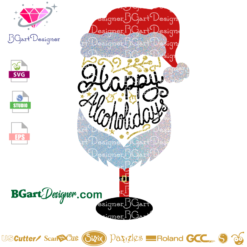 Christmas wine glass alcoholidays
1 × $2.49
Christmas wine glass alcoholidays
1 × $2.49 -
×
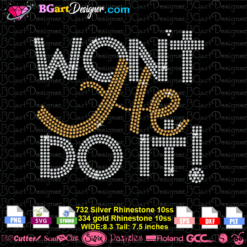 Won't he do it
1 × $5.99
Won't he do it
1 × $5.99 -
×
 Template for use slice in design space app
1 × $3.91
Template for use slice in design space app
1 × $3.91 -
×
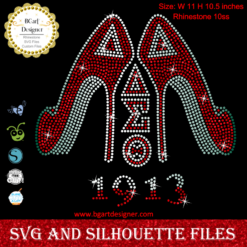 Delta sigma theta high heel
1 × $5.99
Delta sigma theta high heel
1 × $5.99 -
×
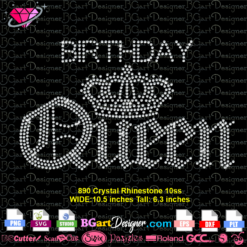
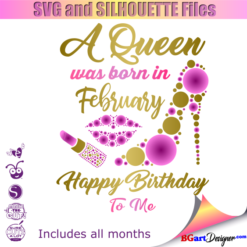 Birthday Queen
1 × $2.49
Birthday Queen
1 × $2.49 -
×
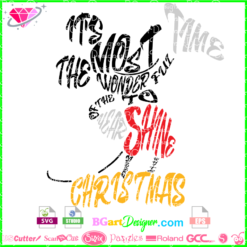 Disney Christmas SVG
1 × $1.99
Disney Christmas SVG
1 × $1.99 -
×
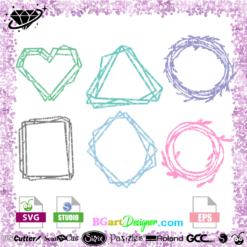 Wreath scrapbook frame svg
1 × $2.99
Wreath scrapbook frame svg
1 × $2.99 -
×
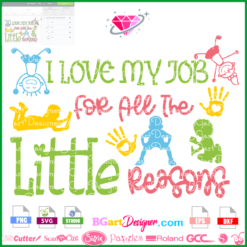 Love Job Little Reasons
1 × $2.99
Love Job Little Reasons
1 × $2.99 -
×
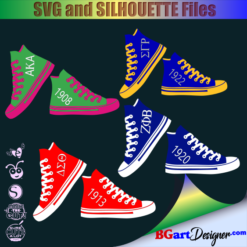 Sorority shoes bundle
1 × $5.99
Sorority shoes bundle
1 × $5.99 -
×
 Saints Girl Heels
1 × $3.99
Saints Girl Heels
1 × $3.99 -
×
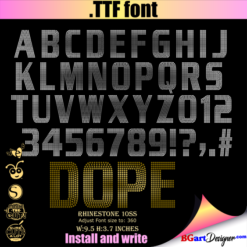
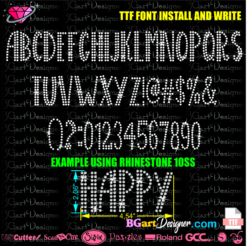 BGART2 Rhinestone Alphabet
1 × $7.99
BGART2 Rhinestone Alphabet
1 × $7.99 -
×
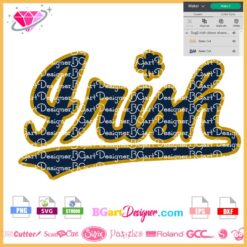 Irish Shamrock SVG
1 × $2.99
Irish Shamrock SVG
1 × $2.99 -
×
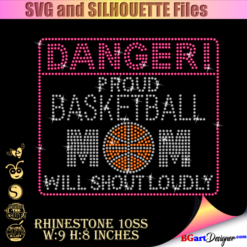 Danger proud basketball mom
1 × $5.99
Danger proud basketball mom
1 × $5.99 -
×
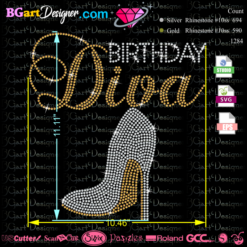
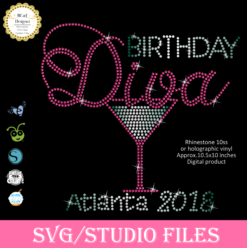 Birthday diva rhinestone
1 × $5.99
Birthday diva rhinestone
1 × $5.99 -
×
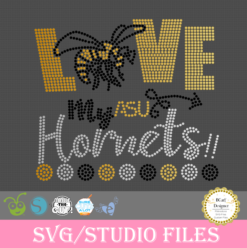 Love Asu hornets Rhinestone
1 × $5.99
Love Asu hornets Rhinestone
1 × $5.99 -
×
 Gucci GG New Logo Rhinestone SVG
1 × $5.99
Gucci GG New Logo Rhinestone SVG
1 × $5.99 -
×
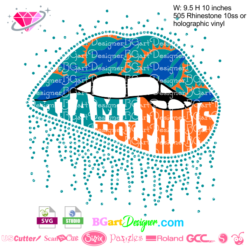 Dripping lips Miami Dolphins
1 × $3.91
Dripping lips Miami Dolphins
1 × $3.91 -
×
 I love my HBCU
1 × $5.99
I love my HBCU
1 × $5.99 -
×
 Girl Christ Strength Rhinestone
1 × $7.49
Girl Christ Strength Rhinestone
1 × $7.49 -
×
 Beauty afro black girl
1 × $2.99
Beauty afro black girl
1 × $2.99 -
×
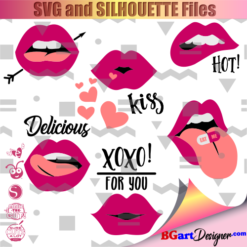 Lips svg bundle
1 × $1.99
Lips svg bundle
1 × $1.99 -
×
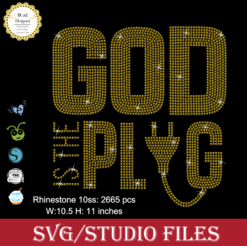 God is the Plug Rhinestone svg
1 × $5.99
God is the Plug Rhinestone svg
1 × $5.99 -
×
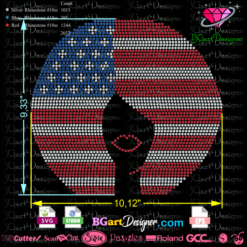 Afro flag rhinestone
1 × $5.99
Afro flag rhinestone
1 × $5.99 -
×
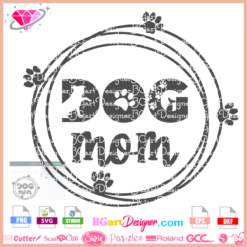 DOG mom svg
1 × $2.99
DOG mom svg
1 × $2.99 -
×
 Download Birthday Queen Rhinestone
1 × $3.99
Download Birthday Queen Rhinestone
1 × $3.99 -
×
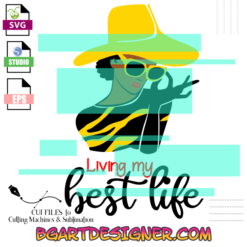 Living My Best life
1 × $2.99
Living My Best life
1 × $2.99 -
×
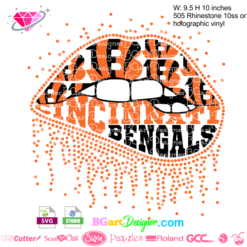 Dripping lips Cincinnati Bengals
1 × $3.91
Dripping lips Cincinnati Bengals
1 × $3.91 -
×
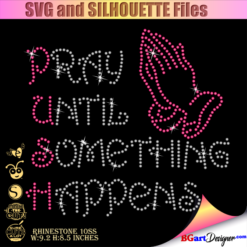 Pray until something happens
1 × $5.99
Pray until something happens
1 × $5.99 -
×
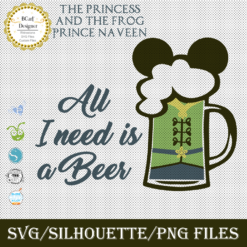 Prince Naveen beer mug
1 × $2.79
Prince Naveen beer mug
1 × $2.79 -
×
 Rolling stones vintage distressed
1 × $2.99
Rolling stones vintage distressed
1 × $2.99 -
×
 Birthday diva Heel svg
1 × $5.99
Birthday diva Heel svg
1 × $5.99 -
×
 Modern Alphabet Rhinestone
1 × $9.99
Modern Alphabet Rhinestone
1 × $9.99 -
×
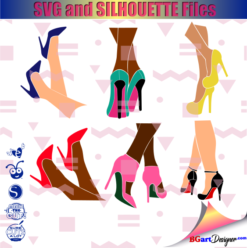 Legs in sexy high heels shoes
1 × $2.49
Legs in sexy high heels shoes
1 × $2.49 -
×
 Nurse definition cut file
1 × $1.99
Nurse definition cut file
1 × $1.99 -
×
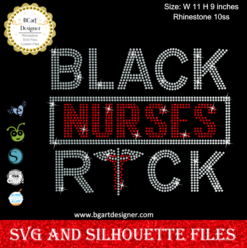 Black Nurses Rock
1 × $5.99
Black Nurses Rock
1 × $5.99
Cricut Design Space, Cutting and Crafting
tips and tricks for Print then cut projects

Find lots of tips and tricks for print then cut projects! A feature of Cricut machines worth knowing about to create amazing personalized projects and gifts.
Print then Cut is a feature that Cricut machines have for creating projects. It is beneficial when the image involves either gradients or watercolor. It allows you to have a design with much more colors than when using regular HTV or vinyl that are just solid colors or patterns. In addition, it is useful when the image is a bit too intricate to weed, too intricate to cut with vinyl or too small to cut.
The print then cut technique works with printable vinyl, printable HTV, adhesive paper and water slides!
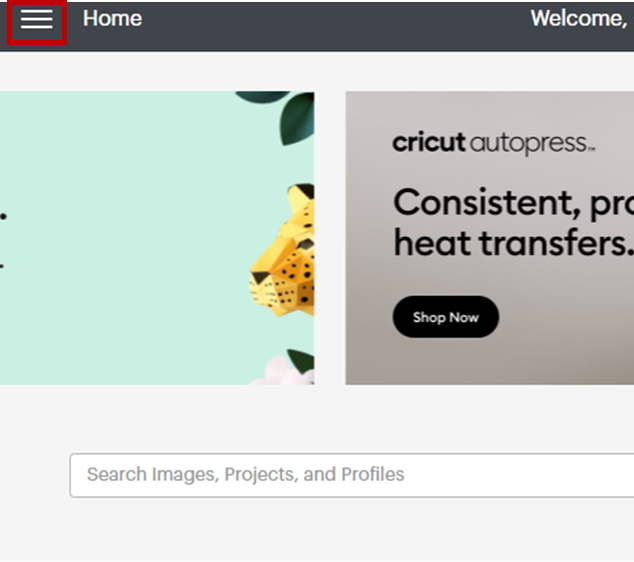
To create a print then cut project open Cricut Design Space on your computer. The first thing to do if you have never used this function is to go to the three small lines in the upper left corner. Click on them and select “calibration”. Calibrating the machine is important because it’s going to help the machine line up with the registration marks and get the cut as close to the design as possible.
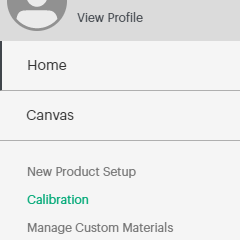
Go ahead and select the print then cut option to calibrate it. Cricut walks you through the whole procedure and it’s really easy, just follow along. For calibration, it is necessary to have a printer, a piece of printing paper, a cutting mat and the cutting machine.
Which format file to use
Now let’s talk about tips and tricks about file formats for print then cut projects. When it comes to print then cut projects, PNG format would be ideal. This is because it has a transparent background and Cricut Design Space can detect it as a print then cut image. To use PNG file format, upload the image, and choose the “complex” option.
You will see the design on top of a checkerboard, which means it has a transparent background. Click continue and select the “print then cut image” option. Remember that PNG file formats don’t have separate layers. The JPG format will also work but you will have to erase the background to make the cut lines appear.
On the other hand there is the SVG format. It also works, but there are some different steps to follow in order to use it. With SVG file formats the machine will automatically detect a cut file instead of a print then cut file, but we can easily fix that.
At BGArt designer there are different designs that work for print then cut projects. The same design is in different formats so you can choose the one you prefer.
SVG-PNG tips and tricks for print then cut
When uploading SVG designs it will take us directly to a cut image option. Don’t worry about that just click on “upload”. To convert the cut image into a print then cut image just select all the design and click on “flatten”.
As a recommendation always flatten with an offset or a shape as a background; that way the machine will only cut the edges of the design and not all the interior pieces of it one by one. For both PNG and SVG format it is best to create an offset to use the print then cut function.
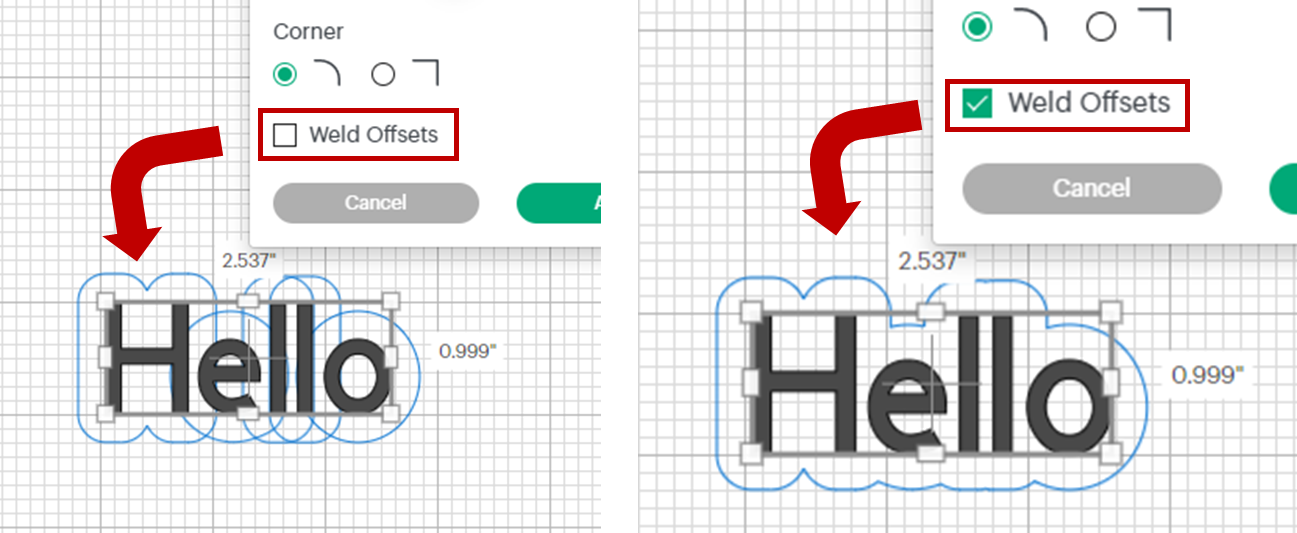
To do that click on the offset drop-down menu. An outline will appear around the image. Change the color of the offset because remember that it will be printed. Only for SVG formats to create the offset it is necessary to select “weld offset” in the settings. This is to create a single outline around the design and not individual outlines around the pieces.
Here is the trick to differentiate PNG and SVG procedures for print then cut projects. When using PNG formats once the design is finished you must select all the pieces and click “attach” in the lower right corner. In the case of SVG formats you must use the “flatten” tool to convert the cut image into a print and cut image.
Print then cut settings
The last thing to do is to fill the page with the designs to don’t waste material. That’s because once the sheet of paper is cut it’s not possible to put it back in the printer. The print then cut function also has a restricted mat size which is 6.75 inches wide by 9.15 inches high.
There are also tips and tricks to use on the cricut canvas for print then cut projects. To make sure all images will fit on it, create a template with that size and start placing the designs. Then click on make it, if an image appears on a second page go back and make it smaller.
Printing settings
The first thing to do in the print settings is to uncheck the ” adding bleed” option. Since the designs already have an offset, it is not necessary to use this feature. Bleed is a small extension of the color away from the edges of the design. This setting is useful for cutting the project as close to the edges as possible so that you do not have white space in the cut design.
After that, select “use system dialog” and then click on “print” a window with specific settings for printing will appear. These are the most common and universal changes to have a better result but there are other changes that you can apply by testing, as each printer is different.
Go to “preferences” and change the quality from standard to high. Change also the paper type and select the “premium matte presentation paper”, click “OK” and finally print the design.Before proceeding with the print then cut project, make sure your printer is an inkjet printer. The second thing to do is to figure out how to orient the paper in the printer so that it prints on the correct side.
The printed image will have a solid black square around the design. That is the registration mark that the Cricut cutting machine will read. It’s supposed to be there, so don’t cut it out. The last step is to cut the image. Place the paper in the upper left corner of the mat to make it easier for the machine to read the registration marks. Send it to be cut and that’s it.