-
×
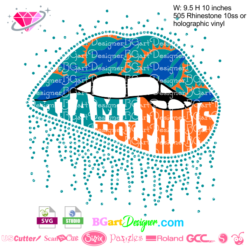 Dripping lips Miami Dolphins
1 × $3.91
Dripping lips Miami Dolphins
1 × $3.91 -
×
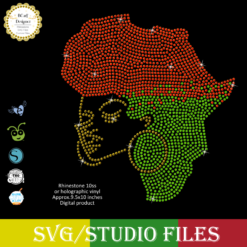
 Diva afro girl rhinestone svg
1 × $5.99
Diva afro girl rhinestone svg
1 × $5.99 -
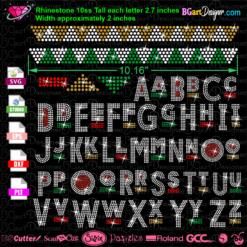
×
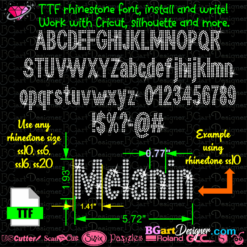 Download Rhinestone alphabet BGART7
1 × $9.99
Download Rhinestone alphabet BGART7
1 × $9.99 -
×
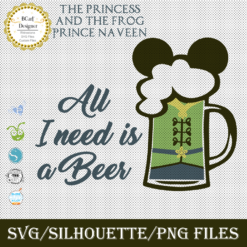 Prince Naveen beer mug
1 × $2.79
Prince Naveen beer mug
1 × $2.79 -
×
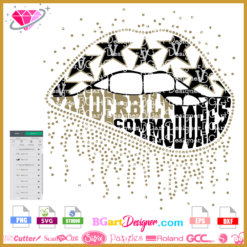 Dripping lips Vanderbilt Commodores SVG
1 × $3.91
Dripping lips Vanderbilt Commodores SVG
1 × $3.91 -
×
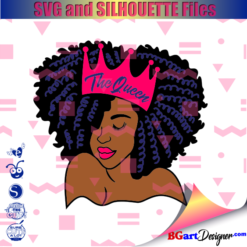 Black woman queen
1 × $2.99
Black woman queen
1 × $2.99 -
×
 I love my HBCU
1 × $5.99
I love my HBCU
1 × $5.99 -
×
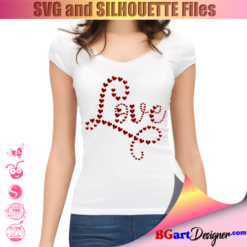 Love valentines day svg
1 × $1.49
Love valentines day svg
1 × $1.49 -
×
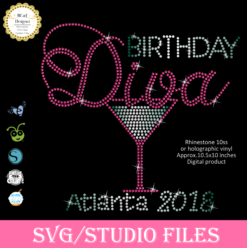 Birthday diva rhinestone
1 × $5.99
Birthday diva rhinestone
1 × $5.99 -
×
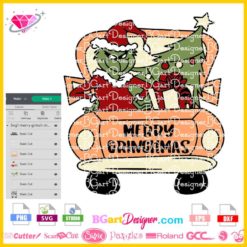 Merry Grinchmas Truck SVG
1 × $2.99
Merry Grinchmas Truck SVG
1 × $2.99 -
×
 logo Alabama AAMU University Rhinestone
1 × $3.99
logo Alabama AAMU University Rhinestone
1 × $3.99 -
×
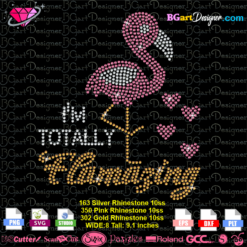 I'm Totally Flamazing Rhinestone
1 × $4.99
I'm Totally Flamazing Rhinestone
1 × $4.99 -
×
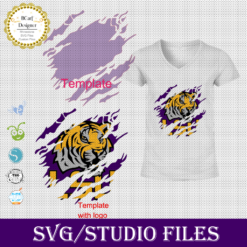
 LSU tigers Rhinestone SVG
1 × $5.99
LSU tigers Rhinestone SVG
1 × $5.99 -
×
 Queens are born
1 × $3.49
Queens are born
1 × $3.49 -
×
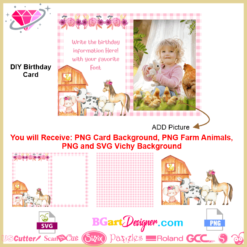 DIY Farm Animals Invitation
1 × $3.99
DIY Farm Animals Invitation
1 × $3.99 -
×
 Princess Disney wine glass
1 × $7.49
Princess Disney wine glass
1 × $7.49 -
×
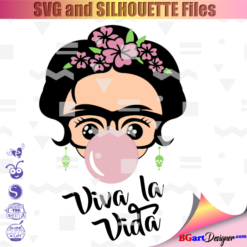 Frida Kahlo quotes SVG
1 × $2.49
Frida Kahlo quotes SVG
1 × $2.49 -
×
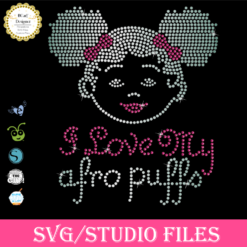 Afro Puffs Little Girl
1 × $5.99
Afro Puffs Little Girl
1 × $5.99 -
×
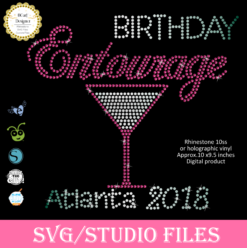 Birthday entourage girls
1 × $5.99
Birthday entourage girls
1 × $5.99 -
×
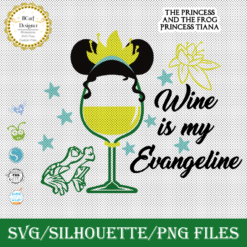 Princess Tiana wine glass
1 × $2.79
Princess Tiana wine glass
1 × $2.79 -
×
 Swirly Seahorse Rhinestone SVG
1 × $5.99
Swirly Seahorse Rhinestone SVG
1 × $5.99 -
×
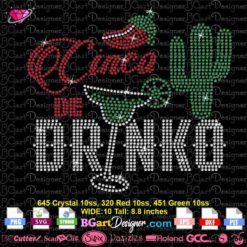 Cinco De Drinko Rhinestone SVG
1 × $5.99
Cinco De Drinko Rhinestone SVG
1 × $5.99 -
×
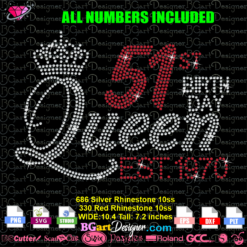 Queen Birthday 51 st EST 1970 Rhinestone SVG
1 × $7.99
Queen Birthday 51 st EST 1970 Rhinestone SVG
1 × $7.99 -
×
 Regular Svg file convert
2 × $5.99
Regular Svg file convert
2 × $5.99 -
×
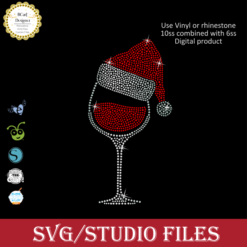 Santa Hat Wine glass svg
1 × $5.99
Santa Hat Wine glass svg
1 × $5.99 -
×
 Aurora Princess Bachelorette
1 × $1.49
Aurora Princess Bachelorette
1 × $1.49 -
×
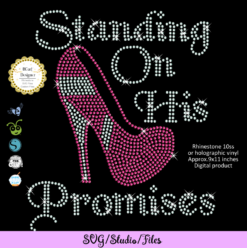 Standing on his promises heel Rhinestone file
1 × $5.99
Standing on his promises heel Rhinestone file
1 × $5.99 -
×
 Rolling stones vintage distressed
1 × $2.99
Rolling stones vintage distressed
1 × $2.99 -
×
 Martin rhinestone font svg
1 × $9.99
Martin rhinestone font svg
1 × $9.99 -
×
 Birthday Queen
1 × $2.49
Birthday Queen
1 × $2.49 -
×
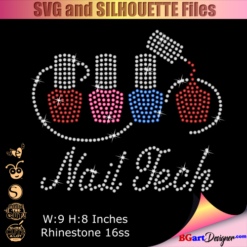 Nail Tech Rhinestone Design
1 × $5.99
Nail Tech Rhinestone Design
1 × $5.99 -
×
 Detroit Tigers Logo Rhinestone SVG
1 × $5.99
Detroit Tigers Logo Rhinestone SVG
1 × $5.99 -
×
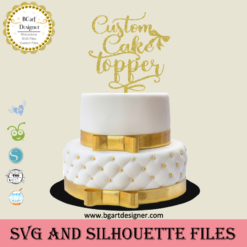 Custom cake topper
2 × $9.99
Custom cake topper
2 × $9.99 -
×
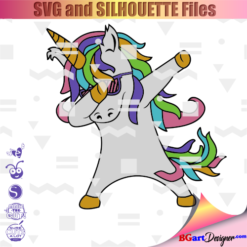 Dabbing unicorn
1 × $1.99
Dabbing unicorn
1 × $1.99 -
×
 Alabama A&M Bulldogs svg
1 × $3.91
Alabama A&M Bulldogs svg
1 × $3.91 -
×
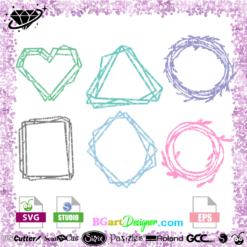 Wreath scrapbook frame svg
1 × $2.99
Wreath scrapbook frame svg
1 × $2.99 -
×
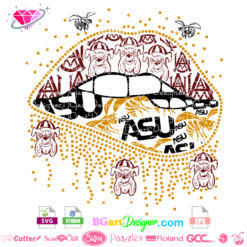
 Alabama State university ASU Hornets Rhinestone
1 × $5.99
Alabama State university ASU Hornets Rhinestone
1 × $5.99 -
×
 Saints Girl Heels
1 × $3.99
Saints Girl Heels
1 × $3.99 -
×
 Jamaican woman SVG file
1 × $5.99
Jamaican woman SVG file
1 × $5.99 -
×
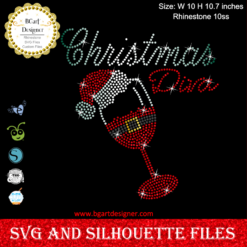 Christmas diva bling
1 × $5.99
Christmas diva bling
1 × $5.99 -
×
 Template for use slice in design space app
1 × $3.91
Template for use slice in design space app
1 × $3.91 -
×
 ASU hornets and AIM bulldogs house divided svg
1 × $3.91
ASU hornets and AIM bulldogs house divided svg
1 × $3.91 -
×
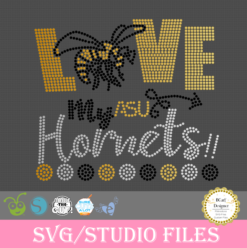 Love Asu hornets Rhinestone
1 × $5.99
Love Asu hornets Rhinestone
1 × $5.99 -
×
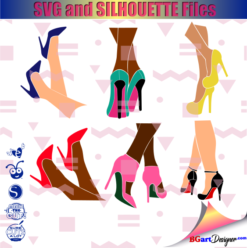 Legs in sexy high heels shoes
1 × $2.49
Legs in sexy high heels shoes
1 × $2.49 -
×
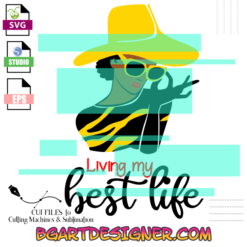 Living My Best life
1 × $2.99
Living My Best life
1 × $2.99 -
×
 Birthday girl slay svg
1 × $3.49
Birthday girl slay svg
1 × $3.49 -
×
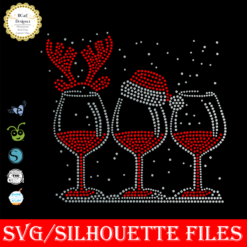 Christmas wine glass svg
1 × $5.99
Christmas wine glass svg
1 × $5.99 -
×
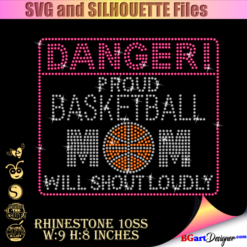 Danger proud basketball mom
1 × $5.99
Danger proud basketball mom
1 × $5.99 -
×
 Essence Festival Girls Trip Rhinestone
1 × $5.99
Essence Festival Girls Trip Rhinestone
1 × $5.99 -
×
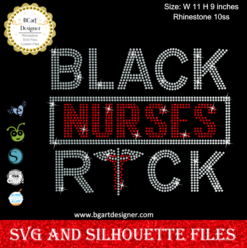 Black Nurses Rock
1 × $5.99
Black Nurses Rock
1 × $5.99 -
×
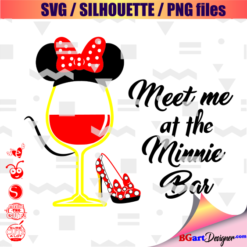 Minnie mouse wine glass svg
1 × $2.49
Minnie mouse wine glass svg
1 × $2.49 -
×
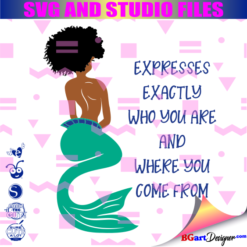 Mermaid Encouraging Natural Hair
1 × $3.99
Mermaid Encouraging Natural Hair
1 × $3.99 -
×
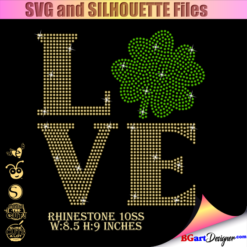 St Patrick's Day Rhinestone Love Clover svg
1 × $5.99
St Patrick's Day Rhinestone Love Clover svg
1 × $5.99 -
×
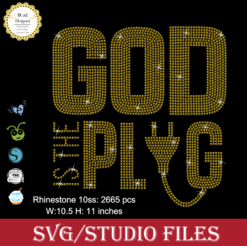 God is the Plug Rhinestone svg
1 × $5.99
God is the Plug Rhinestone svg
1 × $5.99 -
×
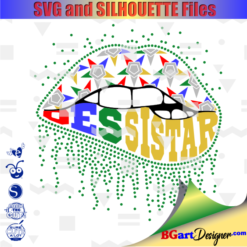 OES sistar lips vector
1 × $3.91
OES sistar lips vector
1 × $3.91
Cutting and Crafting
Making a Doormat with Cricut tutorial
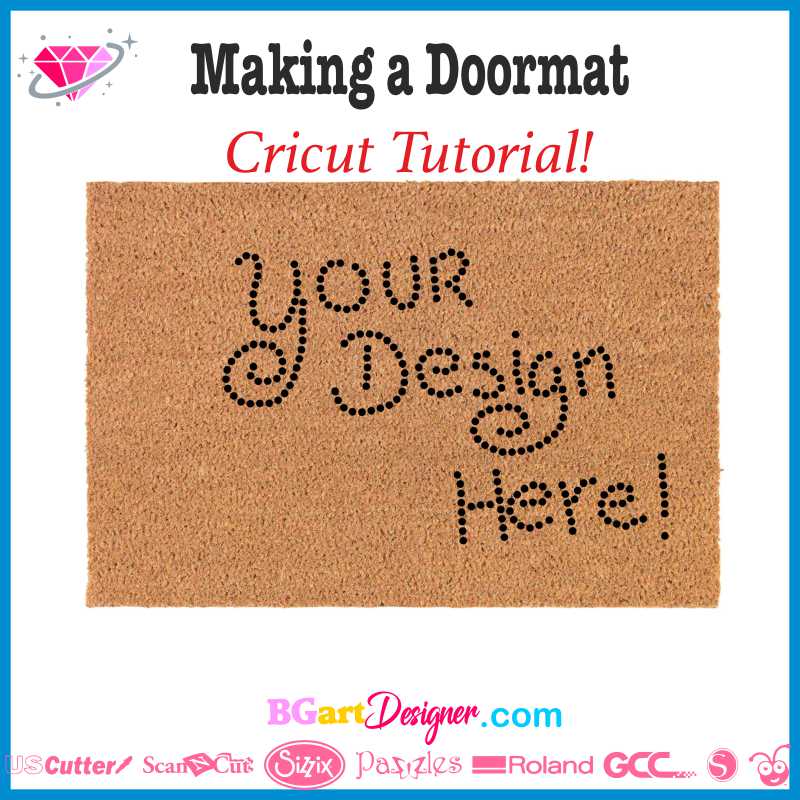
Customize a doormat! Making a doormat with a Cricut machine tutorial, a step-by-step process!
What’s better than coming home to a special, personalized doormat! This tutorial on how to make a doormat with cricut will guide throughout the process. Check it out!
Supplies needed
- Doormat
- Freezer paper
- Heat-resistant transfer tape
- Cutting machine
- Long light grid mat
- Permanent acrylic paint
- Little pins
- Easy press
- Paint brush
Designing on Cricut design space
Let’s start designing on Cricut design space or any other (Note that the steps of the design process are performed in Cricut design space), design the cutting file of your preference.
Insert a rectangle with the exact size of the mat so as to know what size would be the design, but actually, it is important to delete it before cutting it. It is only a reference rectangle. Then click on make it, you will need a long cutting mat if the size of the mat is bigger than 11.5 in height or width.
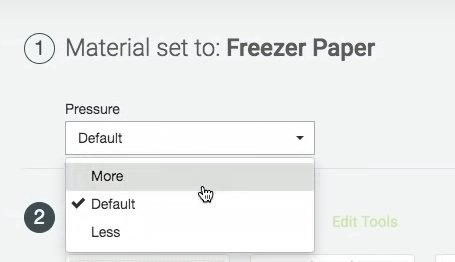
Zoom in to see the design better and center it on the mat. This way when making the stencil it will have enough space around it to not worry about the paint and it will be a template. Once having the design set up, click continue and select the material, there is a setting for “freezer paper” so select that. with this project add a little more pressure, so in the pressure setting increase that to “more”.
Working on the Doormat stencil wiht cricut
The freezer paper has two sides, one wax coated and one dull, be sure to put the wax side down on the cutting mat. After the material is on the mat, load it into the machine and it will be ready to cut. As a recommendation, make a small cut first to test. If the freezer paper rips, try using the washi setting, with 2 passes.
Once the cutting machine has finished cutting, with your fingers or tweezers peel away all of the parts of the design pieces that will be black, without removing the entire piece of the grid mat. Keep the inside of the letters intact as these will protect the mat from getting paint stains on them.
Now it is time to remove it from the cutting mat using some heat resistant tape to place it on the mat easily. you can use two pieces of the heat resistant tape in case the design is too big for it. As a recommendation, first stick one piece of the tape on the design and then start sticking the rest carefully.
Next, flip the mat over and start peeling the mat off the design. Now it’s time to transfer it to the mat, lining it up and measuring it well. While you do this, turn on the easy press and heat it to 310 degrees. Wait for it to heat up and then place it on each section for about 30 seconds until transferring the entire piece. The key is to make sure the inside of the lettering sticks well.
It is important to let it cool down to peel off the transfer tape and start painting.
Making the Doormat tutorial
The final steps in this tutorial on making a doormat with a Cricut machine are next!
Before you remove the transfer tape completely, put a few pins in the corners of the design; of course not on the transfer tape! peel it off a little and put the pins at an angle on the freezer paper. This is just to make sure the paper doesn’t move around.
Don’t be nervous if the pieces lift off, just hold them while you remove the transfer tape, and then let’s press them back on.
In fact, this heat-resistant transfer tape is reusable, so remember you can save it for later use.
Now put other small pins on the inside of the letters, pinning them at an angle. After pinning everything in place, go over with the easy press one more time for another few seconds all the way around the piece. When you are sure that all the pieces are well in place, start painting; use a brush to really get to the entire fiber of the door mat.
Be generous with the paint, as the wax on the freezer paper prevents the paint from transferring. So add a little bit of paint and then with the brush start putting it on with small heavy dabs. go over each part of the mat. Give two or three coats depending on where the mat is going to be placed.
Once the painting is finished, peel off the mat; It is not necessary to let it dry completely, after the last coat you can remove it while it is still wet. Remember to remove the pins first!
With a pair of tweezers start removing the little pieces from inside, and throw them in a garbage bag. Be sure to remove all the pieces from inside. And also remove the entire template as well.
Hopefully this tutorial on making a doormat with a Cricut machine will help when creating awesome projects with a cricut machine!