-
×
 Dripping lips Washington Redskins
1 × $3.91
Dripping lips Washington Redskins
1 × $3.91 -
×
 Queens are born
1 × $3.49
Queens are born
1 × $3.49 -
×
 Love Alabama Bulldogs Rhinestone
1 × $5.99
Love Alabama Bulldogs Rhinestone
1 × $5.99 -
×
 NHS heart rainbow rhinestone
1 × $5.99
NHS heart rainbow rhinestone
1 × $5.99 -
×
 Alabama State university ASU Hornets Rhinestone
1 × $5.99
Alabama State university ASU Hornets Rhinestone
1 × $5.99 -
×
 Princess Tiana wine glass
1 × $2.79
Princess Tiana wine glass
1 × $2.79 -
×
 Alabama Crimson NCAA
1 × $3.91
Alabama Crimson NCAA
1 × $3.91 -
×
 Birthday diva rhinestone
1 × $5.99
Birthday diva rhinestone
1 × $5.99 -
×
 Dripping lips Cleveland Browns
1 × $3.91
Dripping lips Cleveland Browns
1 × $3.91 -
×
 God is the Plug Rhinestone svg
1 × $5.99
God is the Plug Rhinestone svg
1 × $5.99 -
×
 Birthday entourage girls
1 × $5.99
Birthday entourage girls
1 × $5.99 -
×
 Dripping lips Mississippi Bulldogs
1 × $3.91
Dripping lips Mississippi Bulldogs
1 × $3.91 -
×
 Standing on his promises heel Rhinestone file
1 × $5.99
Standing on his promises heel Rhinestone file
1 × $5.99 -
×
 Tennessee titans lips svg
1 × $3.91
Tennessee titans lips svg
1 × $3.91 -
×
 Rolling stones vintage distressed
1 × $2.99
Rolling stones vintage distressed
1 × $2.99 -
×
 Download Rhinestone font BGART9
1 × $9.99
Download Rhinestone font BGART9
1 × $9.99 -
×
 Delta sigma theta high heel
1 × $5.99
Delta sigma theta high heel
1 × $5.99 -
×
 Nail Tech Rhinestone Design
1 × $5.99
Nail Tech Rhinestone Design
1 × $5.99 -
×
 Dabbing unicorn
1 × $1.99
Dabbing unicorn
1 × $1.99 -
×
 Greek Alphabet Rhinestone
1 × $9.99
Greek Alphabet Rhinestone
1 × $9.99 -
×
 Lips NFL teams bundle
1 × $7.49
Lips NFL teams bundle
1 × $7.49 -
×
 Custom cake topper
2 × $9.99
Custom cake topper
2 × $9.99 -
×
 logo Alabama AAMU University Rhinestone
1 × $3.99
logo Alabama AAMU University Rhinestone
1 × $3.99 -
×
 Christmas Wine glass svg
1 × $3.99
Christmas Wine glass svg
1 × $3.99 -
×
 Unicorn natural hair
1 × $2.99
Unicorn natural hair
1 × $2.99 -
×
 Faith sunflower Jesus cross svg
1 × $1.49
Faith sunflower Jesus cross svg
1 × $1.49 -
×
 Believe hairstylist salon quote
1 × $2.49
Believe hairstylist salon quote
1 × $2.49 -
×
 Diva afro girl rhinestone svg
1 × $5.99
Diva afro girl rhinestone svg
1 × $5.99 -
×
 Won't he do it
1 × $5.99
Won't he do it
1 × $5.99 -
×
 Black Nurses Rock
1 × $5.99
Black Nurses Rock
1 × $5.99 -
×
 DIY Baby Disney Princess Invitation PNG
1 × $1.99
DIY Baby Disney Princess Invitation PNG
1 × $1.99 -
×
 Dripping lips FAMU Rattlers
1 × $3.91
Dripping lips FAMU Rattlers
1 × $3.91 -
×
 Birthday Queen
1 × $2.49
Birthday Queen
1 × $2.49 -
×
 Legs in sexy high heels shoes
1 × $2.49
Legs in sexy high heels shoes
1 × $2.49 -
×
 Love valentines day svg
1 × $1.49
Love valentines day svg
1 × $1.49 -
×
 Giants kinda girl Rhinestone
1 × $5.99
Giants kinda girl Rhinestone
1 × $5.99 -
×
 Danger proud basketball mom
1 × $5.99
Danger proud basketball mom
1 × $5.99 -
×
 Beauty afro black girl
1 × $2.99
Beauty afro black girl
1 × $2.99 -
×
 Alabama A&M Bulldogs svg
1 × $3.91
Alabama A&M Bulldogs svg
1 × $3.91 -
×
 Frida Kahlo quotes SVG
1 × $2.49
Frida Kahlo quotes SVG
1 × $2.49 -
×
 Template for use slice in design space app
1 × $3.91
Template for use slice in design space app
1 × $3.91 -
×
 Disney patriotic American flag
1 × $3.49
Disney patriotic American flag
1 × $3.49 -
×
 Black woman queen
1 × $2.99
Black woman queen
1 × $2.99 -
×
 I love my HBCU
1 × $5.99
I love my HBCU
1 × $5.99 -
×
 Afro flag rhinestone
1 × $5.99
Afro flag rhinestone
1 × $5.99 -
×
 Santa Hat Wine glass svg
1 × $5.99
Santa Hat Wine glass svg
1 × $5.99 -
×
 Afro Puffs Little Girl
1 × $5.99
Afro Puffs Little Girl
1 × $5.99
Cutting and Crafting
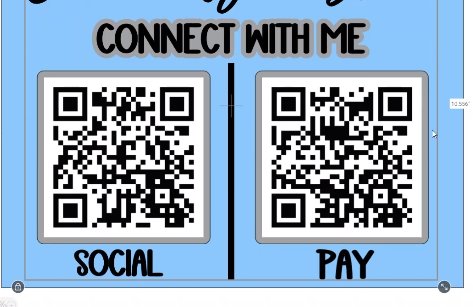
How to create a Scan to pay with Cricut
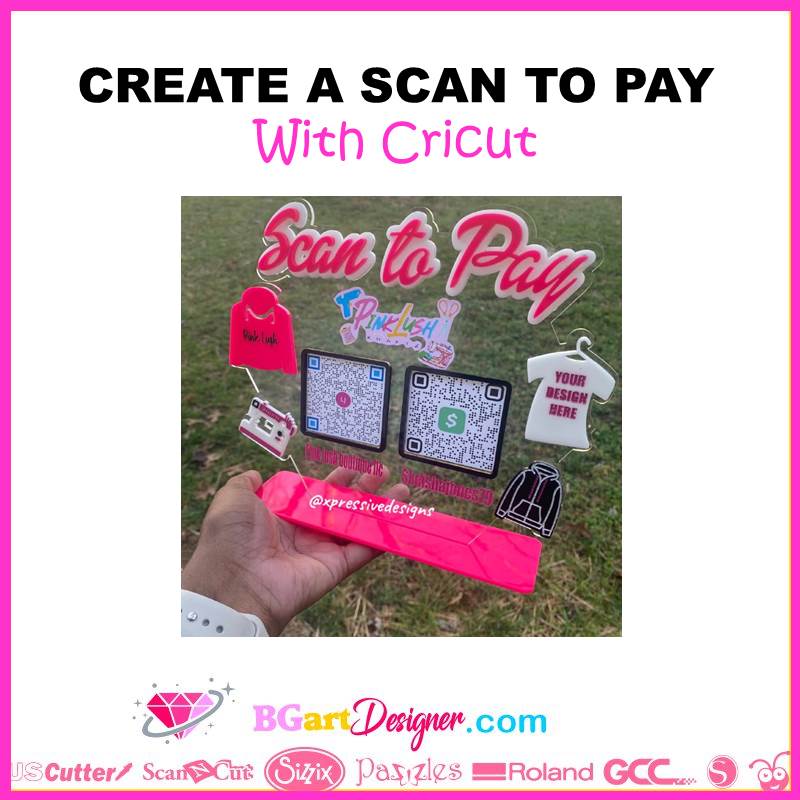
How to create a scan to pay with Cricut! This is a trendy and up-to-date project that will solve many problems when it comes to providing payment information! Just place the phone’s camera over the code and it will take people directly to the web page, phone number, payment information or any information without any hassle. Get other fantastic ideas HERE
Supplies Needed
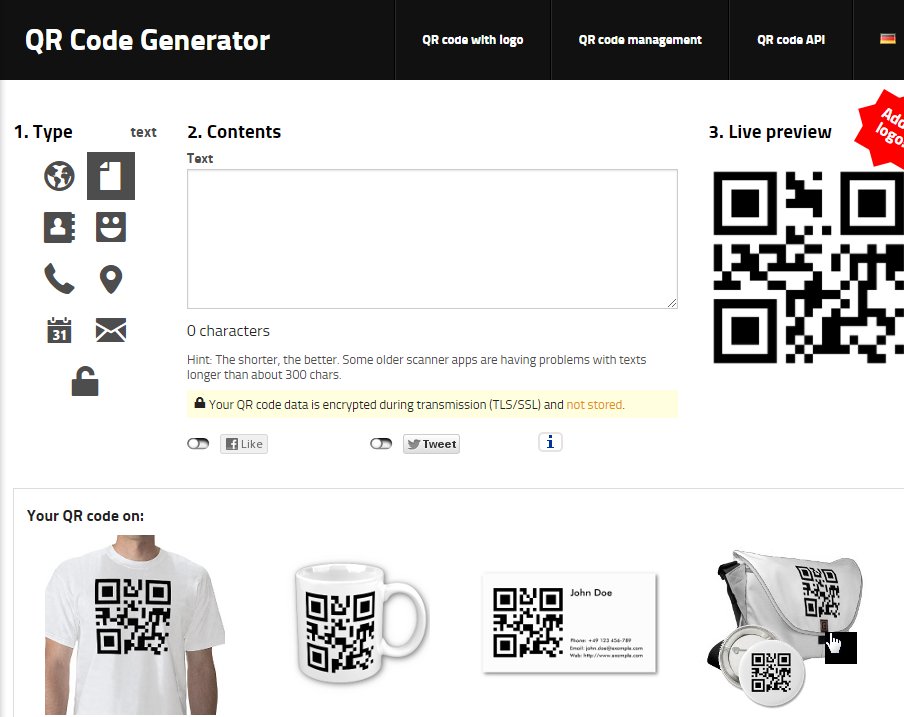
To get the Qr code use this website. GoQr.me, once you go there it is self-explanatory. Choose the type and insert the type address. It will automatically provide the code, only download it to upload the image in Cricut design space.
Just put your phone camera over the code and it will take people directly to the web page, phone number, or any information without any problems.
Desing process
Go to Cricut design space and upload the image to make a print then cut. Choose the complex option to be able to cut out the exact part of the image you want. Then click on the print then cut option. Choose a printable vinyl paper.
Finally, size the image to fit the acrylic. make a template to make it easier to do this project, insert a rectangle with the exact size of the acrylic to use. Feel free to upload a logo and add some words to identify the Qr codes as well.
On the words, it is possible to make an “offset” around them, to do this select the word and click on the “offset” setting, make it as big as wanted and click on apply. If there are small holes not wanted in the text, simply click on the contour, click on the pieces you want to remove, and finally click on the X
Add as many things as is necessary, be aware that it looks good and not overloaded, center everything as well.
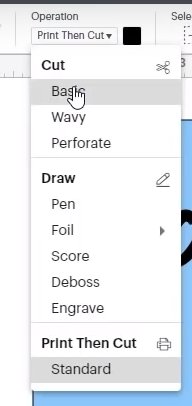
Also add an “offset” to the Qr images, to do this click on the image and select the offset settings and make it the thickness desired. Now it is important to change the offset from print and cut to just cut. To do this click on the offset layer and in the “operation” setting, click on the word that says print and cut, and change it to a basic cut. Do this for both offsets of the images.
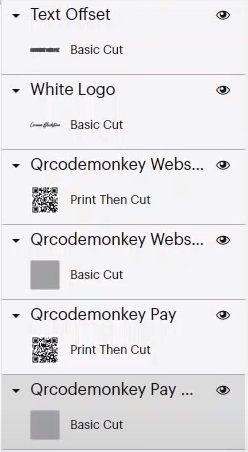
Attach the things to stay connected, and to stay in the same order as in the design space, before clicking on make it, otherwise, the software will put everything in different places. remember to delete the square template.
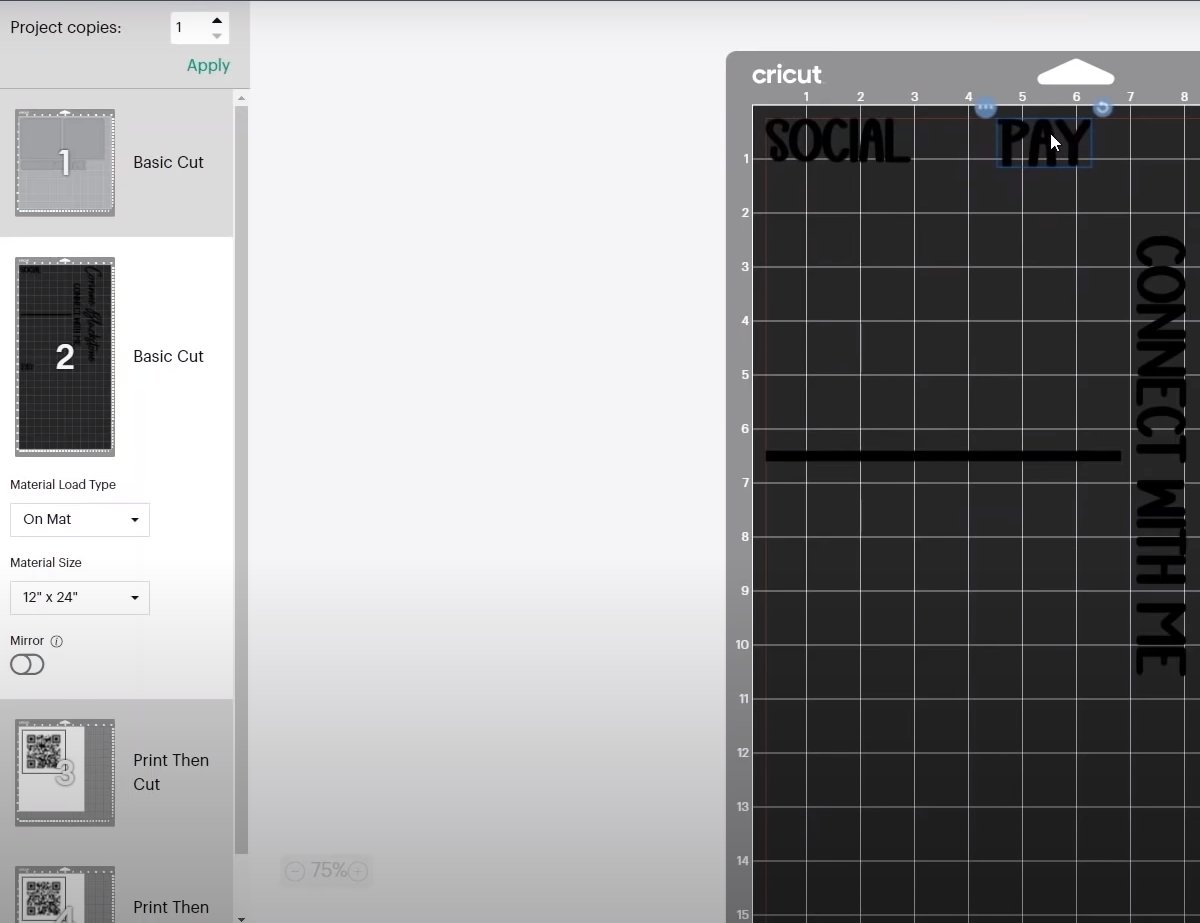
Click make it. check the designs to make sure they have enough space between them, and make sure there is no design in a space that can be saved. Try grouping each piece on one part of the mat to save some vinyl.
Once everything is set up properly, click continue. Depending on the design made, select the material and the pressure the machine is going to cut the material at.
A tip, before downloading the mat, check if it cuts the design well, if it hasn’t, make a double cut by pressing the go button again. Cut the designs in different colors of vinyl if required.
Printing and assembling
Now it’s time to print, put the vinyl in the printer. Add the bleed in the settings. Also put the system dialog option, to make some changes in the printer settings. In the preferences change the quality to high, and in the more option at the top, turn off the speed printing.
Finally, click Ok. And print it. Do the same for each piece you want to print. Send it to the printer and select the correct machine on the settings
Then place the piece of vinyl in the machine making sure that the registration marks are well printed and in place so that the machine can read where it has to cut. Once all the elements are done, weed them out and start assembling.
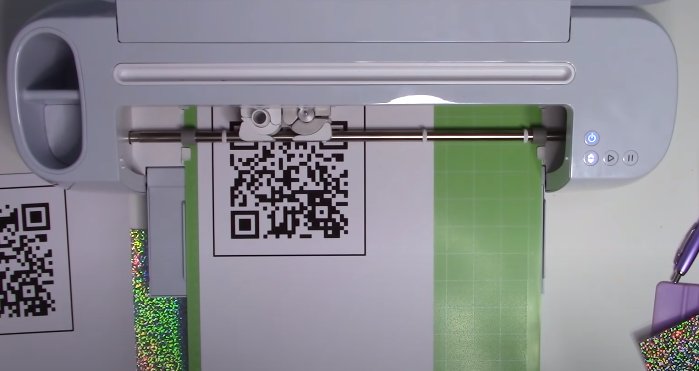
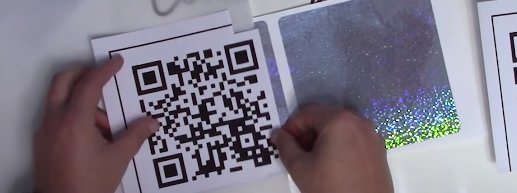
Note that the Qr codes have to be in the right position, with the two little squares at the top; and with a little square in the bottom left corner. To stick the code on another surface like a colored vinyl background or something like that it is better to use the parchment paper method.
Peeling off only a part of one corner and folding the backside over. You will be able to see through the parchment paper to align the sticker properly; finally, remove the parchment paper, and pull the back of the design pressing down to avoid bubbles. When sticking the pieces on the acrylic, press well so that there are no bubbles.
And that’s the whole process! This tutorial on How to Create a Scan to Pay with Cricut was really awesome! Let me know your thoughts in the comments below