Cutting and Crafting
DIY Christmas Ornaments With Cricut
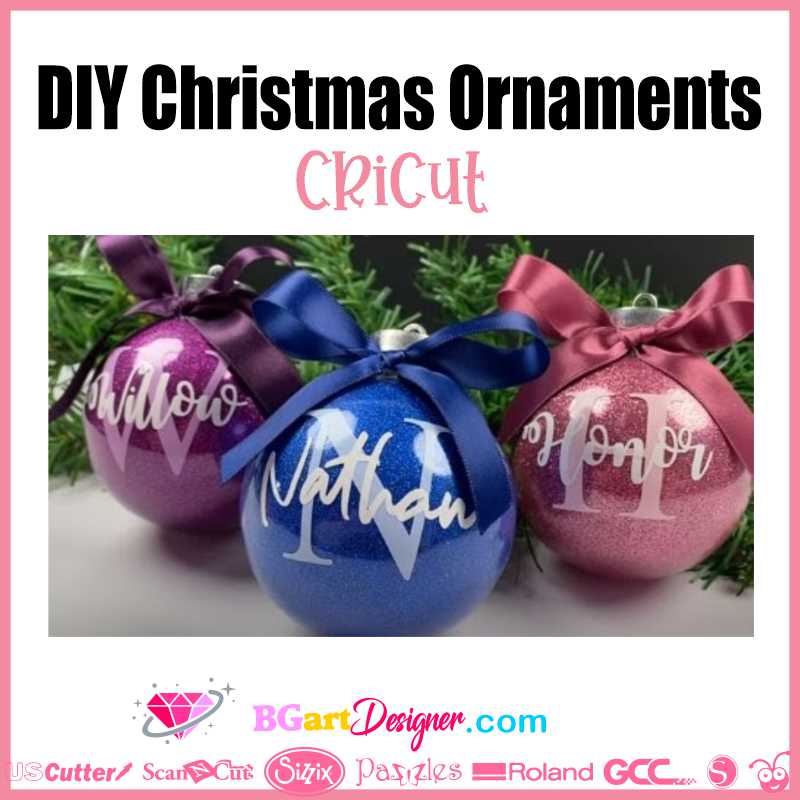
DIY how to make Christmas ornaments with cricut. Personalize Christmas trees for the holidays!
Convert boring Christmas Bubbles into lovely Christmas ornaments with this DIY using a Cricut! All that is needed to make this Christmas ornament is in this tutorial. Check it out! Also Check here the best Christmas designs
Things needed
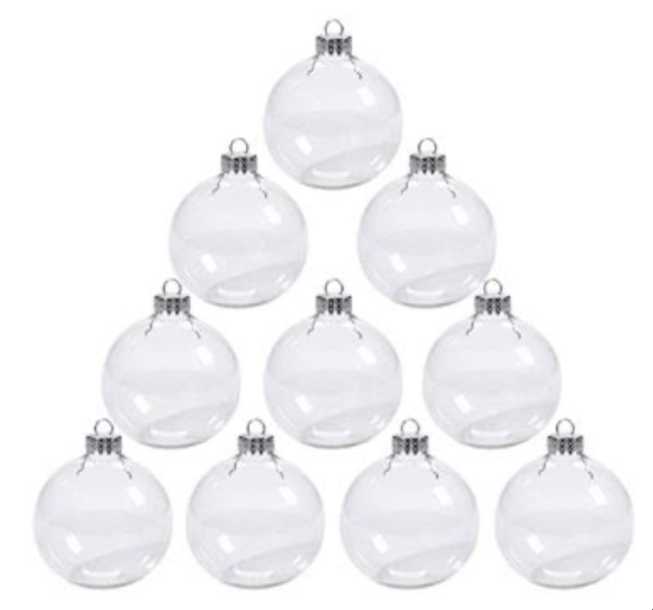
- Christmas Bubbles ( it could be three inches round)
- Glitter
- Vinyl
- Clear cups
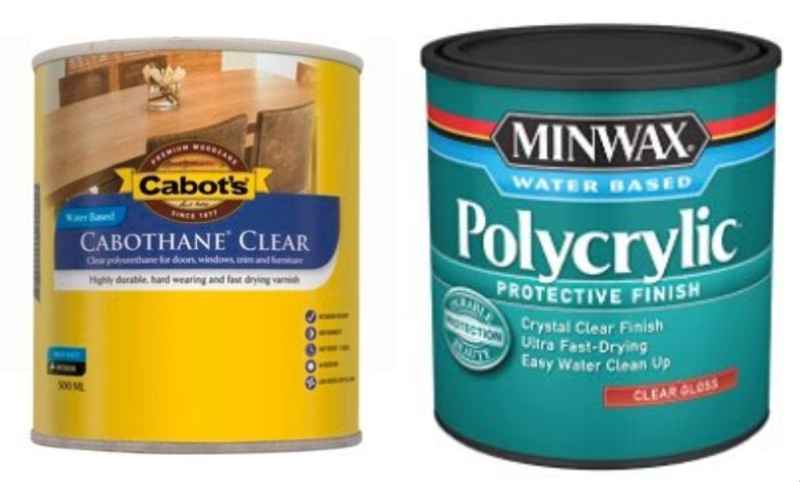
- Cabot’s cabothane clear in gloss or Polycrylic
Making ready the Christmas Bubbles
The standard Bubble size is 3 inches round. These Bubbles are available on amazon.
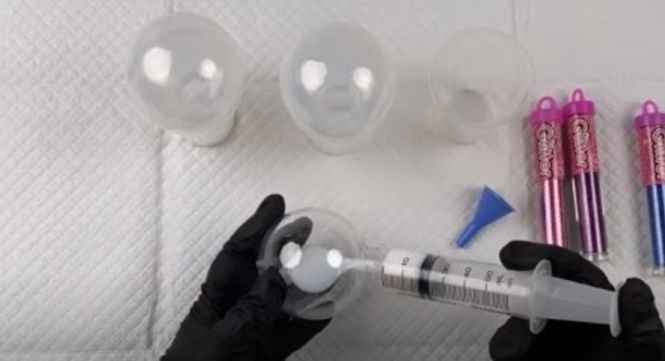
For this type of project, it’s necessary to put some Cabot’s Cabothane clear in gloss or Polycrylic inside the bubble so the glitter can adhere. Make certain they are gloss ones because a matte one won’t work for this project.
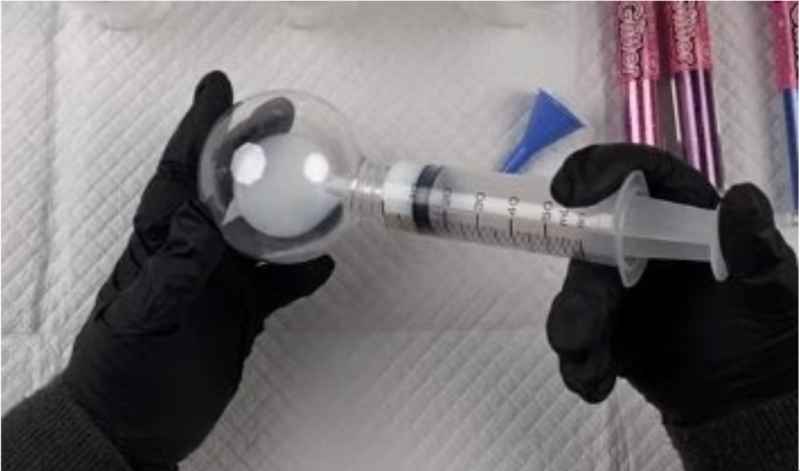
First, stir the mixture for a couple of minutes because it will probably be quite thick. Don’t do it too long and don’t do it too fast either so as to not create bubbles. The easiest way to get the glue into the bubbles is to use a large syringe; 20 mils is usually enough to cover this size bubble.
When squeezing the mixture in, do it very slowly so as not to create air bubbles, otherwise, the glitter won’t stick and it will show from the outside.
Next, slowly rotate the bubble to start coating the inside; when most of the inside has been coated, return the remaining glue back into the container and make sure to rotate it again so it gets to the rim of the bubble.
Take one of the clear cups and place the bubble in it with the open side down so it can drain and not make a mess; then go ahead and do the same things with the other bubbles.
Wait for about 20 to 30 minutes to start putting on the glitter. When there is no more dripping in the glass and the glue is clear, it is the right time.
Putting the Glitter inside the bubbles
For a trouble-free process, use a funnel to put a little glitter in; then rotate it around, so it covers the inside. Continue by putting a paper towel on top; shake the bubble so the glitter coats the rest of it.
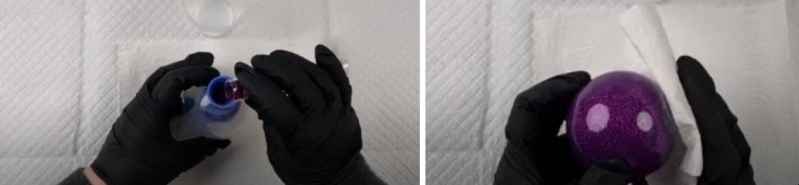
Finally, tip the excess back on the container and put it on top of the clear cup. Set the bubbles aside to dry overnight with the lid off.
It’s recommended to use ultra-fine or fine glitter so it will cover the bubble very well and not leave any empty areas.
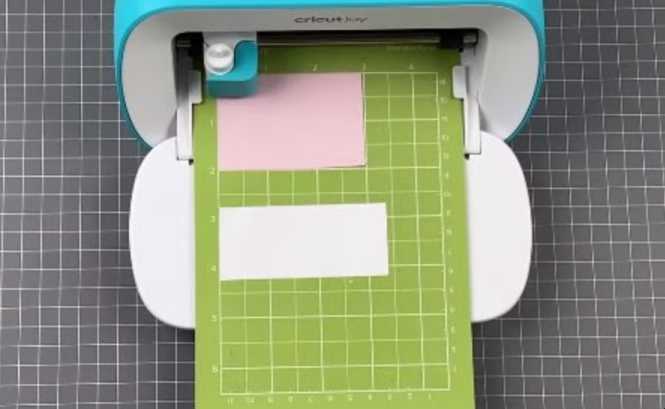
Making the decals for Christmas ornaments in Cricut
Now it’s time to start making the decals ( it can be in Cricut Design Space, Adobe Illustrator, Silhouette Studio, or any design software that makes .svg files) TUTORIAL HERE
How to make the decals in Cricut Design Space?
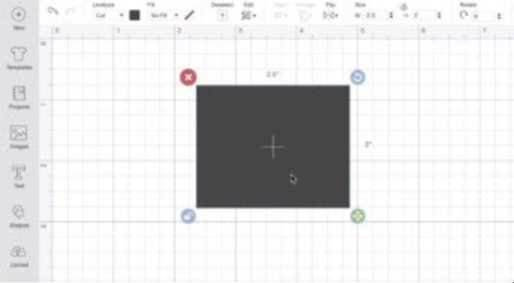
First, measure the size of the decal to fit in the bubble. Create a shape in Cricut Design Space of the size needed; these bubbles are three inches wide, so a decal two and a half inches wide by two inches tall will fit nicely in them.
Now begin putting the design large enough to fit in the square created; when it is done erase the square. To make it cut in one mat select all the layers and change the color to the same one, and then click make it.
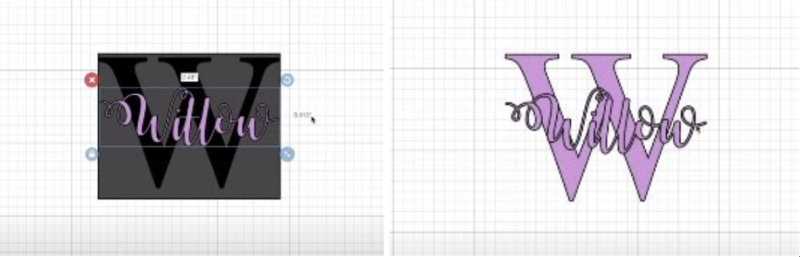
Select how you are going to load all the materials and leave enough space between each design. Finally, choose the setting that is correct for your vinyl and cut it out.
Adhering the decals on the Christmas Bubbles
Place the bubble on top of the cup to make the process easier. Put some transfer tape on the vinyl and then very carefully start putting it on; make sure it stuck well and then remove the transfer tape carefully.
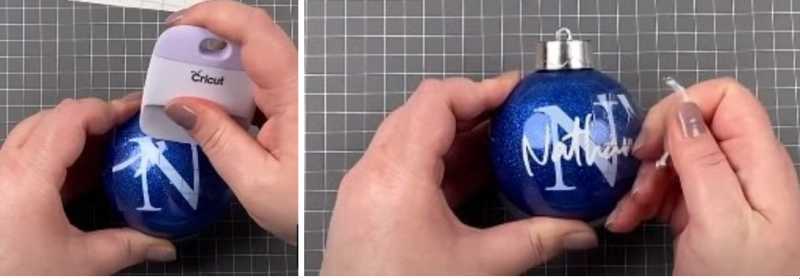
Center the design and start sticking it in. For the design to stick well without bending, following the shape of the bubble; cut the transfer paper a little in the spaces that do not have vinyl, so there is control over which part sticks first. Add other details if you want, and that’s it!

Easy, lovely and original Christmas ornaments made with a cricut and some glitter! Let me know in the comments below if this DIY worked for you!