-
×
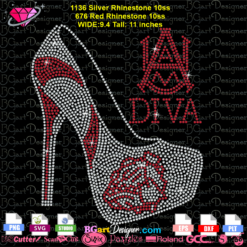
 Auburn Rhinestone High Heel
1 × $5.99
Auburn Rhinestone High Heel
1 × $5.99 -
×
 Betty Boop Chiefs Rhinestone SVG
1 × $5.99
Betty Boop Chiefs Rhinestone SVG
1 × $5.99 -
×
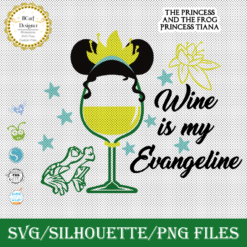
 Minnie mouse wine glass svg
1 × $2.49
Minnie mouse wine glass svg
1 × $2.49 -
×
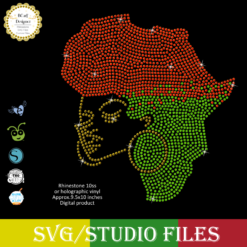
 Beauty afro black girl
1 × $2.99
Beauty afro black girl
1 × $2.99 -
×
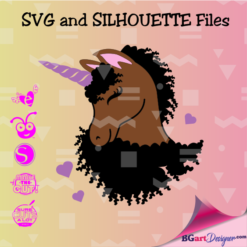 Unicorn natural hair
1 × $2.99
Unicorn natural hair
1 × $2.99 -
×
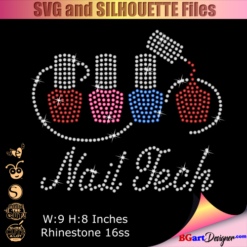 Nail Tech Rhinestone Design
1 × $5.99
Nail Tech Rhinestone Design
1 × $5.99 -
×
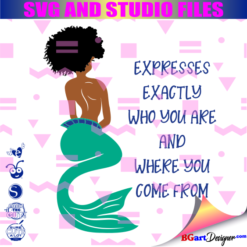 Mermaid Encouraging Natural Hair
1 × $3.99
Mermaid Encouraging Natural Hair
1 × $3.99 -
×
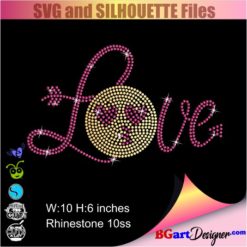 Love rhinestone emoji
1 × $3.99
Love rhinestone emoji
1 × $3.99 -
×
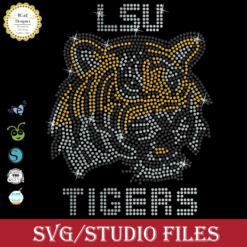 LSU tigers Rhinestone SVG
1 × $5.99
LSU tigers Rhinestone SVG
1 × $5.99 -
×
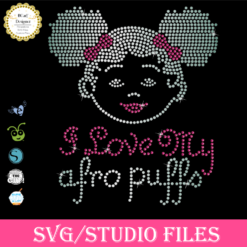 Afro Puffs Little Girl
1 × $5.99
Afro Puffs Little Girl
1 × $5.99 -
×
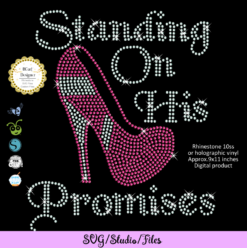 Standing on his promises heel Rhinestone file
1 × $5.99
Standing on his promises heel Rhinestone file
1 × $5.99 -
×
 Alabama State university ASU Hornets Rhinestone
1 × $5.99
Alabama State university ASU Hornets Rhinestone
1 × $5.99 -
×
 UAB Blazers Rhinestone SVG
1 × $5.99
UAB Blazers Rhinestone SVG
1 × $5.99 -
×
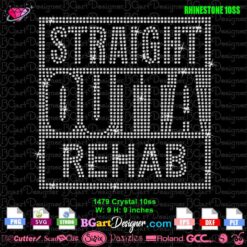 Straight Outta Rehab Rhinestone SVG
1 × $4.99
Straight Outta Rehab Rhinestone SVG
1 × $4.99 -
×
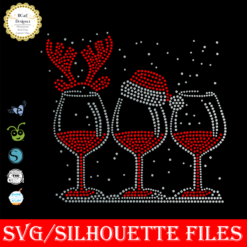
 Christmas Wine glass svg
1 × $3.99
Christmas Wine glass svg
1 × $3.99 -
×
 Princess Tiana wine glass
1 × $2.79
Princess Tiana wine glass
1 × $2.79 -
×
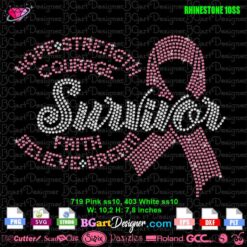 Survivor Quote Pink Ribbon Rhinestone SVG
1 × $5.99
Survivor Quote Pink Ribbon Rhinestone SVG
1 × $5.99 -
×
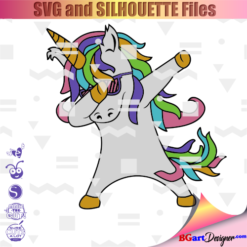 Dabbing unicorn
1 × $1.99
Dabbing unicorn
1 × $1.99 -
×
 Jamaican woman SVG file
1 × $5.99
Jamaican woman SVG file
1 × $5.99 -
×
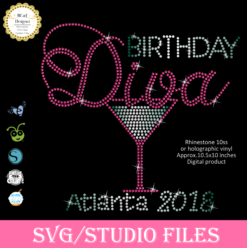 Birthday diva rhinestone
1 × $5.99
Birthday diva rhinestone
1 × $5.99 -
×
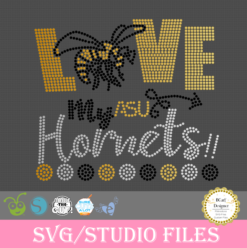 Love Asu hornets Rhinestone
1 × $5.99
Love Asu hornets Rhinestone
1 × $5.99 -
×
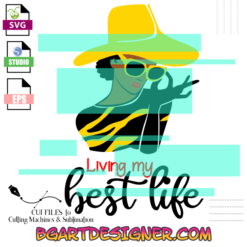 Living My Best life
1 × $2.99
Living My Best life
1 × $2.99 -
×
 Diva afro girl rhinestone svg
1 × $5.99
Diva afro girl rhinestone svg
1 × $5.99 -
×
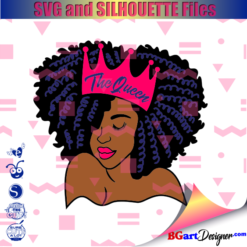 Black woman queen
1 × $2.99
Black woman queen
1 × $2.99 -
×
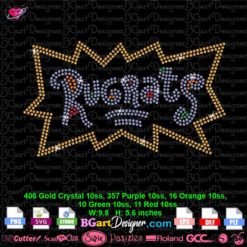 Rugrats Logo Rhinestone SVG
1 × $5.99
Rugrats Logo Rhinestone SVG
1 × $5.99 -
×
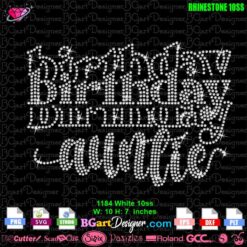 Birthday Auntie Stacked Rhinestone SVG
1 × $4.99
Birthday Auntie Stacked Rhinestone SVG
1 × $4.99 -
×
 Birthday Queen
1 × $2.49
Birthday Queen
1 × $2.49 -
×
 Ford Mustang Cut File
1 × $2.99
Ford Mustang Cut File
1 × $2.99 -
×
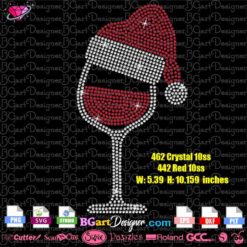
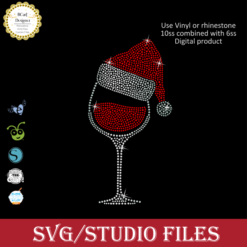 Santa Hat Wine glass svg
1 × $5.99
Santa Hat Wine glass svg
1 × $5.99 -
×
 Woman Face Shhh Finger on Lips Rhinestone SVG
1 × $4.99
Woman Face Shhh Finger on Lips Rhinestone SVG
1 × $4.99 -
×
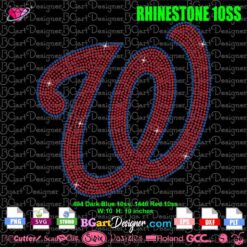 Washington Nationals Baseball Rhinestone SVG
1 × $5.99
Washington Nationals Baseball Rhinestone SVG
1 × $5.99 -
×
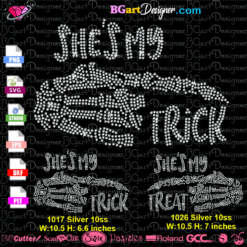 Skeleton Hand Trick Treat Rhinestone SVG
1 × $5.99
Skeleton Hand Trick Treat Rhinestone SVG
1 × $5.99 -
×
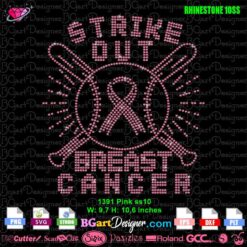 Strike Out Breast Cancer Rhinestone SVG
1 × $5.99
Strike Out Breast Cancer Rhinestone SVG
1 × $5.99 -
×
 Alabama AAMU University Bulldogs heel rhinestone
1 × $5.99
Alabama AAMU University Bulldogs heel rhinestone
1 × $5.99 -
×
 Christmas wine glass svg
1 × $5.99
Christmas wine glass svg
1 × $5.99 -
×
 Rolling stones vintage distressed
1 × $2.99
Rolling stones vintage distressed
1 × $2.99 -
×
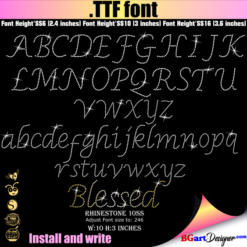 Script Rhinestone font
1 × $6.99
Script Rhinestone font
1 × $6.99 -
×
 Lips svg bundle
1 × $1.99
Lips svg bundle
1 × $1.99 -
×
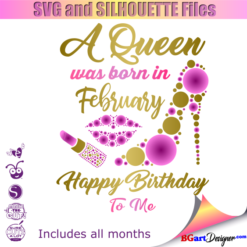
 Queens are born
1 × $3.49
Queens are born
1 × $3.49 -
×
 Birthday entourage girls
1 × $5.99
Birthday entourage girls
1 × $5.99 -
×
 LV Rhinestone Bling Logo
1 × $5.99
LV Rhinestone Bling Logo
1 × $5.99 -
×
 Won't he do it
1 × $5.99
Won't he do it
1 × $5.99 -
×
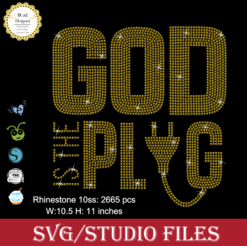 God is the Plug Rhinestone svg
1 × $5.99
God is the Plug Rhinestone svg
1 × $5.99 -
×
 Daughter of the king Outline Rhinestone
1 × $5.99
Daughter of the king Outline Rhinestone
1 × $5.99 -
×
 Regular Svg file convert
1 × $5.99
Regular Svg file convert
1 × $5.99 -
×
 I love my HBCU
1 × $5.99
I love my HBCU
1 × $5.99 -
×
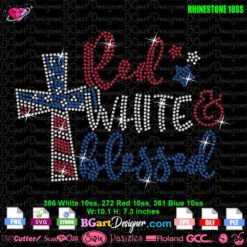 Red White Blessed Cross Rhinestone SVG
1 × $4.99
Red White Blessed Cross Rhinestone SVG
1 × $4.99 -
×
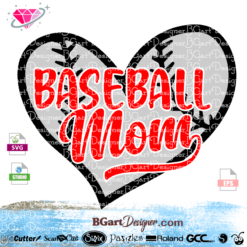 Heart Baseball Mom SVG
1 × $1.49
Heart Baseball Mom SVG
1 × $1.49
Cutting and Crafting
Make crocs Jibbitz charms with Cricut
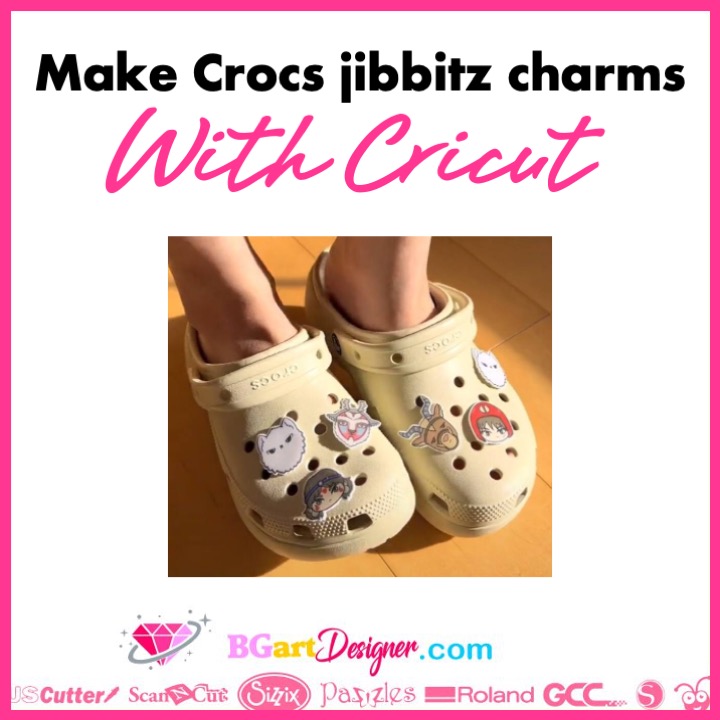
Create custom jibbitz crocs charms with a Cricut machine. Everyone or most people wear crocs for comfort, and they love jibbitz crocs! who doesn’t?
In this post is the step by step process on how to make jibbitz crocs using a Cricut machine and special paper. This is perfect for selling, and creating Crocs charms with the trendy themes of the season.
Supplies needed
- Printable shrink film sheets
- Mod pogde
- Epoxy or resin
- Plastics backs buttons
- Deep point blade
- Butcher paper
- Gorilla Glue
- Backing pan
- Oven
- Nail file
Desing process in Cricut design space
For this project use printable shrink paper. This is a paper that shrinks with heat to create a solid shape like a charm, perfect for this project! Find the white inkjet plastic in the market so the images will keep their original shape. And so you can print the design directly onto the sheet of paper.
First of all, open cricut design space and upload the photos or designs you want to use. On BGArtDesigner.com there are many amazing designs at the best prices. Once the design is on the canvas add an offset.
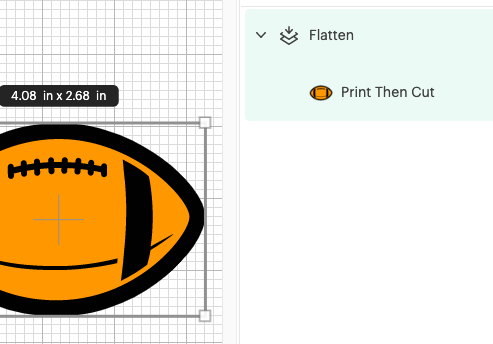
This is to have a border and cut the croc charm like a sticker. This way we avoid messing up the design. Then select both layers in the layers panel and click flatten. To have a unique design. Doing this will automatically convert the image from a cut image to a print then cut image.
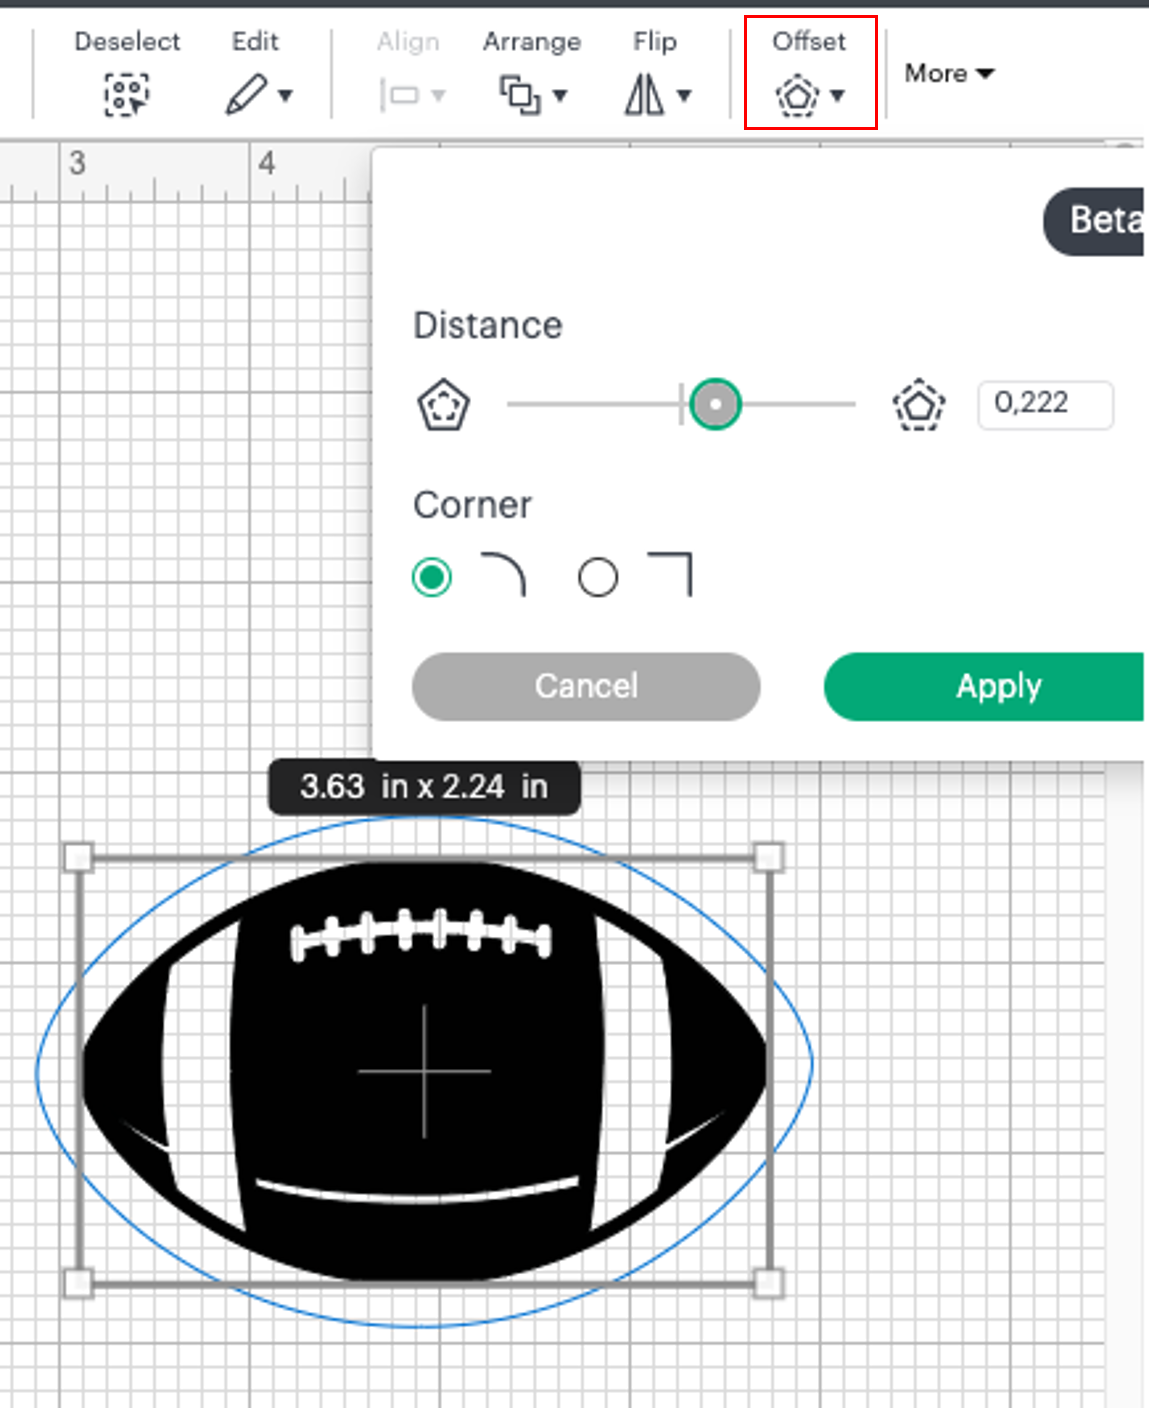
After that, size the design to the size of the croc charm. For this keep in mind that the paper is a kind of plastic, and will shrink in the process. It will do so at approximately one-third of its original size. Crocs charms look great with a 3.5 inch size. But as you know the paper will shrink. So make the design bigger because at the end of the process it won’t be the same size.
Printing tips
Print the design first, and don’t use high quality. Here are two reasons: first, you will lose a lot of ink, and second, the color will be too saturated. When the paper shrinks, it will also compact the colors, darkening them.
As a recommendation, go to the print settings by clicking on “use system dialog” and change the color settings to economy, lightening the colors. Once everything is ready, use the “chipboard” cutting setting to cut the paper.
Place the paper on a strong grip mat and use the deep point blade for best results. At the end, check to see if the machine has cut all the way through without removing the mat, if not, send it to cut again.
Heating the paper
The next step is to heat the shrink paper. To create crocs jibbitz charms with this material we need to heat it so that it takes shape. A home oven will do just fine and we will also need butcher paper and a baking pan.
Take the baking pan and put some butcher paper over the entire surface. Place the cut charms on it, leaving enough space between them. Preheat the oven to 325 degrees.
Put the baking pan in the oven at the same temperature. The material will shrink very quickly so keep an eye on it. They will start to bend, they will fold up to be like a little ball of paper so don’t worry.
Then they will return to a flat shape on their own. When this happens, take them out of the oven. Put something heavy on top to flatten them completely, but don’t forget to put some butcher paper on top. Let them get cold.
Assembling the Crocs charms jibbitz
Get some plastic buttons to glue on the back of the shrink paper to create the crocs charms. Note that these buttons have two sides, one smaller than the other. To glue it on, take a nail file and sand the back of the shrink wrap so it adheres better to the button.
As a recommendation, use a brush to apply the glue so as not to waste it and to distribute it evenly. Put a good amount of glue in the center of the charm and place the small part of the plastic button on it. Press it and adhere it well.
To add the finishing touches, first use mod podge to seal the top of the charms. Then apply a coat of UV resin or epoxy. To give them that glossy finish. Most importantly, to follow this step, get some gloves to be safe.
Then cover the entire surface of the design. And let it dry well so it doesn’t get a sticky layer. With UV resin the process is faster since using a UV lamp it sets in about 6 minutes.
To clarify, the step of adding resin is optional, the mod podge will protect it nicely.
Finally, you can paint the back parts black to match the plastic. And that’s it! Create crocs jibbitz charms is super fun, and best of all the Cricut machine works for that!