Cutting and Crafting
Engrave dog tag with Cricut

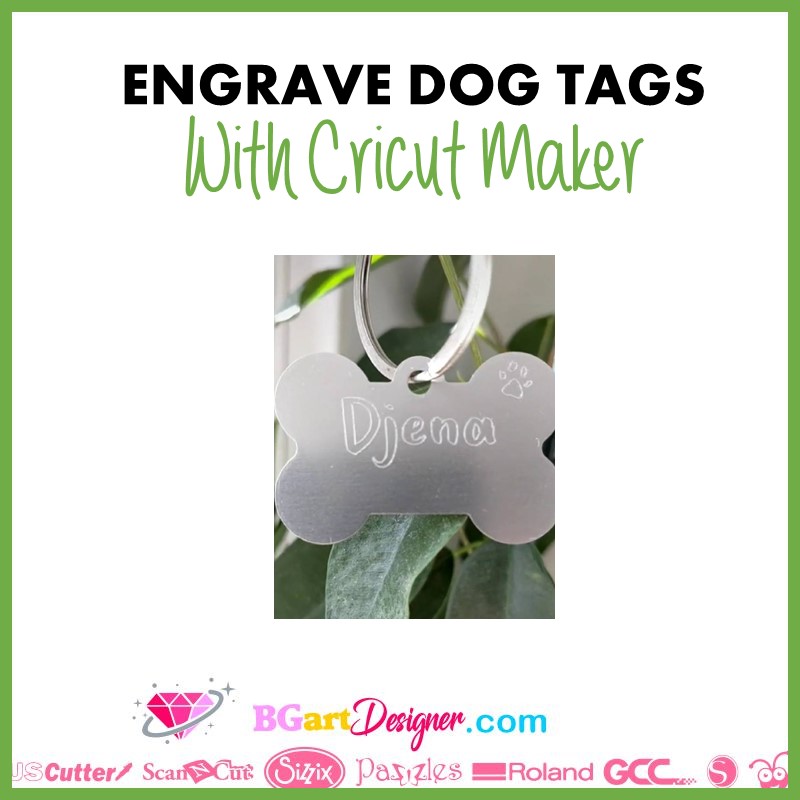
Learn how to engrave with the Cricut Maker to create a super cute dog tag! Customize it as desired!
Of course it is possible to create projects for pets. A dog collar with the name engraved on it will look awesome, imagine that. Best of all, it’s possible to personalize the tag in many ways, and it’s a super quick and easy project.
The Cricut Maker has a function called “engraving”, which is possible thanks to its adaptable tooling system. Learn how to engrave using the Cricut maker and create a dog tag or whatever you want! Check out other engraved projects HERE.
Supplies needed
- Engraving tip (Number 41)
- Soft metal
- Strong grip mat
- Painters tape
- Jump rings
- Pliers
To use the engraving function it is necessary that the engraving tip has the number 41. It is possible to buy it with or without the quick-swap housing. So in case of having the housing , you only need to buy the tip numer 41.
Above all, for the cricut maker to work properly with metal it is best to use aluminum, brass or copper. In addition, it will also work with pewter and sterling silver, but will certainly not work with galvanized steel. The most important thing is to pay attention to the thickness of the metal.
To engrave a metal using the Cricut Maker it needs to fit in the machine and be able to move in its space while cutting. So as a recommendation do not use metal thicker than 16 gauge which is 1-16 of an inch. Keep in mind that the larger the gauge, the thinner the metal.
Designing the dog tag to engrave
First, measure the blank space and create a template with that size in cricut design space. Create a design, it is possible to add an SVG file or an image if desired by clicking on the upload button. For the traditional personalized nameplate, write the name and choose a font. Make sure it is easy to read.
Change the size of the text and place it on top of the template. Above all, make sure to have a good margin between the word and the template so that it looks good when the Cricut Maker engraves it. Select the design and set it as an “engraved” file.
To do this, go to the top bar and click on the “line type” menu. If the engraving option does not appear, it is because you do not have the Cricut Maker selected. Most importantly, change to “engrave” all the layers of the design.
To engrave, it is also necessary to attach all the layers. Select them and click ” attach” at the bottom of the screen. Finally, hide the template and click on “make it”.
Engraving the dog tag
First of all, center the design in the mat preview screen and drag it to the center of the mat. Zoom in for a better view and make sure there is equal space on all sides. After that, click Continue and set up the material. Find the one for your tag.
If the material does not appear, it may be that the design is not set up for engraving. So go back and select the engraving option, as explained above. Be sure to remove any film that may be on the tag. After that, center the tag on the strong-grip mat. To do this, look for the crossed white lines in the center of the mat. Then tape the edges without interfering with the engraving space.
Load the mat in the center, between the two mat guides, neither further to the left nor further to the right. And send it to engrave. To clarify, sometimes in the engraving process the tool will lift and rotate in place. This is to remove any debris on the tip, it is totally normal.
Finally, to remove the label, turn the mat upside down and peel it off from the label. It is possible to add enamel paint or marker to the engraved section, it will seep into the engraved areas and make it easier to read. Just apply it and let it set for a few minutes to wipe it off.
Add a jump ring to the engraved tag and attach it to your dog’s collar, clothing or whatever you want! Isn’t it look cute? Let me know your comments below.
