-
×
 God is the Plug Rhinestone svg
1 × $5.99
God is the Plug Rhinestone svg
1 × $5.99 -
×
 Love Alabama Bulldogs Rhinestone
1 × $5.99
Love Alabama Bulldogs Rhinestone
1 × $5.99 -
×
 Mermaid Encouraging Natural Hair
1 × $3.99
Mermaid Encouraging Natural Hair
1 × $3.99 -
×
 Teacher Coffee Rhinestone svg
1 × $5.99
Teacher Coffee Rhinestone svg
1 × $5.99
Cricut Design Space
Convert SVG of one layer to two layers
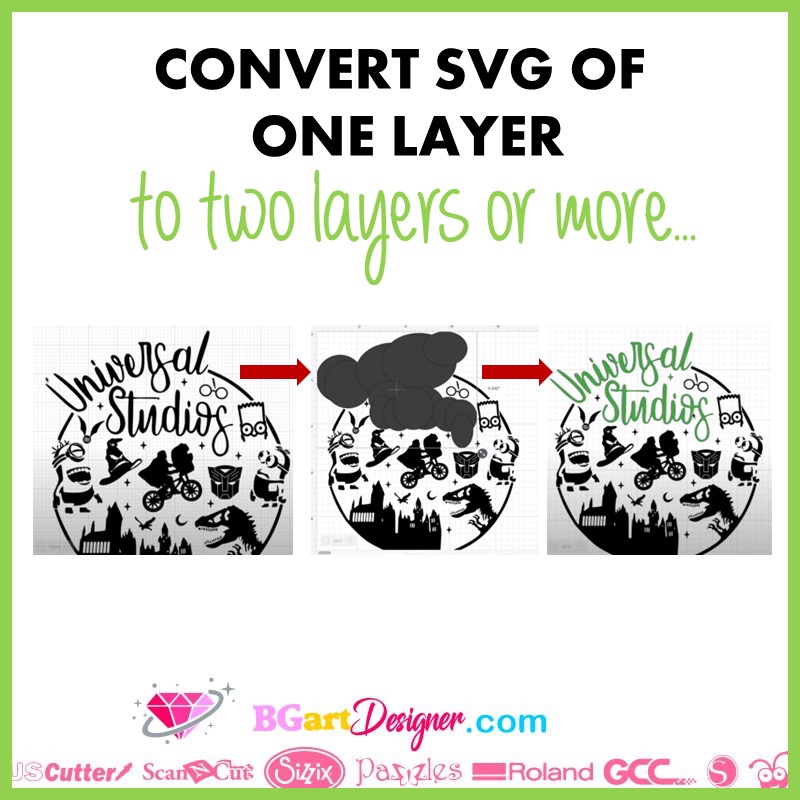
Use Cricut Design Space to convert a one-layer SVG design to two layers or more! This method works for SVG designs that are just a silhouette without multiple layers.
Converting the SVG
First of all, open Cricut Design Space on your computer. Find an image of your choice and upload it to the canvas. In BGArtDesigner there are many wonderful images to create wonderful projects, check them out!As you know, the design has only one layer and can’t be ungrouped to modify it in certain places. So to modify the design we have to use shapes.
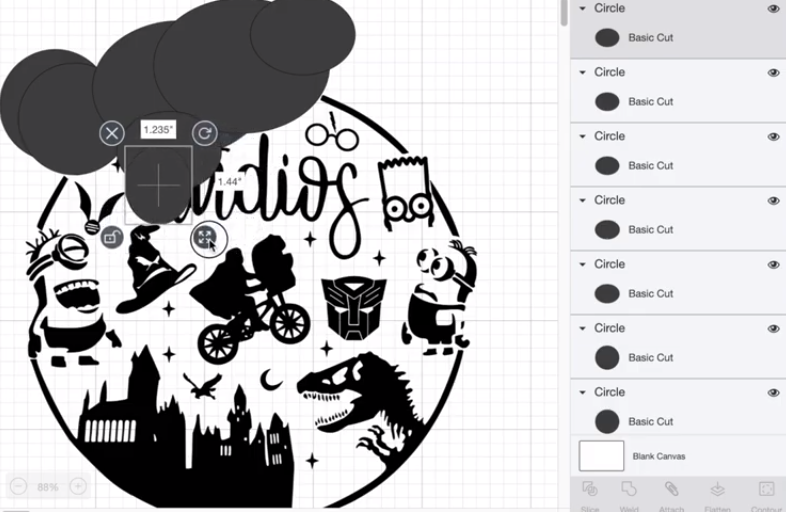
Insert a circle or a rectangle any shape works well. Duplicate the shape and start covering all the place you want to modify. Unlock the shapes to be able to modify the height and width at the same time. Make sure to cover only a specific place of the design.
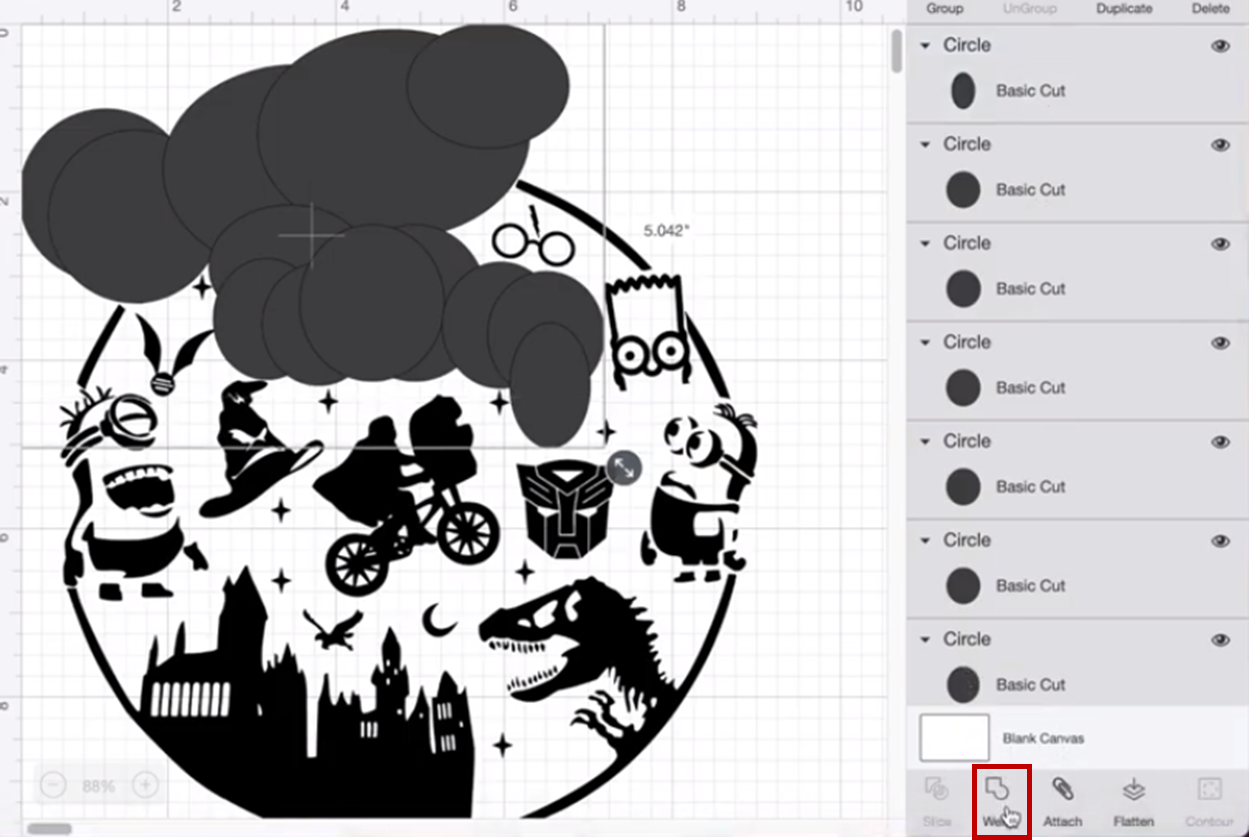
With the image covered with shapes, the next step is to select all the shapes you have inserted. it is easiest to do this using the layers panel. Hold down the “shift” key on the keyboard and start selecting the shapes one by one in the layers panel on the right side of the screen. Be sure to select only the shapes and not the design in this part of the process. Once all are selected, click on “weld”.
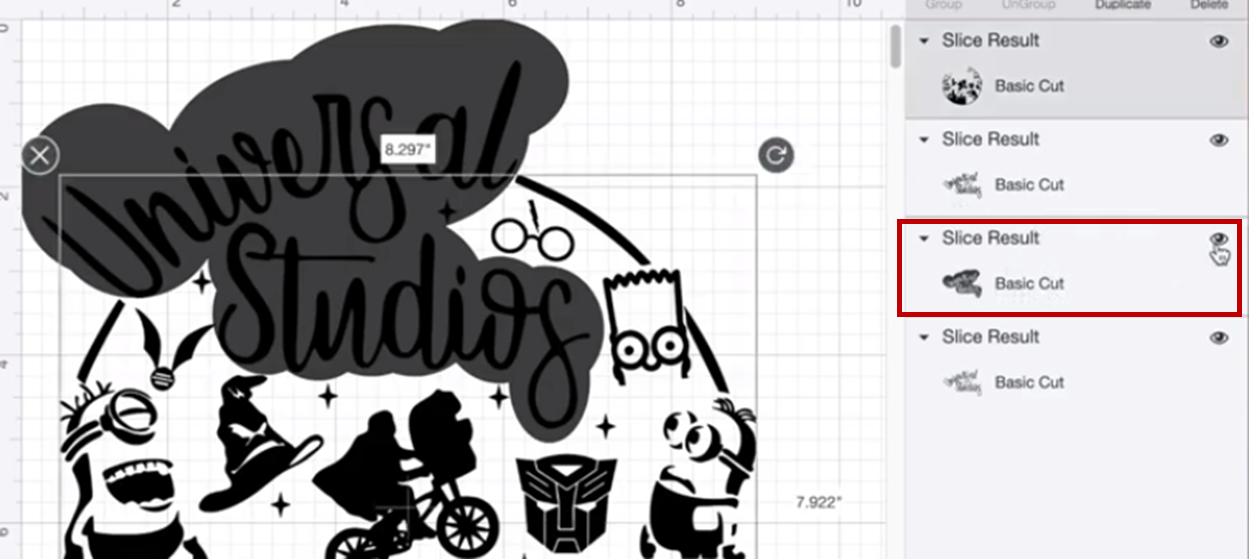
The last step to convert the SVG file from one layer to two layers is to select the created shape and also the design and finally click on ” slice” in the lower right panel. Go to the Layers panel on the right side of the screen and delete or hide the layer that in the preview appears to have the shapes and design on the same layer.
After that it is possible to change the color of the piece, the size and even add some more details! It is a really easy but useful method to modify SVG images using Cricut Design Space.