-
×
 logo Alabama AAMU University Rhinestone
1 × $3.99
logo Alabama AAMU University Rhinestone
1 × $3.99 -
×
 Christmas Wine glass svg
1 × $3.99
Christmas Wine glass svg
1 × $3.99 -
×
 Lips svg bundle
1 × $1.99
Lips svg bundle
1 × $1.99 -
×
 St Patrick's Day Rhinestone Love Clover svg
1 × $5.99
St Patrick's Day Rhinestone Love Clover svg
1 × $5.99 -
×
 Regular Svg file convert
1 × $5.99
Regular Svg file convert
1 × $5.99 -
×
 Lips NFL teams SVG
1 × $7.49
Lips NFL teams SVG
1 × $7.49 -
×
 Christmas wine glass svg
1 × $5.99
Christmas wine glass svg
1 × $5.99 -
×
 Sitting girl cake topper download
1 × $7.49
Sitting girl cake topper download
1 × $7.49 -
×
 Princess Disney wine glass
1 × $7.49
Princess Disney wine glass
1 × $7.49 -
×
 Dripping lips JSU tigers
1 × $3.91
Dripping lips JSU tigers
1 × $3.91 -
×
 Valentine Gnomes couple SVG
1 × $1.99
Valentine Gnomes couple SVG
1 × $1.99 -
×
 Christmas diva bling
1 × $5.99
Christmas diva bling
1 × $5.99 -
×
 Alabama State university ASU Hornets Rhinestone
1 × $5.99
Alabama State university ASU Hornets Rhinestone
1 × $5.99 -
×
 Black Nurses Rock
1 × $5.99
Black Nurses Rock
1 × $5.99 -
×
 Love rhinestone emoji
1 × $3.99
Love rhinestone emoji
1 × $3.99 -
×
 Danger proud basketball mom
1 × $5.99
Danger proud basketball mom
1 × $5.99 -
×
 Virgo Girls Lips SVG
1 × $3.49
Virgo Girls Lips SVG
1 × $3.49 -
×
 Believe hairstylist salon quote
1 × $2.49
Believe hairstylist salon quote
1 × $2.49 -
×
 Black Fame Us Option1 SVG
1 × $2.99
Black Fame Us Option1 SVG
1 × $2.99 -
×
 Queens are born
1 × $3.49
Queens are born
1 × $3.49 -
×
 I want a hippopotamus for christmas
1 × $1.99
I want a hippopotamus for christmas
1 × $1.99 -
×
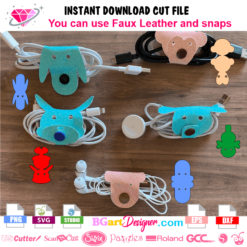 Leather Cord Keeper SVG
1 × $3.49
Leather Cord Keeper SVG
1 × $3.49 -
×
 I love my HBCU
1 × $5.99
I love my HBCU
1 × $5.99 -
×
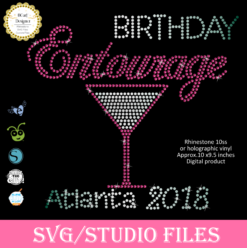 Birthday entourage girls
1 × $5.99
Birthday entourage girls
1 × $5.99 -
×
 Merry christmas wine glass
1 × $5.99
Merry christmas wine glass
1 × $5.99 -
×
 Diva afro girl rhinestone svg
1 × $5.99
Diva afro girl rhinestone svg
1 × $5.99 -
×
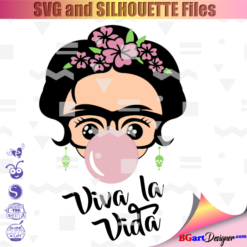 Frida Kahlo quotes SVG
1 × $2.49
Frida Kahlo quotes SVG
1 × $2.49 -
×
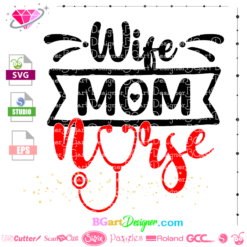 Wife mom nurse file
1 × $2.49
Wife mom nurse file
1 × $2.49 -
×
 Love Asu hornets Rhinestone
1 × $5.99
Love Asu hornets Rhinestone
1 × $5.99 -
×
 Auburn Rhinestone High Heel
1 × $5.99
Auburn Rhinestone High Heel
1 × $5.99 -
×
 Template for use slice in design space app
1 × $3.91
Template for use slice in design space app
1 × $3.91 -
×
 Standing on his promises heel Rhinestone file
1 × $5.99
Standing on his promises heel Rhinestone file
1 × $5.99 -
×
 Birthday Queen
1 × $2.49
Birthday Queen
1 × $2.49 -
×
 Old English font rhinestone
1 × $9.99
Old English font rhinestone
1 × $9.99 -
×
 Johnny Depp Movie Face SVG
1 × $2.99
Johnny Depp Movie Face SVG
1 × $2.99 -
×
 Save the turtles svg
1 × $1.49
Save the turtles svg
1 × $1.49 -
×
 Dabbing unicorn
1 × $1.99
Dabbing unicorn
1 × $1.99 -
×
 Hair salon font
1 × $5.99
Hair salon font
1 × $5.99 -
×
 Love Alabama Bulldogs Rhinestone
1 × $5.99
Love Alabama Bulldogs Rhinestone
1 × $5.99 -
×
 Faux Leather Jewelry bundle
1 × $3.99
Faux Leather Jewelry bundle
1 × $3.99 -
×
 Minnie mouse wine glass svg
1 × $2.49
Minnie mouse wine glass svg
1 × $2.49 -
×
 Merry Grinchmas Truck SVG
1 × $2.99
Merry Grinchmas Truck SVG
1 × $2.99 -
×
 Afro Puffs Little Girl
1 × $5.99
Afro Puffs Little Girl
1 × $5.99
Cricut Design Space
How to use Cricut Joy cards with Cricut explore or Maker
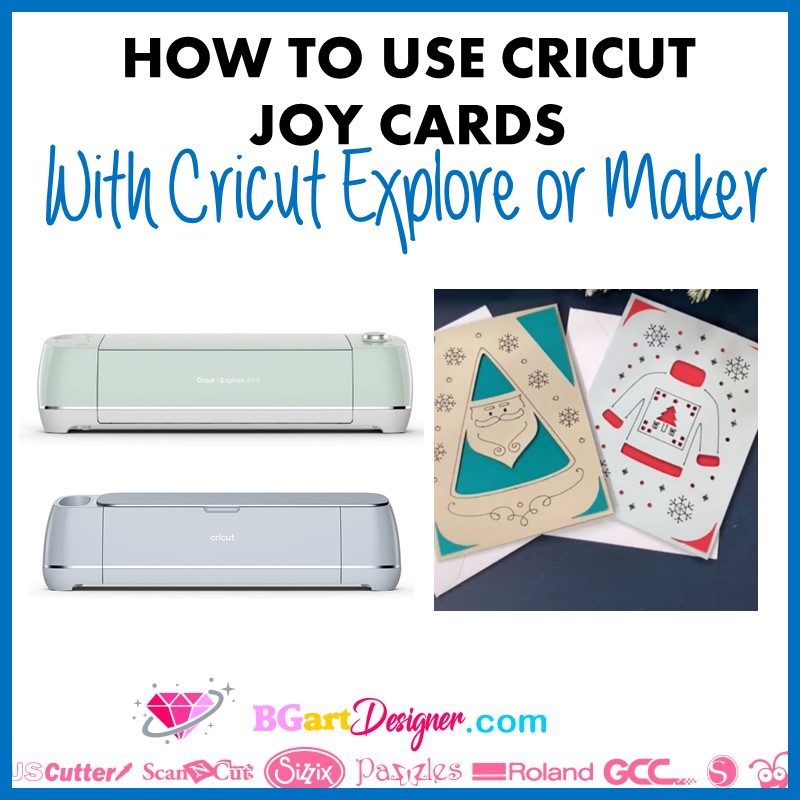
Create amazing cards with Cricut Joy designs on any cricut machine! It’s super easy and useful for creating larger cards or even making more in less time. Above all, remember that if the designs are not free you must purchase them for commercial use. HERE is a cute card design to try out!
Cricut design space does not allow using the Cricut Joy projects on the other machines due to its new update. However, with this method it is possible to use the card designs and cut them with a Cricut Explore or a Cricut Maker.
Obtaining the Cricut Joy design card
To create cards with the Cricut Joy designs go to the Cricut home page. Click on “view all” next to Cricut access. Then, select the Cricut Joy machine at the top so you can search for joy projects. In the search bar type “card”, select the one and click on “make it”.
It will take you to a screen where the design is set up to cut with the Cricut Joy. The design will already be in the mat configuration. Zoom in on the design and capture the image to bring it into the Cricut Design Space. On some computers there is a key called “prt sc” on the keyboard that does that function.
On windows users there is an app called snipping tool, click on it. In case you do not have it download an app. To capture using any app select the image by dragging the box over it. Select only the design by the edge of it trying not to select the mat. Finally, save the image.
After that go to cricut design space and create a new project. The first thing we have to do is to change the machine back to the maker or explorer in the top settings. Then import the image we have saved before. three options will appear to select the type of image, select the “simple option” because this image has only two colors.
Click continue, in this part click on the wand icon to select the spaces you want to delete, keep only the pieces of the design. After that, click continue, two ways to save the image will appear. We want to make a card, so the “cut image” format is the one we have to choose. Finally, select the image and insert it into the canvas.
Creating the card
Now add the background to the image and the card insert. To make the background of the card all we need is a square so go to shapes and insert one. To change the size completely remember to click on the unlock button. Remember that the size of the card must be double, that is, we have to fold it in half to create it.
Then go to shapes and insert the score line, place it in the center of the rectangle. Drag it out so that it is large enough to cover the entire size of the card. To make sure it is centered, select both the square and the score lines and use the align button to click “center”. Then with those pieces selected click “attach”.
Now we need to create the insert that is behind the card. To do this insert a new rectangle a little smaller than the size of the card. Change its color to cut it into a different mat. Most of the Joy designs have small arcs on the edges to insert another piece of paper of a different color to give more detail to the card; but it is also possible to simply glue the paper to the background card or ignore this step.
Save the template in case you want to make other cards. Then place the image in front of the card by right-clicking on it and clicking on “send to front”. Center the image on the right side of the card, then select the card and picture and click attach and there are the cards with the Cricut Joy Design but cut on a cricut explore or maker!