Cutting and Crafting
Sublimate on felt: create logo tags
Learn how to sublimate on felt and create logo tags to put on blankets and knitted projects! An easy way to add the branding to your projects!
Supplies needed
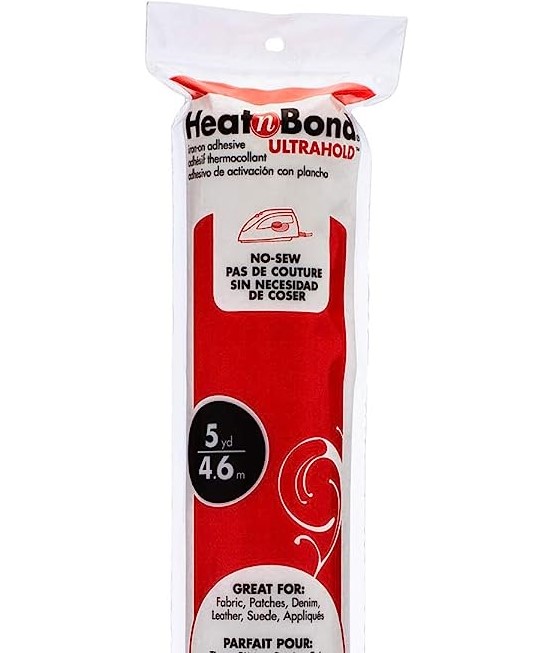
- Heat n Bond
- Heat resistant tape
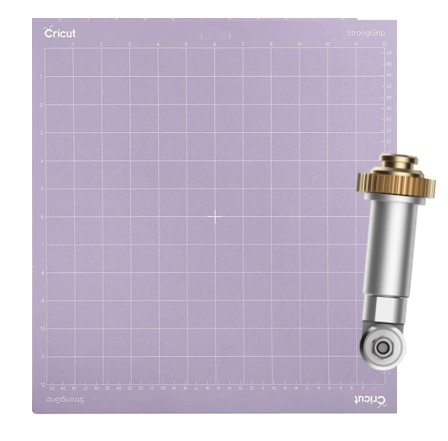
- Strong grip mat
- Sublimation printer
- Sublimation paper
- Sublimation Ink
- Butcher paper
- Polyester felt
- Cutting machine
First of all, to sublimate on felt and create logo tags, open Cricut Design space. We have to make the shape and the background of the logo label. Circles look good! Size it depending on the surface where you are going to place it. That’s all the first step, click on make it and place the felt on the mat.
As a recommendation, if you are creating a lot of these labels, instead of duplicating them one by one and organizing them in the cricut design space canvas, simply click on do it and modify the copies of the project.
To clarify, it is possible to size the work surface as well, to make sure that all the labels will fit on the felt sheet. Just keep in mind that every time you make a change to the copies or other things you must have to also change the size of the work surface in the design space mat.
Cutting the felt
To cut the felt and make the tags, as a recommendation, apply heat n bond to the back of the felt, this way the tags will hold on better. For that, place the felt on top of the heat n bond.
Cut the heat n bond with the size of the felt sheet, it doesn’t have to be perfect. Just make sure to don’t have excess that could make contact with the pressing pillow, because it will damage the workspace.
Place the textured shiny side face down to the felt and the matte paper side facing up. The matte side is the one making contact with the heat press. Press at 305 degrees for about eight seconds, and then let it cool. Don’t forget to use some butcher paper to press.
Once it has cooled, remove the backing. Sometimes it tends to tear, but don’t worry, just peel it off again. Above all, don’t throw away the backing of the heat n bond, we’ll use it later. Then it’s time to place the felt on the mat and cut it out. As a recommendation, use a strong grip mat, because it holds the material a little more.
With the rotary blade the felt acrylic fabric works well but remember it is important to do some test cuts because all cut settings are different.
Finally, as usual, before unloading the mat, make sure it cuts all the way through by peeling off a corner of the material.
Printing tips for the design
After that, choose the design for the labels, in this case it is a logo but it can be anything, a message, an image, and others, fins some cute designs HERE! To avoid wasting material, try to fill all the sheets leaving enough space between them. Don’t forget to reflect the design.
Click on make it and then on “use system dialog” and change the preferences. Switch to matte paper, High quality and make sure that the option to print in “color” is selected, then go to “more options” and turn off high speed.
Pressing the felt
With the design and felt base in place it is time to assemble the tags. Take the back of the heat n bond and place the felt circles with their heat n bond side down. Then place the design on top of the circle, and use heat tape and stick it to the back of the heat n bond to hold the circle in place.
Press the design taking care not to melt the heat n bond, use the easy press mini at the highest temperature for 30 to 45 seconds using butcher paper between the design and the press.
Finally, place the felt label on the fabric, adding hot glue. To adhere it perfectly first apply hot glue on half of the label and once it has cooled down carefully fold the label to get some more glue on the rest of it and stick it completely to have a better result.
To clarify, it is not necessary to add too much glue because the heat gun will activate the heat n bond as well!