Cutting and Crafting
Halloween party decorations with Cricut
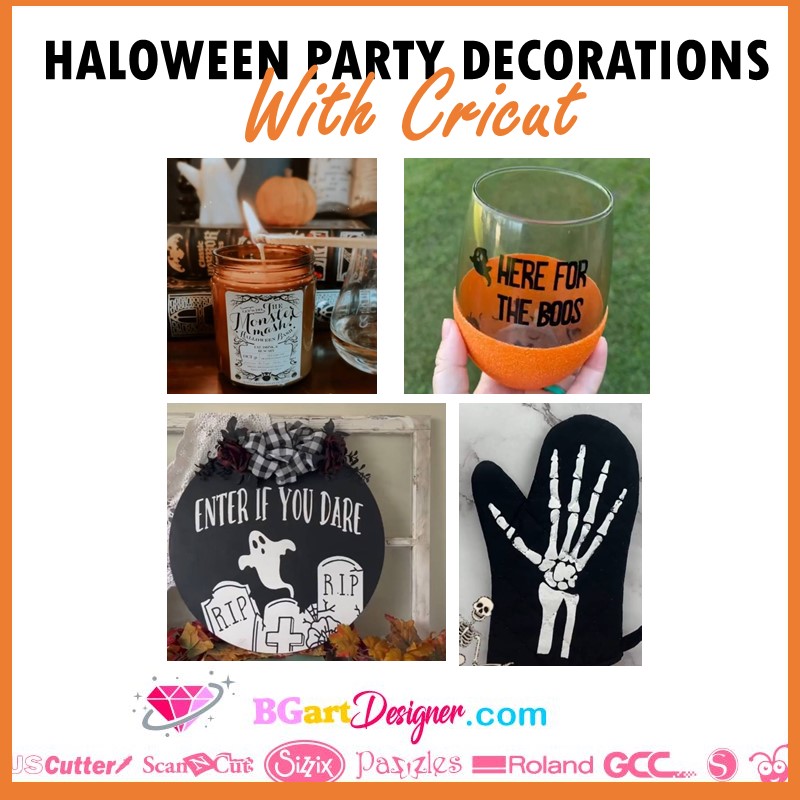
Make Halloween party decorations with a Cricut, that can aslo be for your home or to sell! And most of the products are available on the dollar tree. These are very simple ideas to try with your cricut.
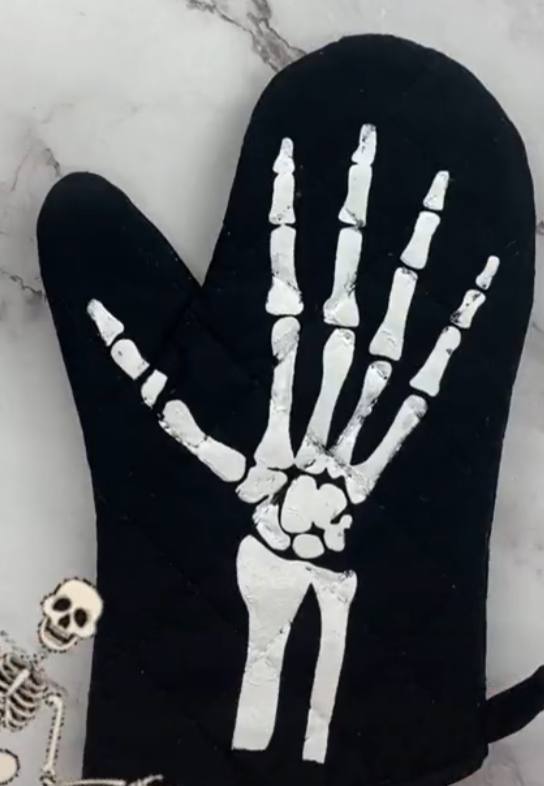
1. Customize black oven mitt
The first project about halloween party decorations with cricut is this super fun spooky oven mitt! The only way to see it is when the lights come out!
Supplies needed
- Glow in the dark HTV
- Oven mitt
- cutting machine
- Butcher paper
- Heat press
First of all, get a skeleton design file. Make sure you have only one solid image. In case this is not the case, select all the pieces and weld them. Measure the oven mitt, just the work surface, and create a template with that size in cricut design space.
With the template it is easier to see the size of the design. As a recommendation, do not cut the thumb with the rest of the fingers. It is the only piece that we are going to cut separately in order for it to fit perfectly in the oven mitt.
To do this, size the design with the template and leave the thumb outside of it. Then select both, the template and the thumb and click “slice” to separate the thumb from the other fingers. To clarify, this is one of the reasons to weld all the degins together because the slice function only cuts two layers at a time.
Cutting and pressing
Cut out the design in glow-in-the-dark HTV to create a spooky effect when the lights go out. Since we are using HTV don’t forget to mirror the design. Click on make it and select the “every day iron on” material.
After that, set the heat press to 305 degrees and 15 seconds. First press your whole hand onto the oven mitt, leaving your thumb to one side. To do this, use the tack method. This means we are going to apply the right amount of heat, but not the full amount of time, so that we can add multiple layers without overdoing the HTV.
So, heat press at first for only 3 seconds and let it cool for a few seconds, not too long, to peel off the backing. Then, place the other layer of the design, in this case the thumb of the skeleton. And press again for a few seconds. Let it cool again for a few seconds and remove the back sheet as well. Don’t forget to use the telfon sheet for each pressing.
Finally, press the entire design again, without a backing sheet but with a Teflon sheet. Above all, press for the full time that is 15 seconds. And that’s it.
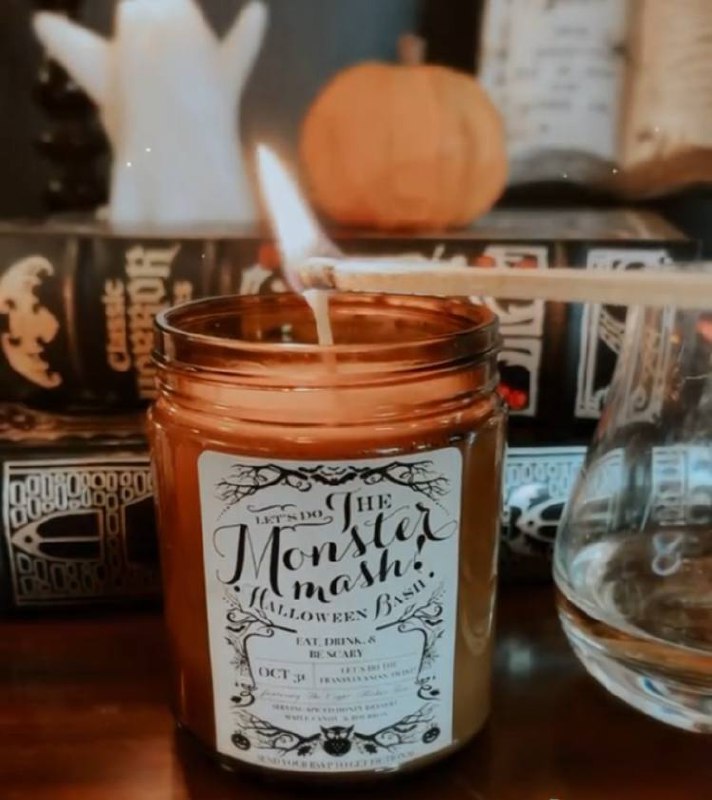
2. Customize Glass candle jar
Supplies needed
- Printable vinyl
- Glass jar
- candle
- Cutting machine
- scraper tool
- Spray Sealant
- Alcohol Ink
- Gloves
- Brush
First of all, find the spooky design of the season HERE! And use printable vinyl to add the label to the jar! Measure the working surface of the jar, create a template and adjust the size of the design accordingly. Lastly, make sure the design is set up to print then cut.
After that, Click “make it”, and click “send to printer”. In the cricut settings, set the material to “light cardstock” for THIS printable vinyl; and turn on the bleed option. Finally click on “use system dialog”. After that, click on print. Sometimes the system dialog screen is hidden behind the cricut screen, so be sure to find it just in case. There, set the quality to “best” and print it out.
Spooky touch to the glass
Above all, to create this kind of halloween party decorations with Cricut, the idea is to make the jar look spooky and old-fashioned, so grab some alcohol ink and a glove. Start by applying some alcohol ink on the surface of the jar and, using a brush, spread the ink. In fact, you can’t go wrong with this step, because it doesn’t have to be perfect. Add as many layers as you want, keep in mind that the alcohol ink dries quickly.
In case you really feel something doesn’t look quite good it is possible to remove the ink using rubbing alcohol.
Finally, it’s time to apply the label. But, after that, it is important to use some spray sealant over the top to seal everything in. Then, the jar is ready to apply the vinyl as we usually do! Just use some transfer tape and a scraper tool. It is ready! put a candle inside and that’s it!
3. Customize wine glass
Supplies needed
- Wine glass
- Adhesive vinyl
- Transfer tape
- Squeegee
- Cutting machine
Find a design with a funny quote or an image. In cricut design space, group all layers by color division using the weld function. Measure the wine glass blank and create a template for the size of the design and make sure it fits in the blank.
After that, send the machine to cut, and in the meantime start cleaning the glass surface using rubbing alcohol, to make sure it adheres correctly. Finally, to adhere the vinyl to the glass, use some transfer tape.
As a recommendation, place the transfer tape leaving a space to stick on the glass and align the design. Glue the vinyl by first placing the excess part of the transfer tape, and once you are sure, adhere it completely and stick it with the squeegee.

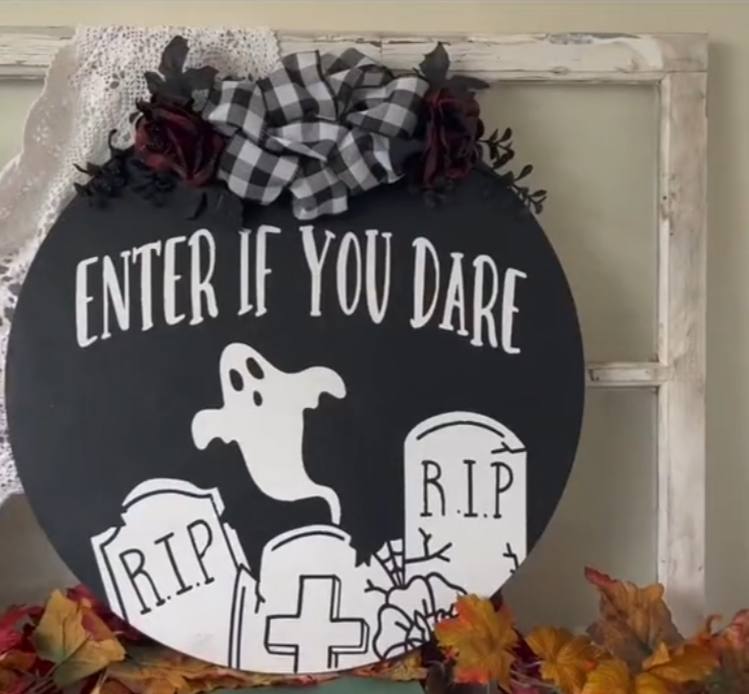
4. Spooky Door hanger
Supplies needed
- Adhesive vinyl
- Door hanger blank
- StarCraft chalk paint
- Transfer tape
- Ribbon
- Hot glue
First of all, open cricut design space and find a design. Search for halloween HERE and you’ll find amazing designs! As always, measure the blank and add a template to size the design accordingly. Send the machine to cut.
Above all, for the door hanger to look better, paint it using some StarCraft chalk paint, the orange is the color of the spooky season so it will look awesome. To clarify, You can buy a blank door hanger or buy some wood to personalize it!
Finally, take the decal and with the help of some transfer tape place it on the blank part of the door hanger. Above all, when applying the transfer tape, be careful not to press it too hard because the pressure activates the adhesive of the vinyl. Above all, squeegee the transfer so that it adheres well. In case it is only a piece of wood, use some tape and hot glue to make the hanger and that’s it!