-
×
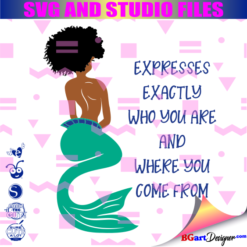 Mermaid Encouraging Natural Hair
1 × $3.99
Mermaid Encouraging Natural Hair
1 × $3.99 -
×
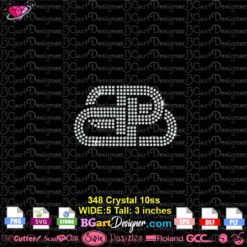 Balenciaga Small Logo Rhinestone SVG
1 × $4.99
Balenciaga Small Logo Rhinestone SVG
1 × $4.99 -
×
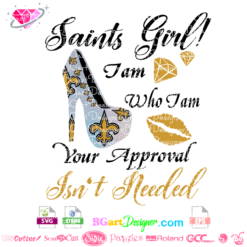 Saints Girl Heels
1 × $3.99
Saints Girl Heels
1 × $3.99 -
×
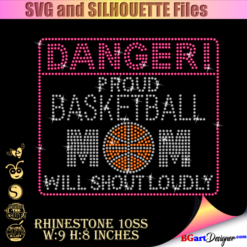 Danger proud basketball mom
1 × $5.99
Danger proud basketball mom
1 × $5.99 -
×
 Sorority shoes bundle
1 × $5.99
Sorority shoes bundle
1 × $5.99 -
×
 Nail Tech Rhinestone Design
1 × $5.99
Nail Tech Rhinestone Design
1 × $5.99 -
×
 MSU Spartans Rhinestone
1 × $4.99
MSU Spartans Rhinestone
1 × $4.99 -
×
 Hair salon font
1 × $5.99
Hair salon font
1 × $5.99 -
×
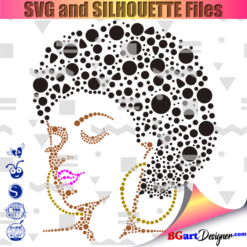 Beauty afro black girl
1 × $2.99
Beauty afro black girl
1 × $2.99 -
×
 Birthday girl slay svg
1 × $3.49
Birthday girl slay svg
1 × $3.49 -
×
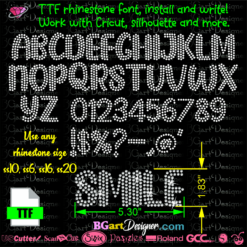
 Download Rhinestone font BGART11
1 × $9.99
Download Rhinestone font BGART11
1 × $9.99 -
×
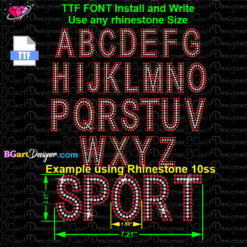
 Rhinestone ttf font bgart4
1 × $7.99
Rhinestone ttf font bgart4
1 × $7.99 -
×
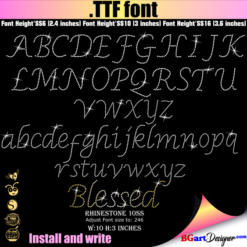 Script Rhinestone font
1 × $6.99
Script Rhinestone font
1 × $6.99 -
×
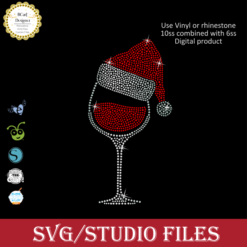 Santa Hat Wine glass svg
1 × $5.99
Santa Hat Wine glass svg
1 × $5.99 -
×
 I love my HBCU
1 × $5.99
I love my HBCU
1 × $5.99 -
×
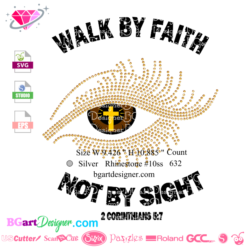 Walk by faith svg
1 × $3.49
Walk by faith svg
1 × $3.49 -
×
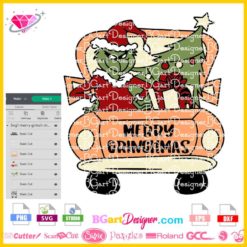 Merry Grinchmas Truck SVG
1 × $2.99
Merry Grinchmas Truck SVG
1 × $2.99 -
×
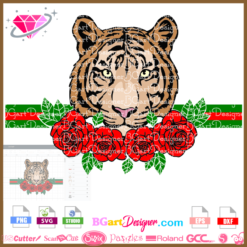 Tiger Rose Bouquet SVG
1 × $3.49
Tiger Rose Bouquet SVG
1 × $3.49 -
×
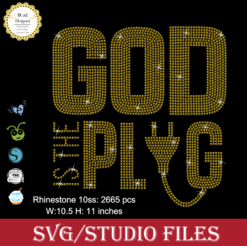 God is the Plug Rhinestone svg
1 × $5.99
God is the Plug Rhinestone svg
1 × $5.99 -
×
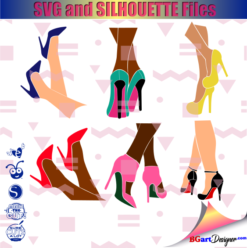 Legs in sexy high heels shoes
1 × $2.49
Legs in sexy high heels shoes
1 × $2.49 -
×
 Anna Princess wine glass SVG
1 × $2.45
Anna Princess wine glass SVG
1 × $2.45 -
×
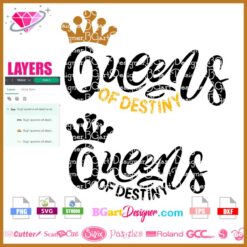 Queens Of Destiny Crown Heart SVG
1 × $2.99
Queens Of Destiny Crown Heart SVG
1 × $2.99 -
×
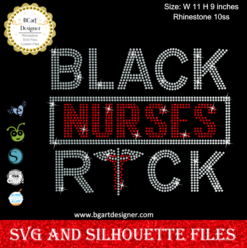 Black Nurses Rock
1 × $5.99
Black Nurses Rock
1 × $5.99 -
×
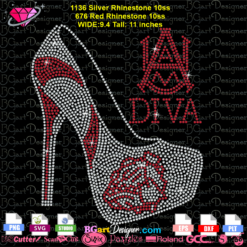
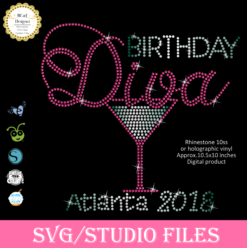 Birthday diva rhinestone
1 × $5.99
Birthday diva rhinestone
1 × $5.99 -
×
 Diva afro girl rhinestone svg
1 × $5.99
Diva afro girl rhinestone svg
1 × $5.99 -
×
 Libra Queen Rhinestone Download
1 × $5.99
Libra Queen Rhinestone Download
1 × $5.99 -
×
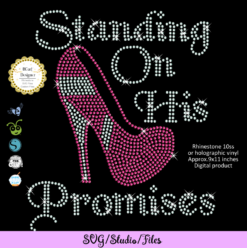 Standing on his promises heel Rhinestone file
1 × $5.99
Standing on his promises heel Rhinestone file
1 × $5.99 -
×
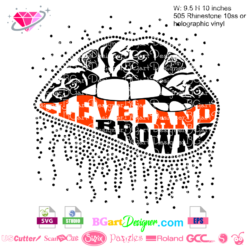 Dripping lips Cleveland Browns
1 × $3.91
Dripping lips Cleveland Browns
1 × $3.91 -
×
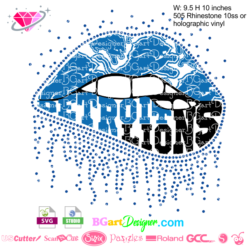 Dripping lips detroit lions
1 × $3.91
Dripping lips detroit lions
1 × $3.91 -
×
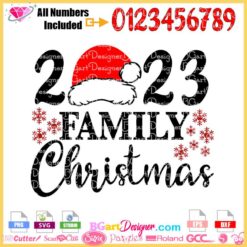 2023 Family Christmas SVG
1 × $2.99
2023 Family Christmas SVG
1 × $2.99 -
×
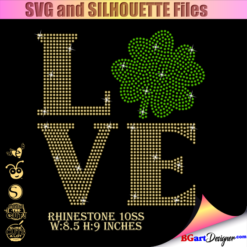 St Patrick's Day Rhinestone Love Clover svg
1 × $5.99
St Patrick's Day Rhinestone Love Clover svg
1 × $5.99 -
×
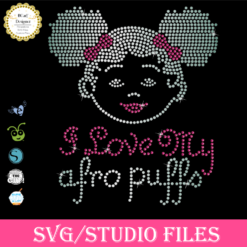 Afro Puffs Little Girl
1 × $5.99
Afro Puffs Little Girl
1 × $5.99 -
×
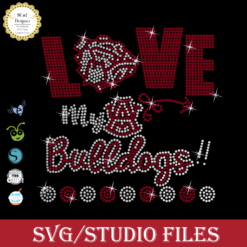 Love Alabama Bulldogs Rhinestone
1 × $5.99
Love Alabama Bulldogs Rhinestone
1 × $5.99 -
×
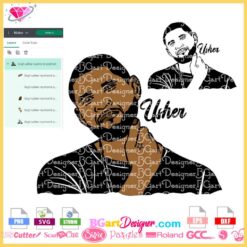 Usher Raymond Portrait Layered SVG
1 × $2.99
Usher Raymond Portrait Layered SVG
1 × $2.99 -
×
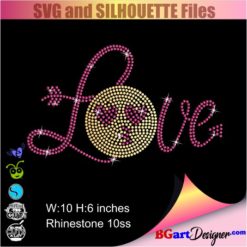 Love rhinestone emoji
1 × $3.99
Love rhinestone emoji
1 × $3.99 -
×
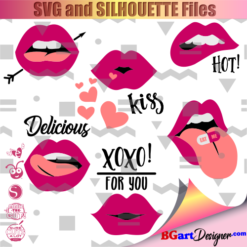 Lips svg bundle
1 × $1.99
Lips svg bundle
1 × $1.99 -
×
 Delta sigma theta high heel
1 × $5.99
Delta sigma theta high heel
1 × $5.99 -
×
 Jeep Wrangler SVG Design
1 × $4.49
Jeep Wrangler SVG Design
1 × $4.49 -
×
 Dabbing unicorn
1 × $1.99
Dabbing unicorn
1 × $1.99 -
×
 logo Alabama AAMU University Rhinestone
1 × $3.99
logo Alabama AAMU University Rhinestone
1 × $3.99 -
×
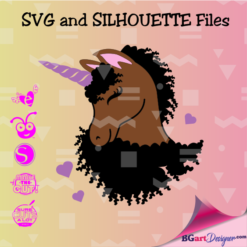 Unicorn natural hair
1 × $2.99
Unicorn natural hair
1 × $2.99 -
×
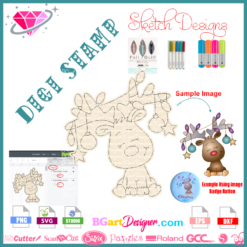 Sketch Reindeer Digital Stamp
1 × $0.99
Sketch Reindeer Digital Stamp
1 × $0.99 -
×
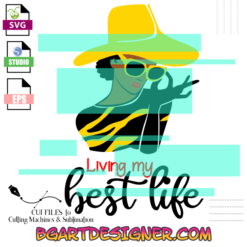 Living My Best life
1 × $2.99
Living My Best life
1 × $2.99 -
×
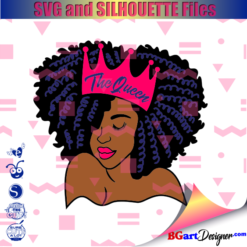 Black woman queen
1 × $2.99
Black woman queen
1 × $2.99 -
×
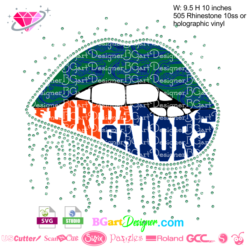 Dripping lips florida gators
1 × $3.91
Dripping lips florida gators
1 × $3.91 -
×
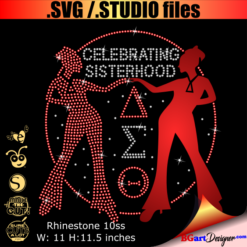 Black woman sisterhood sorority
1 × $5.99
Black woman sisterhood sorority
1 × $5.99 -
×
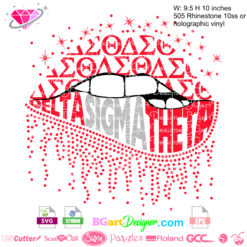 Dripping lips delta sigma theta
1 × $3.91
Dripping lips delta sigma theta
1 × $3.91 -
×
 Template for use slice in design space app
1 × $3.91
Template for use slice in design space app
1 × $3.91 -
×
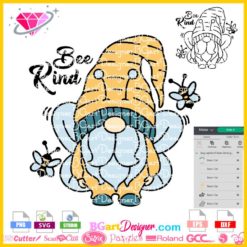 Bee Kind Gnome Vector SVG
1 × $2.99
Bee Kind Gnome Vector SVG
1 × $2.99 -
×
 Alabama AAMU University Bulldogs heel rhinestone
1 × $5.99
Alabama AAMU University Bulldogs heel rhinestone
1 × $5.99 -
×
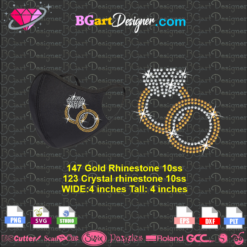 Diamond Wedding Rings Mask rhinestone
1 × $4.99
Diamond Wedding Rings Mask rhinestone
1 × $4.99 -
×
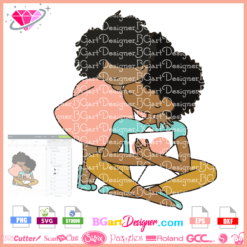 Mom And Daughter Vector svg
1 × $3.49
Mom And Daughter Vector svg
1 × $3.49 -
×
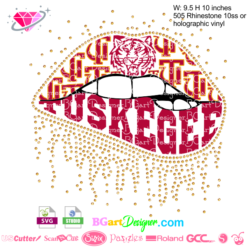 Dripping lips Tuskegee svg
1 × $3.91
Dripping lips Tuskegee svg
1 × $3.91 -
×
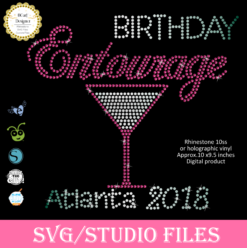 Birthday entourage girls
1 × $5.99
Birthday entourage girls
1 × $5.99 -
×
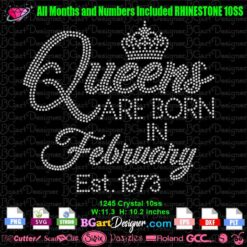 Queens Born Birthday Rhinestone SVG
1 × $7.99
Queens Born Birthday Rhinestone SVG
1 × $7.99 -
×
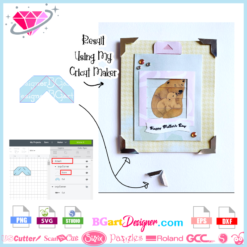 Photo Corner SVG Download
1 × $0.99
Photo Corner SVG Download
1 × $0.99 -
×
 Princess Tiana wine glass
1 × $2.79
Princess Tiana wine glass
1 × $2.79 -
×
 Teddy Bear Split Monogram
1 × $1.49
Teddy Bear Split Monogram
1 × $1.49 -
×
 Silver Star AKA SVG
1 × $2.99
Silver Star AKA SVG
1 × $2.99 -
×
 Rhinestone ttf font bgart3
1 × $9.99
Rhinestone ttf font bgart3
1 × $9.99 -
×
 Mustang GT500 black and white
1 × $3.49
Mustang GT500 black and white
1 × $3.49 -
×
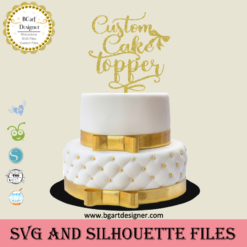 Custom cake topper
1 × $9.99
Custom cake topper
1 × $9.99 -
×
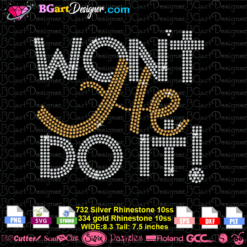 Won't he do it
1 × $5.99
Won't he do it
1 × $5.99 -
×
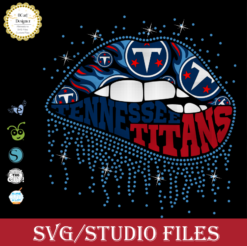 Tennessee titans lips svg
1 × $3.91
Tennessee titans lips svg
1 × $3.91 -
×
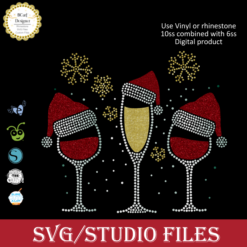 Merry christmas wine glass
1 × $5.99
Merry christmas wine glass
1 × $5.99 -
×
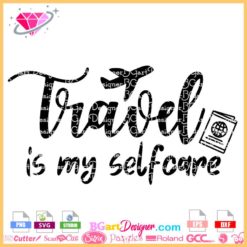 Travel Is My Selfcare Vector SVG
1 × $2.99
Travel Is My Selfcare Vector SVG
1 × $2.99 -
×
 Regular Svg file convert
1 × $5.99
Regular Svg file convert
1 × $5.99 -
×
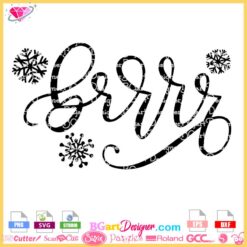 brrrr Funny Winter Snowflake SVG
1 × $1.99
brrrr Funny Winter Snowflake SVG
1 × $1.99
Cutting and Crafting
Print then cut large images on Cricut
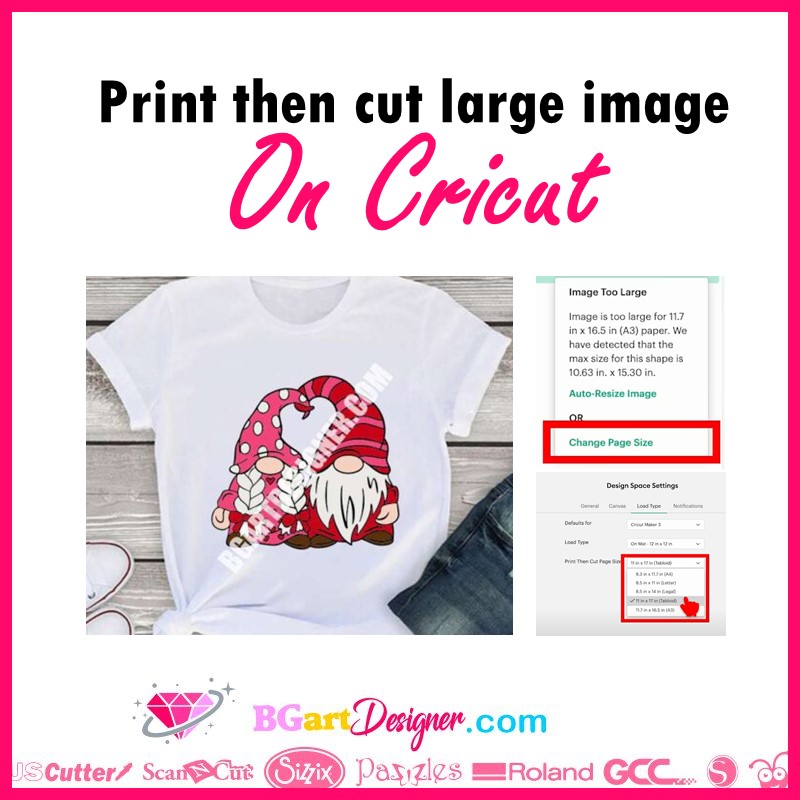
Learn how to print then cut large images with Cricut machines. Three options to choose, and one same result.
Cricut print then cut is an amazing feature for crafters. Unfortunately it has some size restrictions when it comes to creating projects. As we know, the latest restriction was 6.75 inches wide by 9.35 inches high. But good news!, it is now possible to print up to 10.64 inches by 15.43 inches. That’s all the way up to A3 size paper.
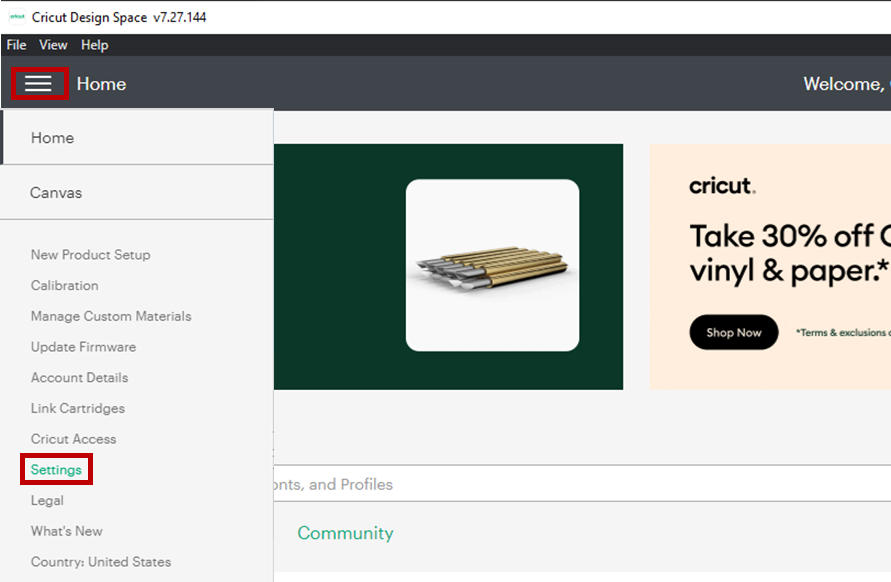
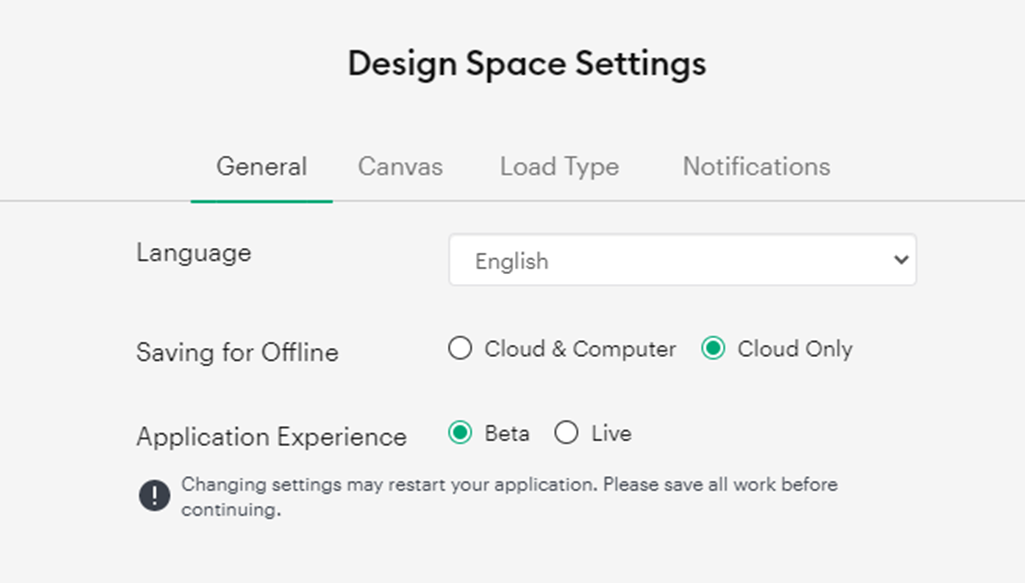
Cricut design space has a new desktop version. As of today it is not yet fully available. To use it we have to use the beta version, which is less stable because it is a kind of trial open to the public, but it allows us to start using its new features.
To get the latest beta version, go to the three lines in the upper left corner, click on settings and then click on the beta option. After that, start working! And first, insert a design. Find some great designs at the best prices at BGArtDesigner.com.
There are three things we can do, but keep in mind for all these new print then cut features it is necessary to calibrate the cricut machines again. To do this, click on the three lines in the upper left corner, then click on the calibration print and then cut and follow the cricut design space guide.
Auto resize image option
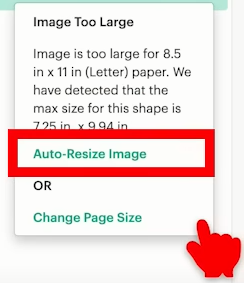
In this option we will learn how to use as much space as possible within the restrictions. Normally when you send a design to print and then cut, there is a space within the design constraint that can be used to print a slightly larger image. What is the problem? We cannot directly make the image bigger than the restriction size, to print and then cut it because cricut design space does not accept it.
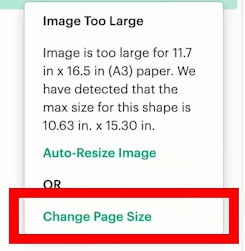
Here is the solution! Make the image a little bigger. A warning will appear saying that the design is too big. Don’t worry, click on the exclamation circle, two options will appear, click on “auto-resize image”.
After that the design will be adjusted to fit the whole space to get the maximum size. It works for individual images and also for group images that you can attach.
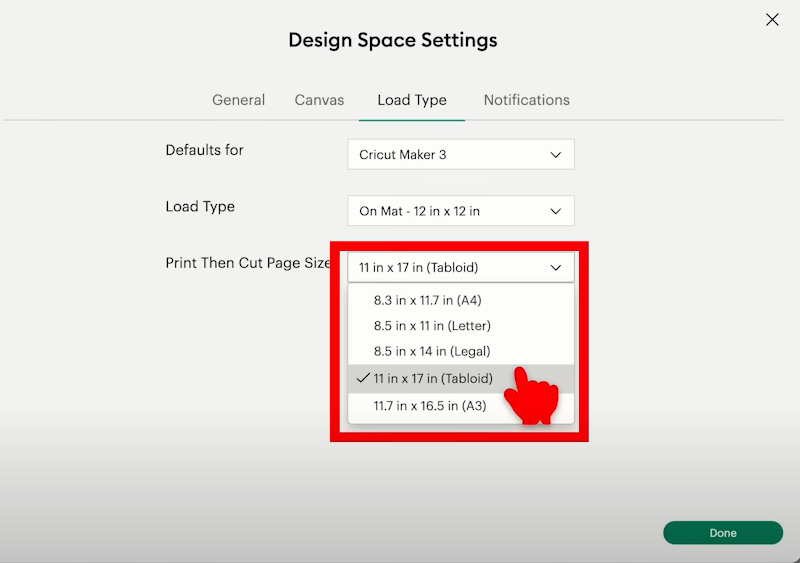
Guess what, there’s even better news! It is possible to change the size for the auto resize option. That is, we can choose a size among the options and every time we use the auto resize function, it will be with that size that cricut design space will work automatically. To do that, go to the three lines, click “settings” and click on “load type”. There choose the auto resize option wanted.
Change paper size option
Now, if we want to make a design much larger than 6.75 inches wide by 9.35 inches high follow these steps. Increase the size of the design, for example to 18 inches high in case you have a printer that can print such a size.
Again two options will appear, click on “change paper size”. And see how big you can make it! Above all, to fit those large images you need the 12-inch by 24-inch mat to fit the sheet of printable vinyl or paper.
Bigger size with small printers
First of all, upload the image to cricut design space. size it as big as you want taking into account the printer restrictions. then insert a square, unlock it, and size it to the minimum size print and then cut accepts normally. That is 6.75 inches wide by 9.35 inches high. Let’s slice the image in parts and print then cut them separately. Finally, with both images selected, click “slice”.
One side will cover most of the space in the print and cut range, and the other may not. Once this is done, remove the excess pieces and send it to print then cut. The application of this design will be more difficult but not impossible. Align the two parts of the design as closely as possible. Overlap them a little, so that there are no gaps. Finally, press or adhere first one side and then the other.