Cutting and Crafting
Learn about Craft Laser: Glowforge Aura
This post is a complete review and description about the craft lasers! What they do, what they are, what materials are compatible and How to use them! Above all, We are going to talk about a specific craft laser, the Glowforge Aura.
This laser machine cuts hundreds of materials up to a quarter inch thick! It is really intuitive to set when you purchase it and has a website that will guide you through the settings process.
What is it?
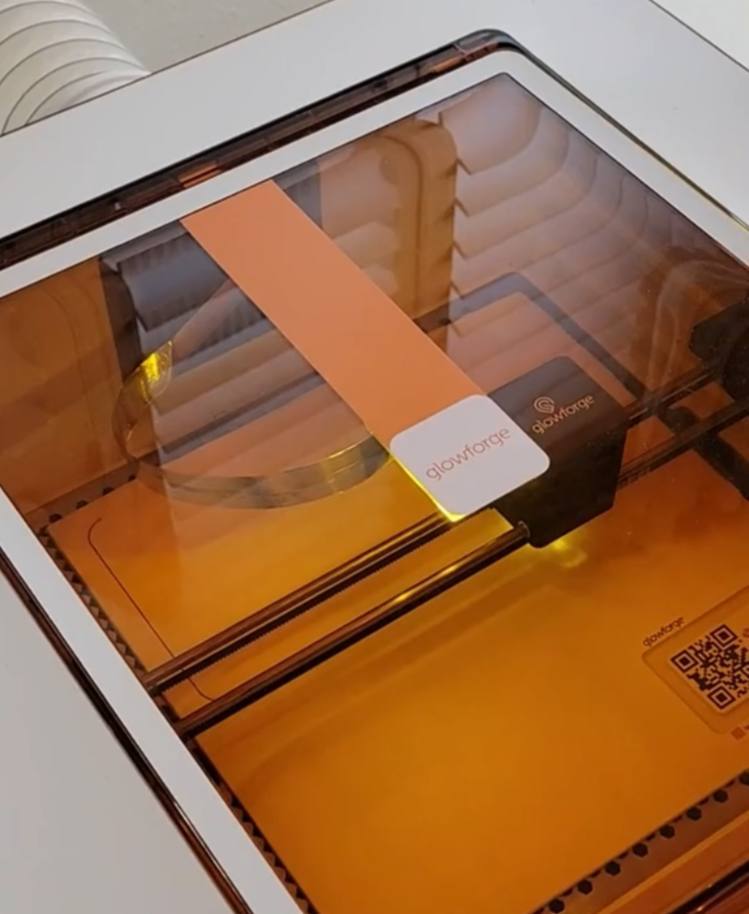
The glowforge Aura is a craft laser engraving and cutting machine, which has its own software user friendly. In there many of the svg files are translated into a laser cut project! Even though it is a laser machine, it is not necessary to wear protective glasses while making a project. That is because it comes with a lid that stays close while working and protects your eyes from the light.
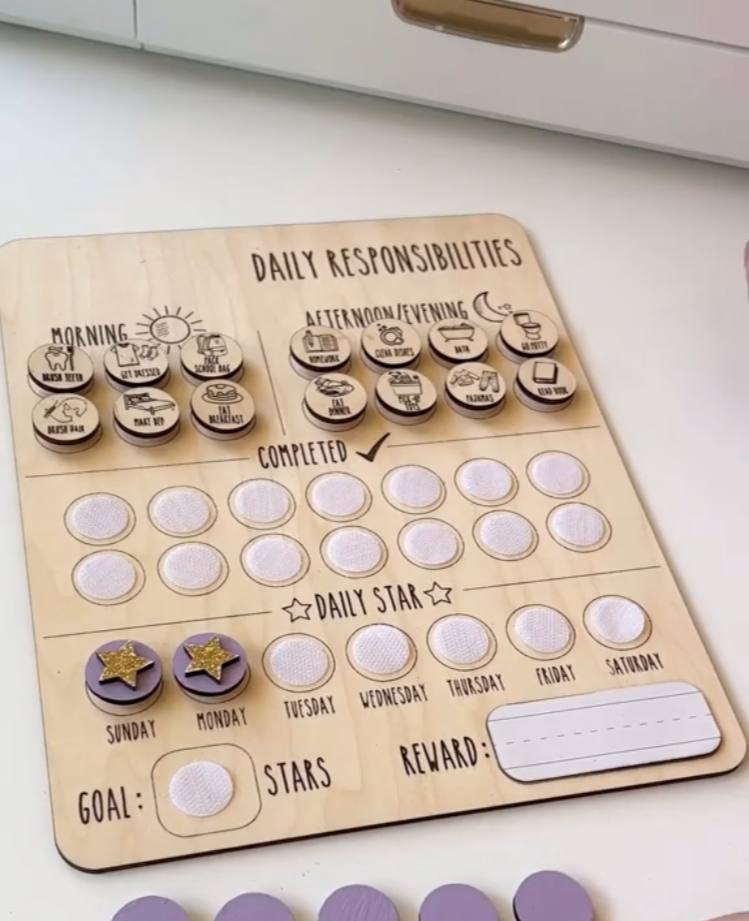
It is a very light and small machine, which does detailed work because it can engrave, score, and cut precisely. All of it allows you to customize materials with names, images or even photos!
Above all, the glowforge is a diode laser. That means it is less powerful and cuts or engraves less materials than a co2 laser like the glowforge pro. On the other hand, the price is a little higher compared to other diode lasers on the market, but those do not have the strength, nor the app.
The laser machines need a system of ventilation. The glowforge Aura comes with a tube to ventilate it through a window, but on the market there is an optional Glowforge personal filter for ventilation, that makes us able to use the Glowforge Aura anywhere in the house. It automatically turns on via bluetooth and turns off when you are done.
What it can cut?
Above all, it can cut a bunch of materials a lot thicker than the ones the cutting machines such as Cricut or silhouette can. And it can cut very intricate designs! It is possible to cut up to 3mm thick, that is a quarter inch thick maximum! Including materials such as wood, acrylic (only dark and opaque; it cannot do anything with translucent clear or light colored acrylics), leather, cardstock, foam, stone, and even iron-on or sticker material!
The glow forge has its own line of materials the “proofgrade material”. The material has a QR code that is read by the glowforge aura, with a camera that is inside the machine. It is set for the glowforge app which automatically select the material settings for you.
Most importantly, not all the proofgrade materials are compatible with the glowforge aura. It cannot cut things such as proofgrade thick polywood, thick hardwood, thick acrylic, PVC materials, nor chromium based materials. These are for the Glowforge pro or plus. So, to clarify this machine is well for casual projects but it is less strong than a professional laser machine.
How to use it?
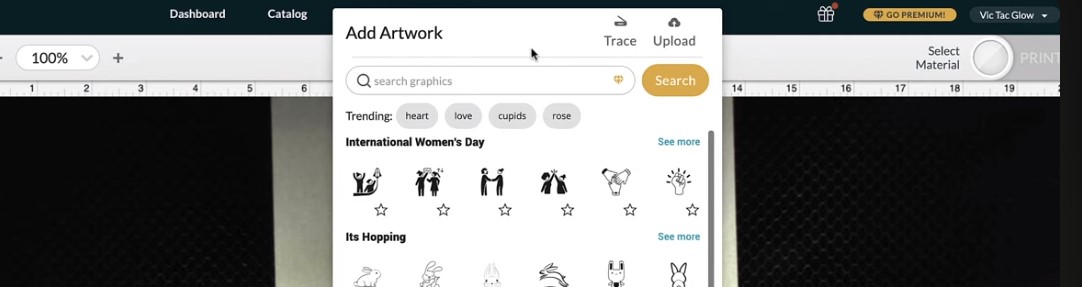
Open the glowforge Aura Design software, app.glowforge.com. Click on the “Create” button to add a new file. The glowforge will take a picture of the material that is inside of the machine. This feature also works to draw or print a design we want and send it automatically to the glowforge Aura.
The machine will take a picture and then we can trace it, just click the plus sign and then click on ‘trace”. After that select the design, and select the parts of the design that you want to cut away (the white inside parts). Then click on “place artwork” on the right upper side. Finally, remove the design from the Glowforge and replace it with the material.
With the Glowforge Aura it is not necessary the sticky mats!
Click on the plus sign at the upper bar and open your vector file. Reazise it by draging and selecting all the design.
Keep in mind that, when we open a file it always appears on the upper left corner so with the select the hand tool and just drag over there to find the file. Then select the file and place it on top of the material. In the software you can move around using the hand tool or using the shortcut by pressing the spacebar to click and drag around.
On the left sidebar you will see the layers of the design. So click each one and select what you want to do with it, remember the machine can cut, engrave and score. Select the cut materials settings on the right side of the upper bar. As a recomendation make some test in case you are not using the proofgrade materials.
Finally click on print, and press the glow button to start the glowforge Aura.