-
×
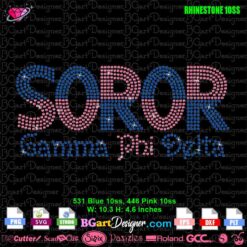
 Soror Gamma Phi Delta Rhinestone SVG
1 × $5.99
 -
×
 Ohio state buckeyes lips
1 × $3.91
 -
×
 Birthday entourage girls
1 × $5.99
 -
×
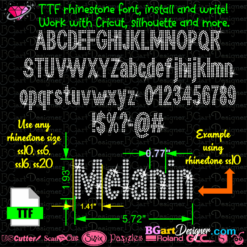
 Download Rhinestone alphabet BGART7
1 × $9.99
Cricut Design Space, Cutting and Crafting
How to turn handwriting into a decal with Cricut

Learn how to turn a handwriting into a decal using a Cricut machine! Use this project to surprise someone with a lovely handwriting! It’s possible to cut it out on paper, vinyl or even iron-on to add the decal to a t-shirt! The project ideas are endless, check out the process!
In this post will be the step by step tutorial on how to take a handwriting and convert it to a png or svg so that the cricut can cut it out. It is possible to transform some of your children’s or grandmother’s writings to use those words to create a customized project.
First of all, take a photo of the paper with the handwriting, scanning it also will work. As a recommendation, make the handwriting with a thick marker so that the camera can appreciate the lines well. Then, download the image to the computer. After that, open Google and search for remove.bg. It is a free website that removes the background from images. Upload the image on the website.


Tips to convert the writing into a cut image
Once the image is done, download it to your computer and open Cricut Design Space. Upload the image there and choose the “complex” option. To create a better cut image go to “more options” getting to the bottom of the bar. There change the color tolerance to 200, and the reduced colors to 2. There click on “preview the cut image” to see how it goes.


That is to remove the blurred and jagged areas. Of course depending on the image it is possible to modify the settings. In the Cricut Design Space canvas modify the image using the contour feature. With it you can start removing the inner parts of the design and the parts that are not necessary to cut.
In this case, the contour feature is better than the cut feature. With the contour function we only have to select the parts of the design to remove, there are no further steps afterwards. It will allow to create a perfect writing decal which will be possible to cut with the cutting machine without any problem.

Cutting settings for the decal
The next step is to measure the surface where you are going to put the decals. Most importantly size the design accordingly. Unless it is cut in HTV or put inside a glass, Do not mirror the design. Make sure to choose the correct material. Finally, add more pressure to the settings, as the design is an intricate cut. That will facilitate the weeding process.
As a recommendation make test cuts to make sure that the machine will cut the material perfectly. The crucial part here is to convert the image into an svg or png format to be able to cut it on the machine. After that, it is possible to add some additional elements to the design,find some nice ones at BGArtDesigner.com and create multiple projects.
It is super easy to turn a handwriting into a decal just using the cricut machine! Let me know your comments below
