-
×
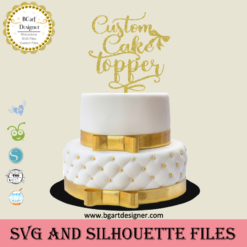 Custom cake topper
1 × $9.99
Custom cake topper
1 × $9.99 -
×
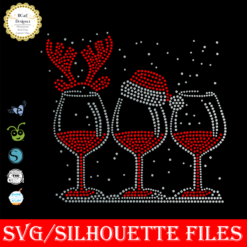
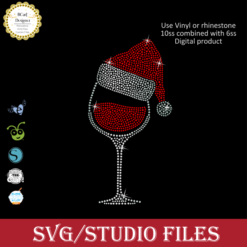 Santa Hat Wine glass svg
1 × $5.99
Santa Hat Wine glass svg
1 × $5.99 -
×
 Christmas Wine glass svg
1 × $3.99
Christmas Wine glass svg
1 × $3.99 -
×
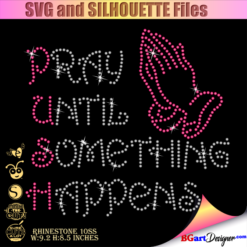 Pray until something happens
1 × $5.99
Pray until something happens
1 × $5.99 -
×
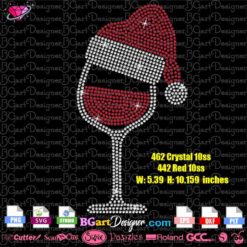
 Christmas wine glass svg
1 × $5.99
Christmas wine glass svg
1 × $5.99 -
×
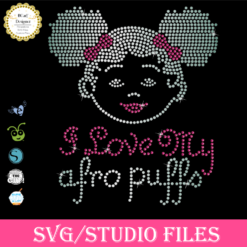 Afro Puffs Little Girl
1 × $5.99
Afro Puffs Little Girl
1 × $5.99 -
×
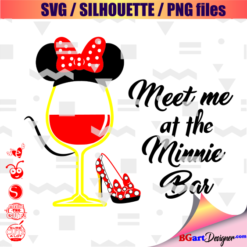 Minnie mouse wine glass svg
1 × $2.49
Minnie mouse wine glass svg
1 × $2.49 -
×
 Jamaican woman SVG file
1 × $5.99
Jamaican woman SVG file
1 × $5.99 -
×
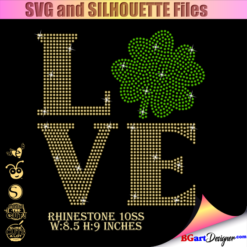 St Patrick's Day Rhinestone Love Clover svg
1 × $5.99
St Patrick's Day Rhinestone Love Clover svg
1 × $5.99 -
×
 I love my HBCU
1 × $5.99
I love my HBCU
1 × $5.99 -
×
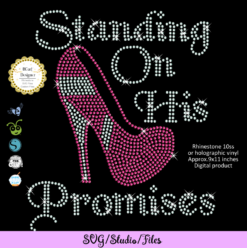 Standing on his promises heel Rhinestone file
1 × $5.99
Standing on his promises heel Rhinestone file
1 × $5.99 -
×
 Rolling stones vintage distressed
1 × $2.99
Rolling stones vintage distressed
1 × $2.99 -
×
 Queens are born
1 × $3.49
Queens are born
1 × $3.49 -
×
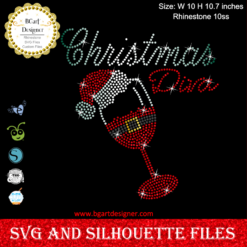 Christmas diva bling
1 × $5.99
Christmas diva bling
1 × $5.99 -
×
 UAB Blazers mascot vector
1 × $2.49
UAB Blazers mascot vector
1 × $2.49 -
×
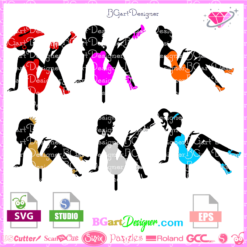
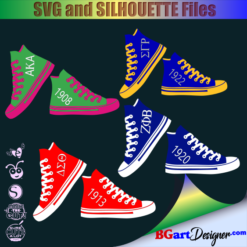 Sorority shoes bundle
1 × $5.99
Sorority shoes bundle
1 × $5.99 -
×
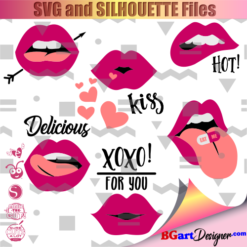 Lips svg bundle
1 × $1.99
Lips svg bundle
1 × $1.99 -
×
 Lucky And Blessed Nurse SVG
1 × $2.99
Lucky And Blessed Nurse SVG
1 × $2.99 -
×
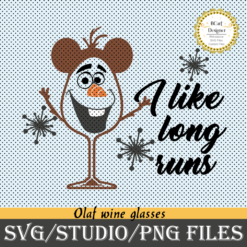 Olaf Frozen svg and printable
1 × $2.45
Olaf Frozen svg and printable
1 × $2.45 -
×
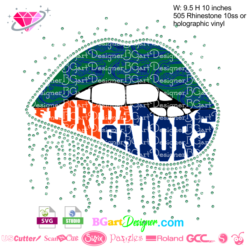 Dripping lips florida gators
1 × $3.91
Dripping lips florida gators
1 × $3.91 -
×
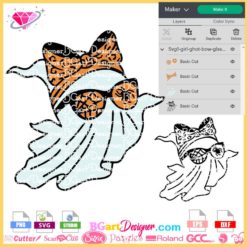 Ghost Girl with Bow SVG
1 × $2.99
Ghost Girl with Bow SVG
1 × $2.99 -
×
 Birthday Queen
1 × $2.49
Birthday Queen
1 × $2.49 -
×
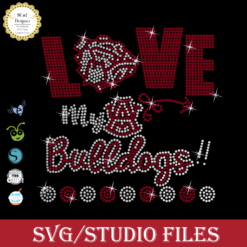 Love Alabama Bulldogs Rhinestone
1 × $5.99
Love Alabama Bulldogs Rhinestone
1 × $5.99 -
×
 Love Asu hornets Rhinestone
1 × $5.99
Love Asu hornets Rhinestone
1 × $5.99 -
×
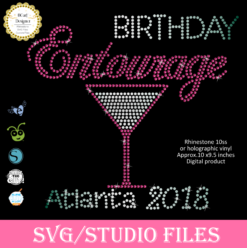 Birthday entourage girls
1 × $5.99
Birthday entourage girls
1 × $5.99 -
×
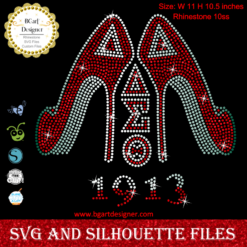 Delta sigma theta high heel
1 × $5.99
Delta sigma theta high heel
1 × $5.99 -
×
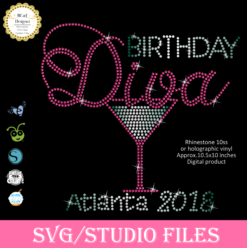 Birthday diva rhinestone
1 × $5.99
Birthday diva rhinestone
1 × $5.99 -
×
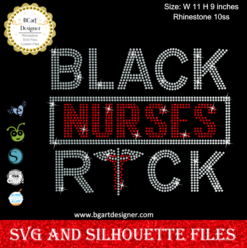 Black Nurses Rock
1 × $5.99
Black Nurses Rock
1 × $5.99 -
×
 LSU tigers Rhinestone SVG
1 × $5.99
LSU tigers Rhinestone SVG
1 × $5.99 -
×
 Alabama AAMU University Bulldogs heel rhinestone
1 × $5.99
Alabama AAMU University Bulldogs heel rhinestone
1 × $5.99 -
×
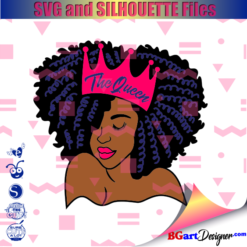 Black woman queen
1 × $2.99
Black woman queen
1 × $2.99 -
×
 Sitting girl cake topper download
1 × $7.49
Sitting girl cake topper download
1 × $7.49 -
×
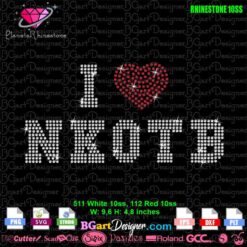 I Love NKOTB Rhinestone SVG
1 × $5.99
I Love NKOTB Rhinestone SVG
1 × $5.99
Cutting and Crafting
Use Foil Quill with a Cricut machine
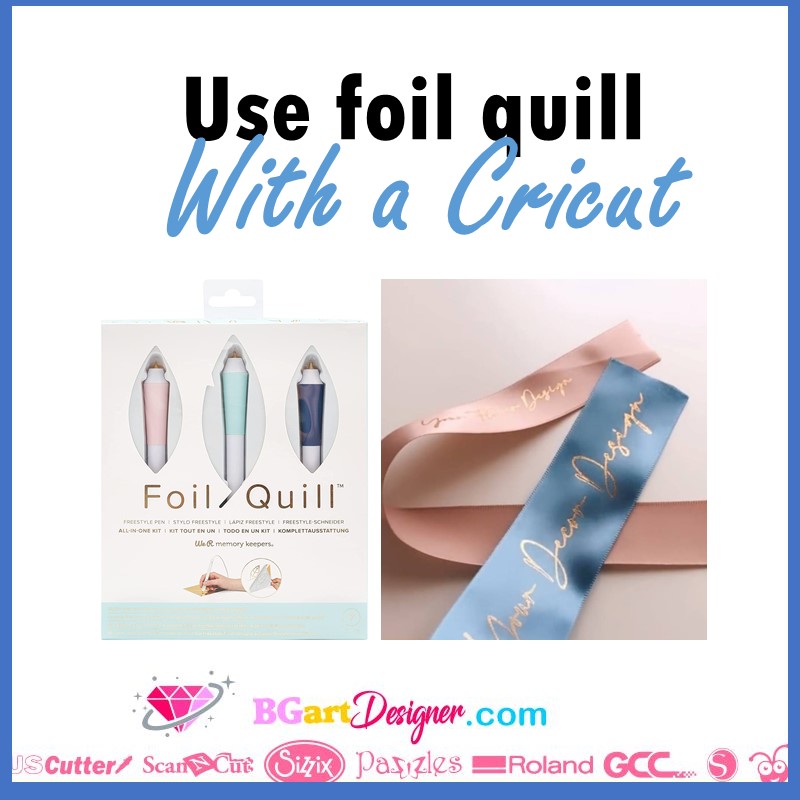
Learn how to use the foil quill on a cricut machine and make some unique projects.
A foil quill is basically a thermal pen that uses a heat-reactive foil to create permanent designs, as the foil will adhere to the base material we are using. It is possible to use the foil quill on machines such as the Cricut, or the silhouette Cameo.
Above all, if you use, for example, any product on the cricut that is not a cricut brand it actually voids the warranty of the machine.
Foil quill description
First, let’s talk a little more about the foil quill. There are three sizes of foil quills and there are also adapters for the machines. To clarify, it is possible to buy them individually or as a package. To do this, go to the We R memory keepers store on amazon and find the items you need.
NOTE: since foil quills use heat, the consequences up to the machine depend on each crafter, you can decide whether to try it or not.
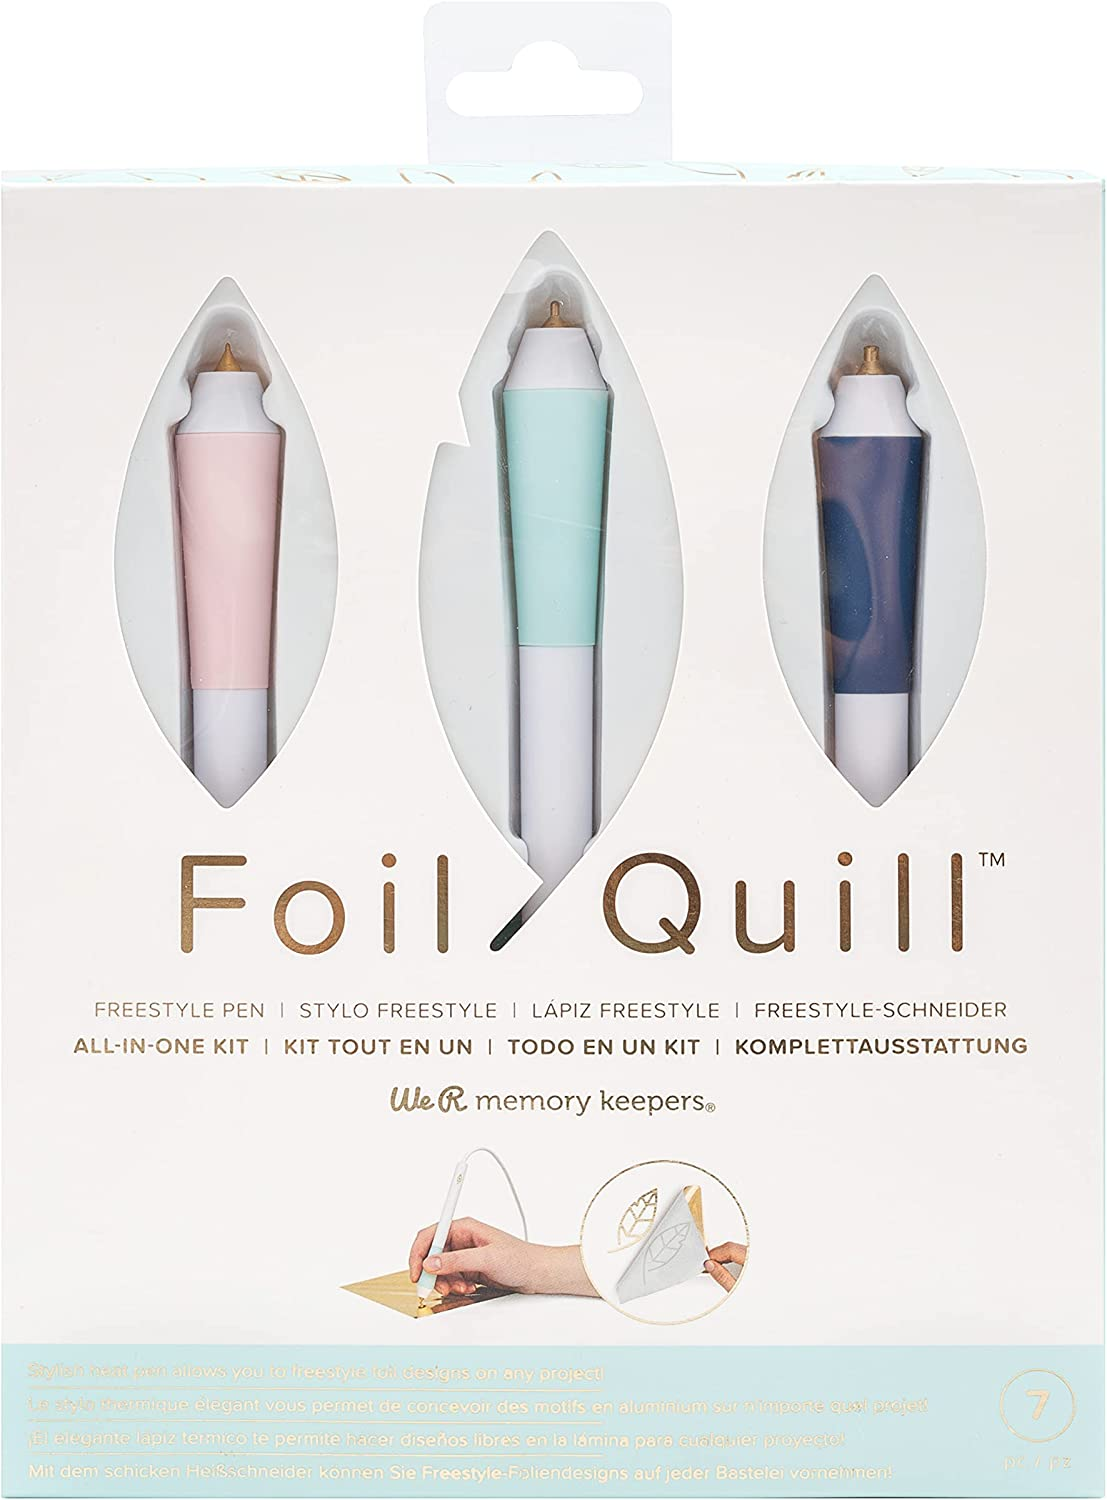
There is a foil quill package that comes with:
- Three sizes of foil quill
- three little rolls of foil of different colors
- 4 adapters
- metal heat guard
- Foil quill tape
How to use foil quill
Design and settings
First of all, find a design HERE, it’s possible to set them to a draw design. But to use text with the foil pen, be sure to choose a writing font; because we will use the place of the pen in the cricut machine. The quill fits into place with a little help from the adapters. Be aware, we are not cutting the design using the quill.
It will only make a kind of engraving. Above all, at the time of setting the material do not choose aluminum foil. We must set the material according to the substrate we are using, for example matboard, but it is possible to use foil quill in ribbons, acrylic, paper a more.
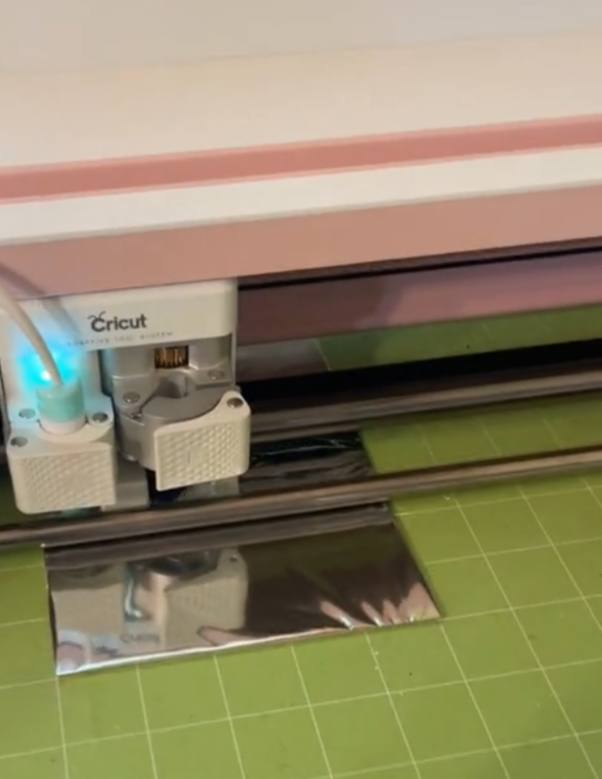
Place the quill on the machine
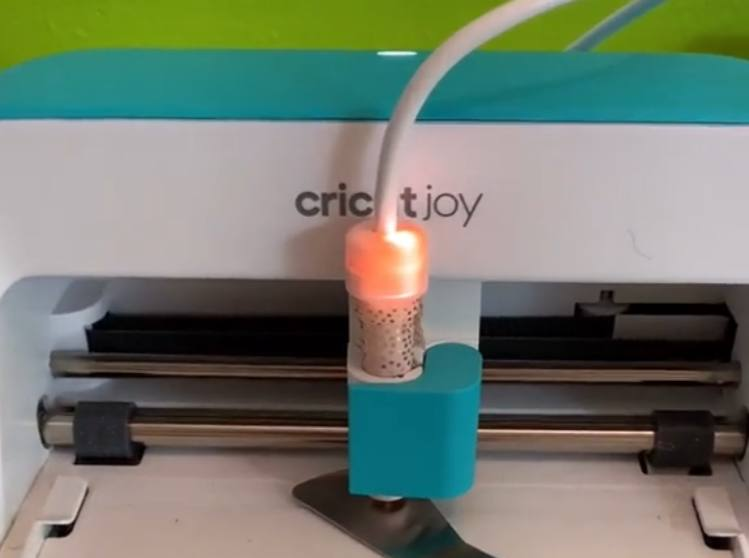
It is important to know that each foil quill comes with a usb adapter cable to turn them on. To use the foil quill, take an adapter and insert it into the tube of the foil quill. Twist it into the adapter until it fits properly.
After that, on the cricut explorer, place the foil quill, with the adapter, in the quill holder. To do this, first remove the pen adapter that comes with the cricut machine by pulling it from the top. Then place the foil quill and close the clamp. Once everything is in place, plug the USB of the foil quill into a power outlet to heat it up.
The light will turn on, let it warm up for five minutes. Take the metal heat protector that comes in the package. Place it under the quill while it heats up. This way the heat will not hit the machine directly.
Preparation of the foil
Place the material on which you are going to transfer the foil on a grip mat. Matboard works great. Above all, we’re not going to cut the mattboard, we’re going to use the foil pen to put a quote on it.
The placement of the foil over the material is crucial to the success of the project. Cut a sheet of foil large enough to cover the workspace but leave an inch of space on all edges. The package also comes with a special tape to adhere the foil in place, this is the most important step.
The paper must be very tight on the surface, otherwise it may tear in the process. Glue one side first and work according to it. Then glue the top side by stretching the paper as tightly as possible. Continue stretching the paper and tape the other sides.
Finally, remove the heat protector, be careful when removing it because it could be hot, after that load the mat. Once done, peel off the tape being careful to avoid damaging the material. And start peeling off the remains of the foil, the design will be adhered to the matboard!