Cricut Design Space, Cutting and Crafting
Draw embroidery patterns with cricut
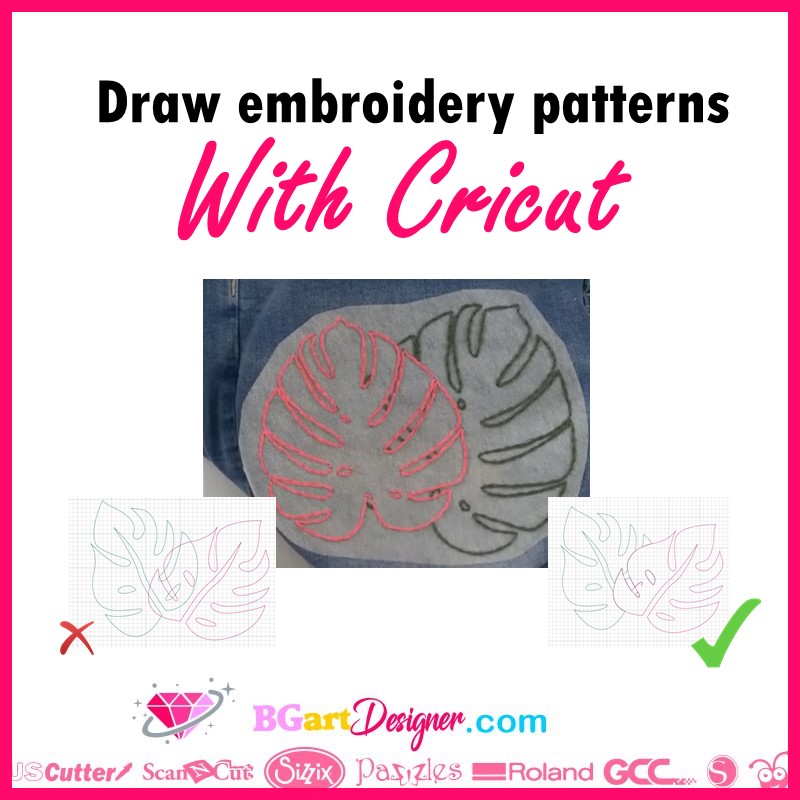
Create and draw embroidery patterns with a cricut machine to make amazing projects!
Learn how to use the cricut machines to draw patterns for embroidery and use them on any type of material. For this project we need printable stick and stitch. Use the cricut markers to create a design and draw it on the printable stick and stitch. This is the best option instead of printing the design to the use it as a pattern. Learn the step by step process here!
Supplies needed
- Printable stick and stitch
- Cricut pens
- Fabric grip mat
- Cricut maker
- Measuring tape
Most importantly, the printable stick and stitch is a washable material. Printing the image on it will be a bit messy and, in addition, we will waste ink because it will wash away with water. Using the draw function of the cricut machine this will not happen! Above all, doing this it is possible to place the pattern on the clothing item to embroider it.
Draw embroidery patterns in cricut
First of all, create a design of your choice or find some super cute files HERE. It is important that the image is configured with the basic cut option, in order to be able to change it to “draw”. If the image is not configured with the basic cut option, don’t worry, here are the steps to convert it.
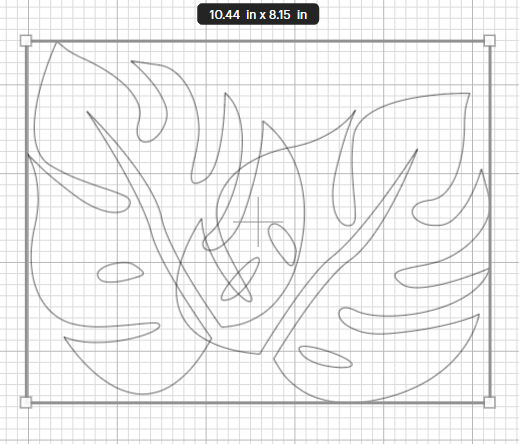
First, upload the image or design. Browse the image and choose “complex”. Be sure to remove all background colors. Finally, choose the cut image option. Before continuing, measure the space you want to embroider on and transfer that size to cricut design space.
Size the design according to the space previously measured. After that, let’s focus on the design and add more details to it. To clarify, it doesn’t matter if the pieces overlap at the beginning in the design. place all the layers wanted and follow the next steps to create the perfect pattern.
Modify overlapping layers
It is necessary to slice the layers once they are all in place. If we don’t do this step, when changing the design to be a draw file, it will look messy and the pattern will be more of a puzzle than a guide.
To avoid this problem, let’s slice the layers two by two, in case you have more. Otherwise the slice tool will not work. To clarify, for these next steps the design must be a cut file, not a drawing file yet. To facilitate the process, change the color of the layers to find them more quickly.
Then it’s time to start working with the layers panel. First find all the cut parts of the top layer. Select them all and click on ‘weld”. This is because we want to keep the top layer as the original, a solid image so that the cricut pen can trace it perfectly. That is the trick here!
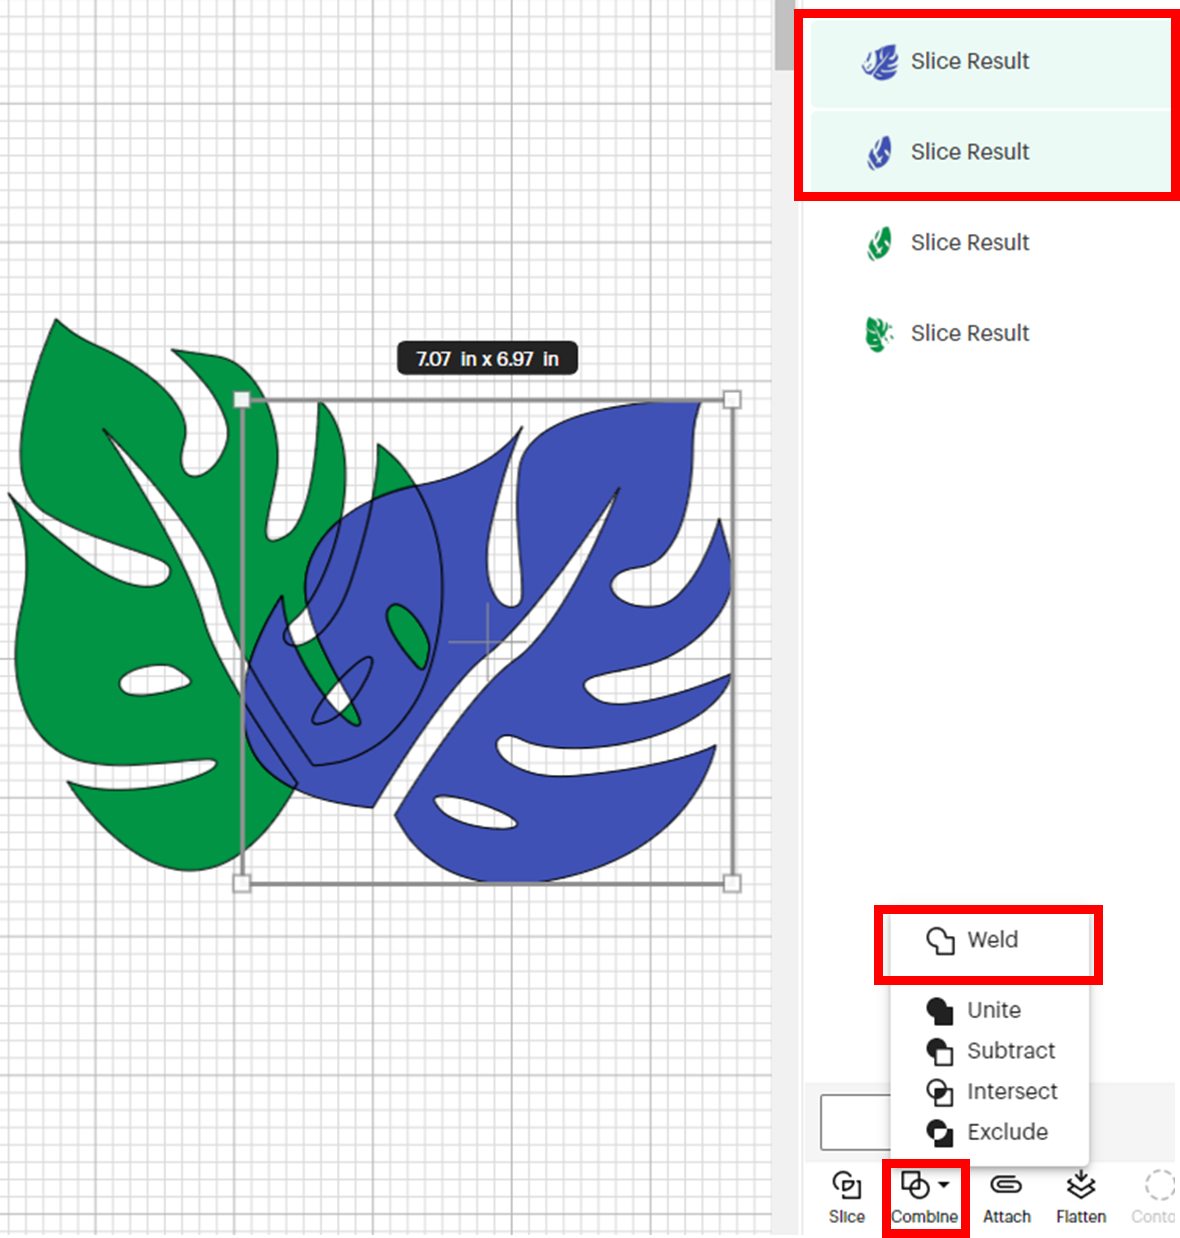
Now comes the “tricky part”. Look in the layers panel for the parts of the design that are below the top layer. Exactly the parts where they overlap. Select and delete them. After that, select the whole design. Go to “operation” and select the pen function. now you can see that there are clean line edges to draw. There are no overlapping lines interifiring with the design.
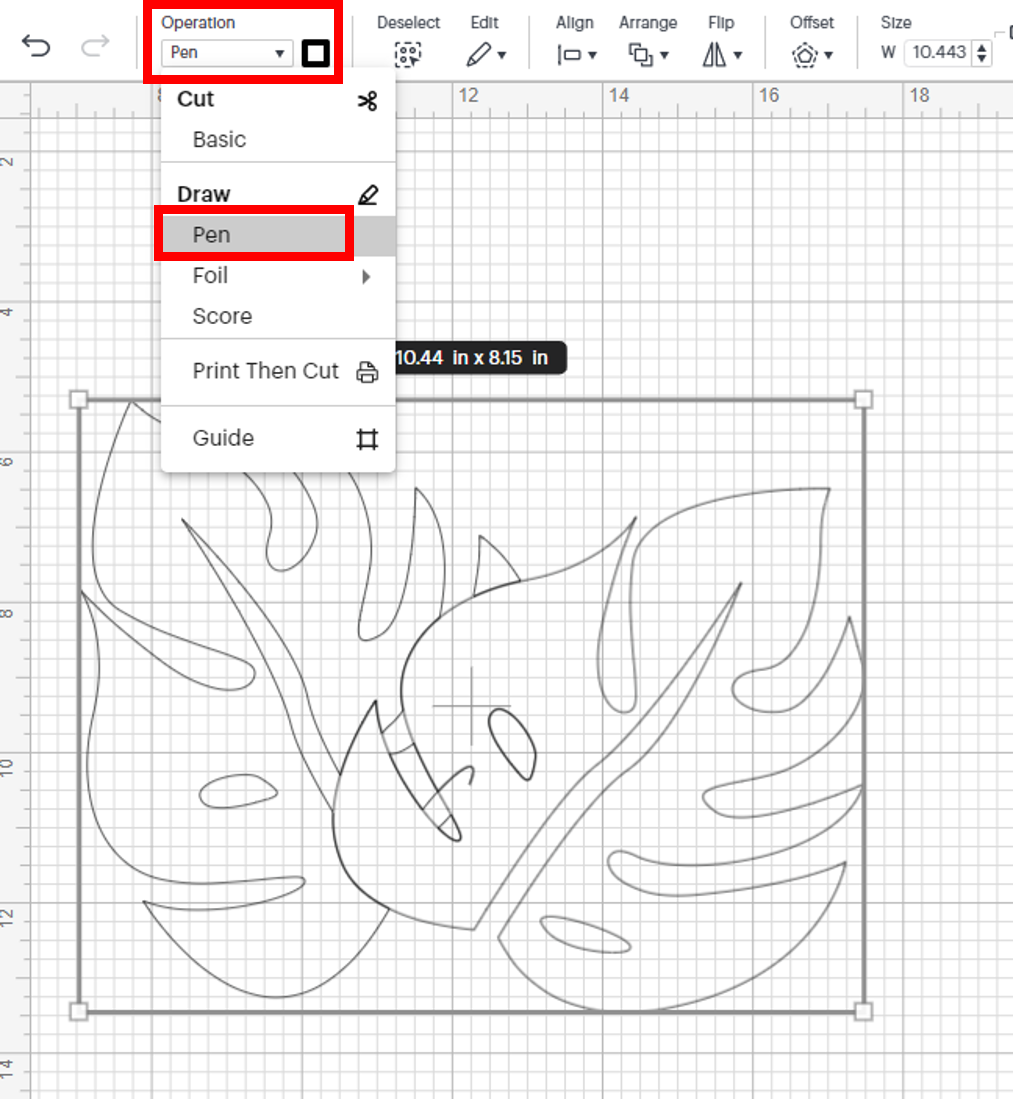
Select each layer and change the colors to differentiate them. Finally select all the layers and click on attach. Do not weld them, if you do, it will convert the design all into one image. The machine will only draw the outlines because it is merged. And that is not the idea.
How to draw the patterns
Click on make, and do not forget to select the Cricut maker. select as the material setting the heavy cardstock, which will work. here the material really does not matter so much. load the pen and place the stick and Stich on the mat.
In case of not having the fabric grip mat use the standard grip mat and put some painter’s tape around the edges. That is to make sure it sticks well, and so it doesn’t move when the cricut is tracing the design. Load the mat into the cricut maker.
Once the cricut finishes with the first color it will request you to load the second color. So go to the cricut to take out the pen, and load the other one. make sure it clicks when putting the marker into place.
Using the cricut pens is easier when it comes to loading them. Because all we have to do is close the clamp and insert the pen until we hear the click, which means that it is well loaded. In case you don’t have cricut pens, open the clamp and insert the pen manually making sure that it is not too low or too high to draw well.
How to use the drawn paper for embroidery
To draw the patterns for embroidery with a cricut machine is really the hardest part, and it’s not even that hard, so this last step is the easiest! Once ready, trim around the outside of the design and we are ready to place it on the surface to be embroidered. Finally, take the back of the stick and stitch paper and place it on the fabric.
Start embroidering using the pattern as a guide. Once you have finished, put the part of the fabric with the stick and stitch paper in some water. The paper will start to dissolve, carefully remove all the paper and you’re done!