-
×
 I am who I am your approval isn't needed
1 × $2.49
Cutting and Crafting
Sublimation and bleaching shirts questions and answers
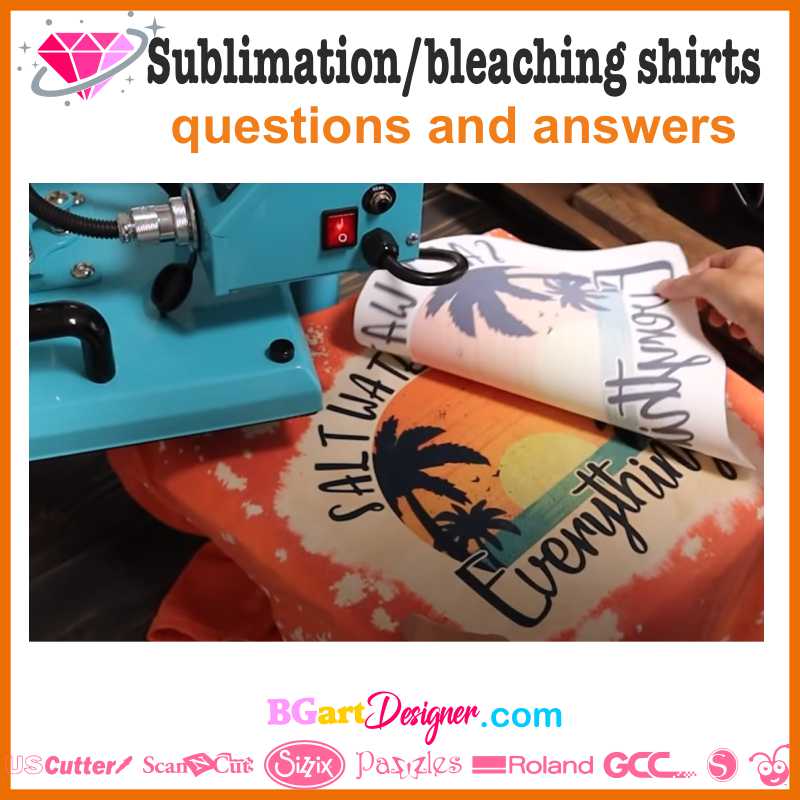
Introducing many questions about sublimation and shirt bleaching, most of them come up when one is going to start a business with this type of project. In this post are the most frequently asked questions about the art of sublimation and shirt bleaching with their answers. check them out, it will be worth it!
1. What are the best stores to buy shirts for sublimation and bleaching?
There are four main stores that are a very good choice when it comes to buying for sublimating. When looking at prices ssactivewear.com tends to be the best option, to clarify this is the cheapest store of the four. Also check this other post
Secondly, there is clothingshoponline.com where you can find lots of items under 10$. The next one is Jiffyshirts.com, which is a little more expensive but not by much, and also has several options in terms of colors and style of shirts.


And the last one is luckybirdboutiqueblanks.com. In this probably you’ll find the most expensive shirts out of all of them, but it is worth it. These three stores offer a large stock of sizes, brands, and styles of shirts for this type of project.
2. What shirts are best for sublimation?
The higher the amount of polyester, the better. It needs to be at least 50% polyester to work properly, so another option might be Tri-blend shirts, a type of shirt that is made of 50% polyester, 25% rayon, and 25% cotton, resulting in a soft and workable shirt for sublimation.

3. What are the best shirts for bleaching and sublimating?
The Gildan 6400 is the best type of t-shirt to bleach and sublimate, the name of it will depend on what side you’re on, but as long as it says six-four followed by zeros, that’s the type of shirt you’re looking for.
When it comes to bleach and sublimation, another thing to make sure of is the name of the t-shirt, it has to have the word “heather” followed by any color, for example, “heather orange”.
This way if you check it will say that the t-shirt is 65% polyester and 35% cotton which is the perfect formula for bleaching and sublimation.

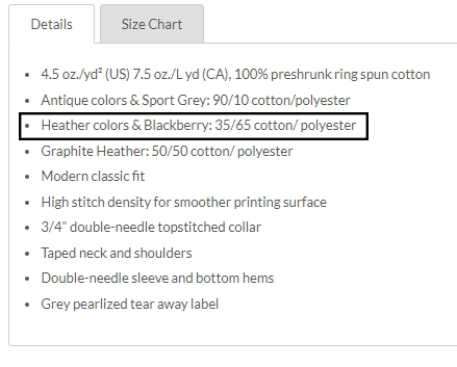
However, keep in mind that some colors will not bleach, no matter if they are 65/35, so here is a quick advice, don’t order too many shirts the first time, you can order one of each color to practice on them and if it works, then order in bulk, that way you won’t waste a lot of money on shirts that won’t bleach or sublimate.
4. How long should the bleach be left on for the shirt to be ready?
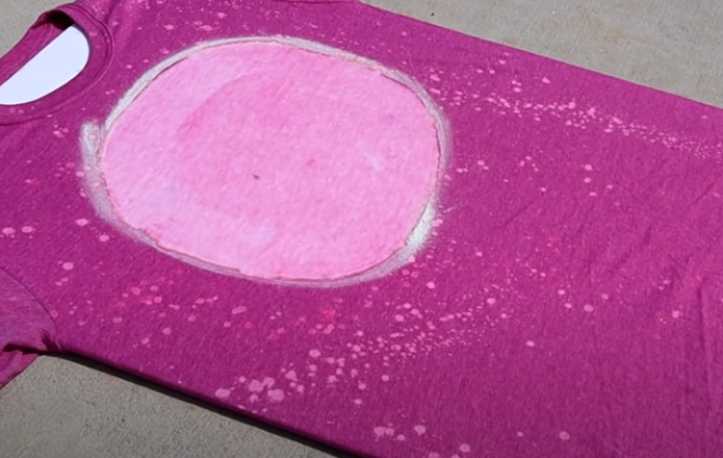
There is no direct answer as to how long it takes, it’s different every time, this depends entirely on the environment in which you bleach and the color of the shirt. It is advisable to experiment on your own and take some notes that will directly answer that question.
5. Does the bleach need to dry completely before washing?
No, if the bleach section is in the desired color it can be washed without any problem. Keep in mind that it depends on the color you want to obtain.
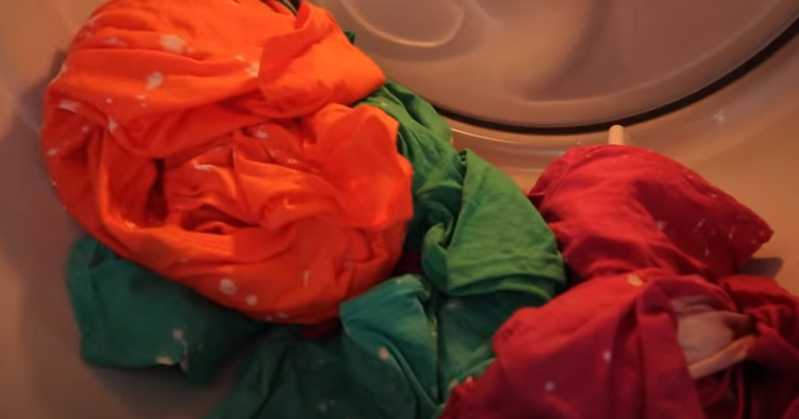
6. Is it necessary to hydrogen peroxide bath the shirts?
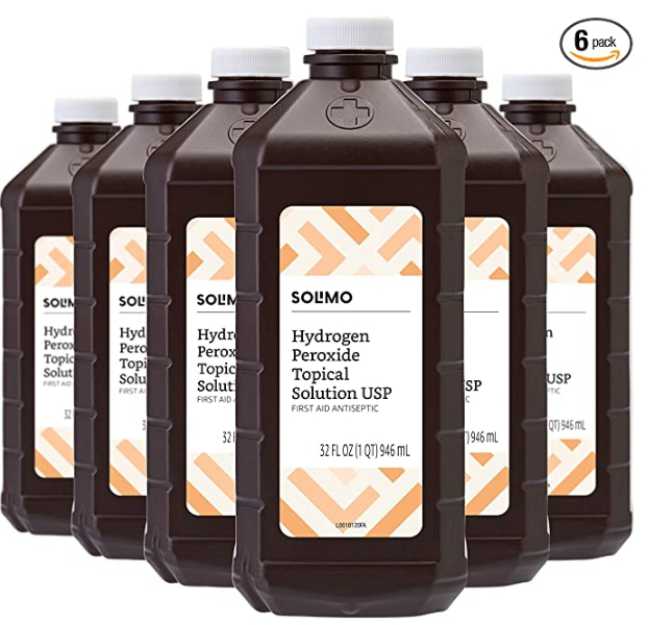
It depends on you. If you bleach more than 20 shirts at a time it would be very helpful to have the hydrogen peroxide water bath, because, what it does is stops the bleaching process, so it is very helpful when you are dealing with a lot of shirts at a time. If you bleach a few shirts at a time it’s not necessary.
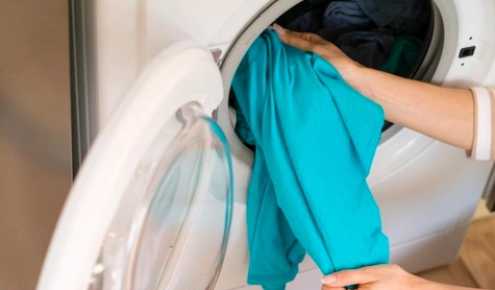
7. When washing shirts, is it convenient to use detergent?
If it is for a client, it is better to wash with only water or use a very light detergent that does not contain chemicals or strong aromas, because many people are allergic to such products.
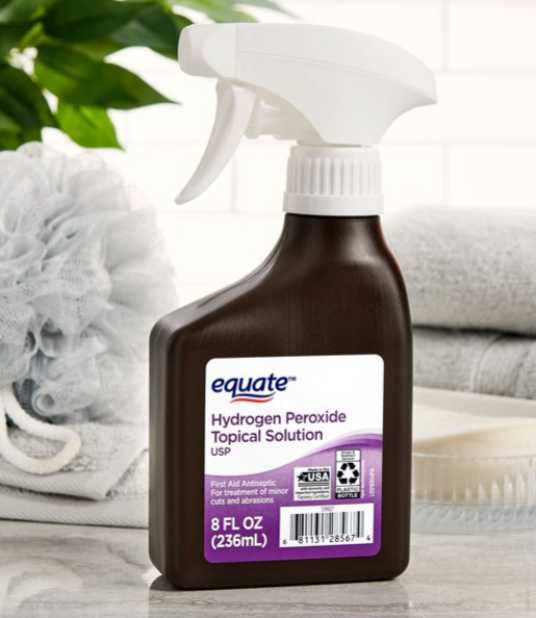
8. What is hydrogen peroxide used for?
Hydrogen peroxide is used for two purposes in this industry:
- One is to stop the bleaching on a clothing item: This can be done in two ways.
- By lightly spraying the item right in that area for slow down or stop the bleaching
- NOTE: not to spray too much because the bleaching will spread more instead of stopping.
- Another way is to make a mixture of 1 cup of peroxide with about 1 gallon of water, let the item there for about 10 minutes, then rinse and wash.
- Important: hydrogen peroxide shouldn’t be hit by the sun because it gets damaged and stops working, so it’s best to always keep it in a dark bottle.
- The other reason you’re gonna use peroxide is to remove the scorching from the shirt. When is pressed the sublimation press a lot of the time it happens; That it gets scorch marks if you bleach first.
- To get rid of those marks, just spray a little of the peroxide on the yellowing area, lower the top of the sublimation press just enough, to about 1.5 inches above your image, without touching it; That the heat is helping the peroxide to evaporate and so the scorches marks out of your shirt.
9. What size did you print your image?
Check the following post, also There is a website that you can go to rozzycrafts.com, and it will bring you some guidance and standard sizes information.
But it depends, the best way to know is proving; Decide by yourself what image size is going to be best for that specific shirt. What you think is going to work the best for the design and the shirt.
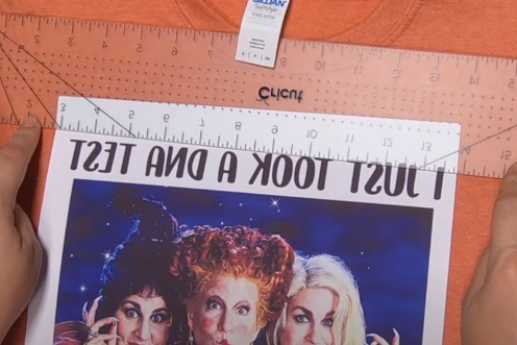
10. How to print images larger than 8.5×11 for sublimation in a small printer?
First open Microsoft Word or other program. Then open a new document and change the margins, to 0.12 on each side. The next thing to do is to drag the image, and let it free; Which means you can move it wherever you want.
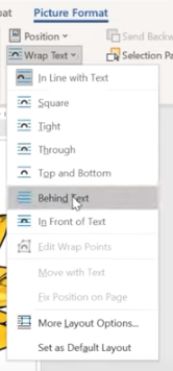
To do this, double click on the image and it will automatically take you to the image format tab, then click on wrap text and finally click behind the text.
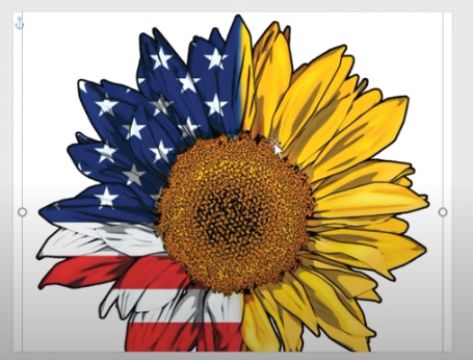
Resize to your preferred size, If it is too big for the paper, then change the orientation by going to design and clicking on horizontal, you have to make sure that it is not going to cut any of the sides, in this case only the bottom part will be cut, then print.
Then arrow up the image until you reach the part where the other print was cut. It is recommended to do it with the keyboard having patience, because the two sides have to match.
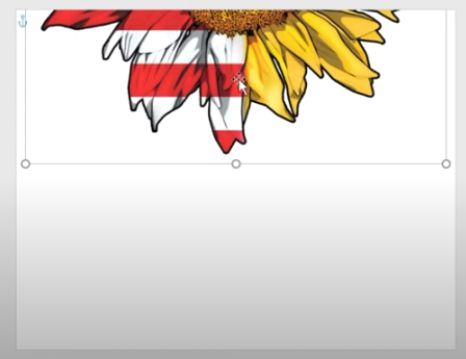
Make sure you have enough leeway, just in case you cut it wrong. There will be no problem because you have plenty left over. If you have a big space left on the sheet you can find another image to put right there, so you don’t waste the paper. Then send it to print.
Cut just that little white strip at the bottom of your first impression, because as you remember the document has a margin of 0.12 inches on each side. Get rid of all the white so that everything along the edge is colored.
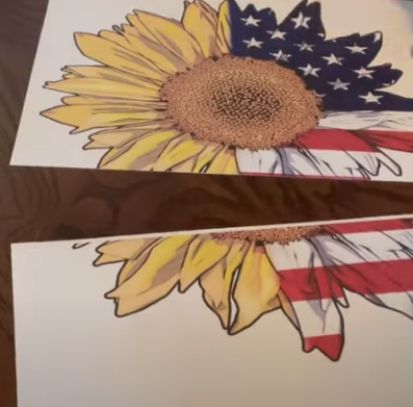
Get your second impression and lay it underneath the first and make sure it is lined up on each side, move the sheet up or down until it matches.
Then put some heat resistant tape anywhere on the white sections, and flip it over, cut off the excess, leaving about a half-inch to a quarter-inch behind, finally put some heat resistant tape again along the back so it doesn’t come off.

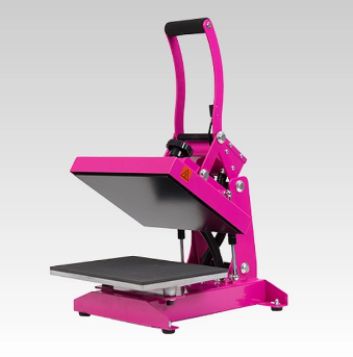
11. Where to buy a heat press for sublimation; Is better the clam shell or the swing away type press?
Craftsource.com is a website where they sell some great heat presses!. About the heat press model, both are great, it’s going to depend on the space available.
12. A regular iron can be used for sublimation?
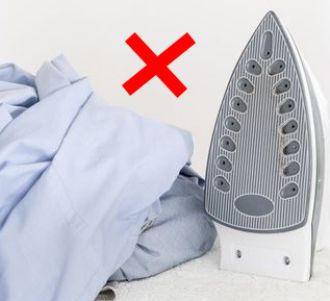
It is not recommended to use a regular iron for sublimation, because the iron has a lot of dotted circles, which makes the heat not distributed evenly; It does not give enough heat or uniform.
If you don’t want to spend a lot of money you can buy a mini heat-press on Cricut. It is better to start with it than with an iron.
13. Do you need to turn your heat press off during each press?
If it is going to be five minutes or more before pressing another shirt or blank, it is a smart decision to turn it off; Because it gets too hot, and that is not favorable. A great advantage is to try to have all the shirts ready at the same time. Make a chain of assembly and finish one after the other.

14. What printers and inks are great for sublimation?
When it comes to printers, there are many special printers for sublimation that you can buy from epson.com. But they are going to be expensive. Because a lot of crafters with small businesses, buy less expensive regular printers and then convert them into sublimation printers.
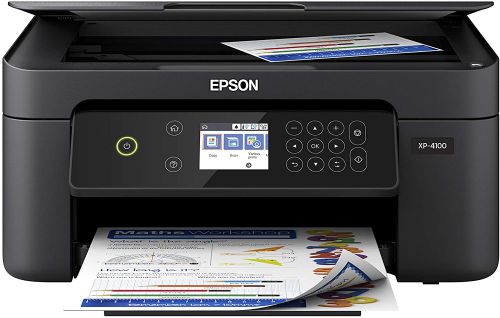
To convert a regular printer into a sublimation printer, just have to make sure it doesn’t have regular ink, it must have sublimation ink.
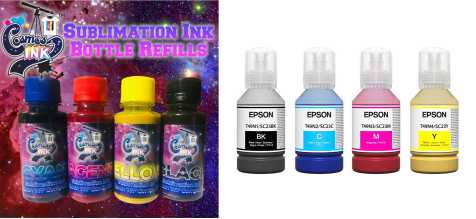
There are many sublimation inks, you can buy; But here are two of them: Cosmos ink, and Epson sublimation ink.
Both are good for printing projects, but however it is advisable to do some tests by changing the settings, to print, press, and get the vividness color.
15. What settings are used to print?
Here are the recommended settings for printers; When it comes to sublimation printing. First click on “print” and then in the “printer properties”, change the quality to high, and the silent mode on, because it will slow down your printer, this way the ink has time to saturate the paper.
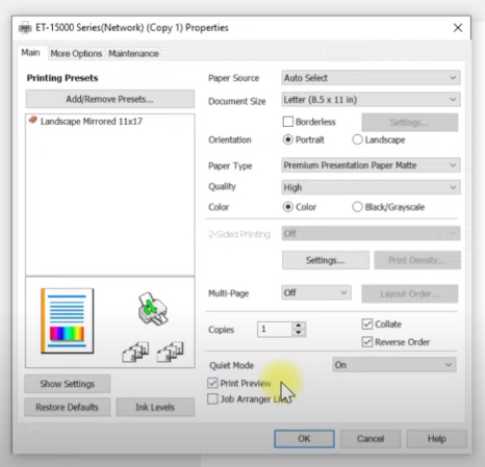
Then click on “print preview”; This option will help you make sure everything is under control before it prints, avoiding unnecessary waste of paper or ink. Now go to the top and select “more options” for change it from “automatic” to “custom”.
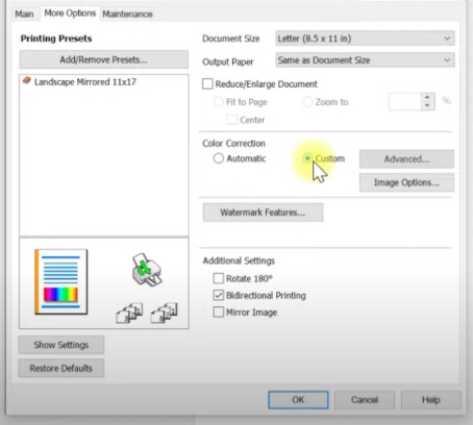
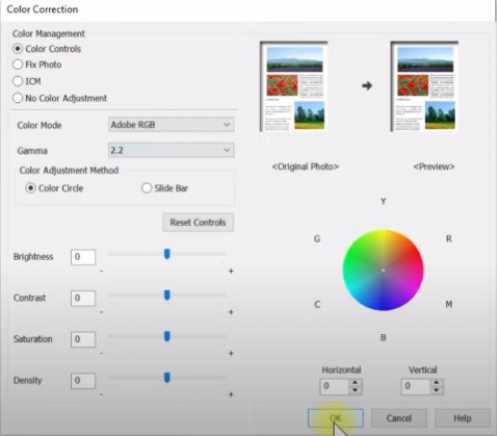
After that, click on “advanced” and select “color controls”, it will open the color mode, now select “adobe RGB” and the gamma of “2.2”, hit continue.
In the additional settings uncheck “bidirectional printing”, because that option only helps your printer to print faster and it is better to slow it down. Keep in mind that this option is only available on some printers.
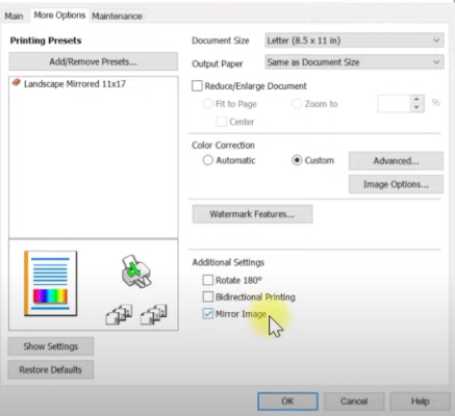
Finally select “mirror image”. This is only in case you have not mirrored your design before.
16. What kind of paper is good for sublimation?
The best sublimation paper is the A-SUB heat transfer link on amazon. The second one is the koala paper link on Amazon. Actually, with it, the images get bright and vibrant; And the last one is available on knockcustoms.com that website has great sublimation paper as well.

Have these sublimation and bleaching shirts questions and answers solved some of your problems?. Let me know it below in the comments!
