Cricut Design Space, Cutting and Crafting
20 Cricut Hacks (tips and tricks)
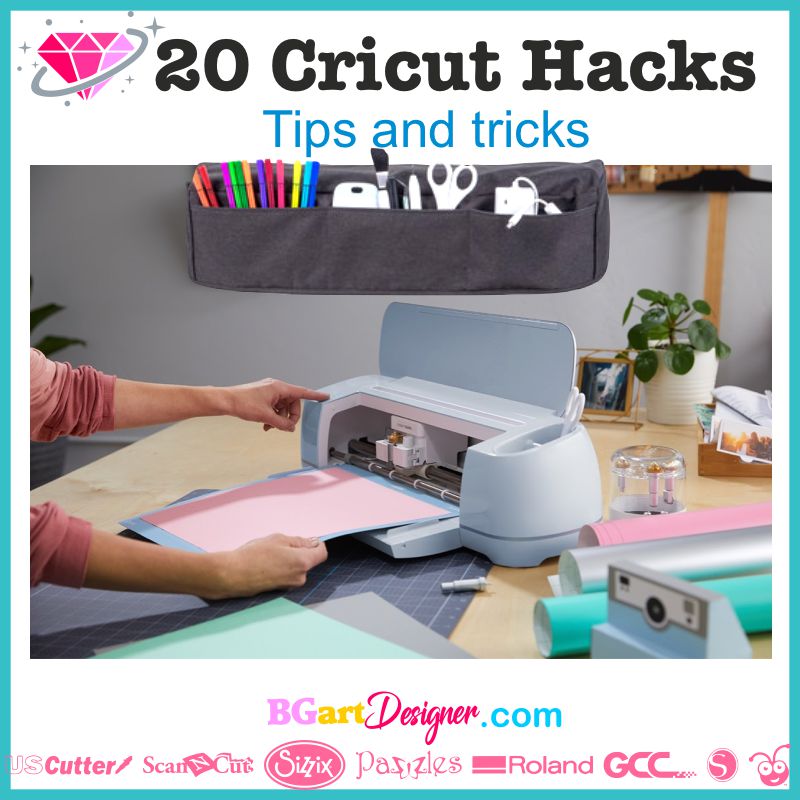
Easy, proven, and practical are the words to describe this post! Here you will find 20 Cricut hacks! tips and tricks with which you can solve many of your problems when using your Cricut!
These first tips you will read of the 20 hacks will be about small details that will help you when manipulating your designs already cut in vinyl! If you continue down you will find tips that are more associated with the use of the Cricut program to design.
Enjoy of these useful tools.
1. Weed excess vinyl using a nail polish holder
If you’re looking for something to help you when it comes to cleaning up excess vinyl, you’ll love this particular trick from the 20 Cricut hacks you’ll see in the post!
Using a nail polish holder is a convenient way to weed out excess vinyl, you can put it on your fingers just like a ring, and place the excess vinyl that you are removing there, when it is full you clean it and that’s it!. You can buy it on amazon and it works very well.

2. Burnish and remove the backing of the vinyl
Apply this trick for use the transfer tape, it’s really useful. Many times it happens that when you are transferring your vinyl to the transfer tape by scraping the front side, it does not stick completely to the transfer tape, many parts remain stuck on the backside.
All you have to do to fix this is to turn the transfer tape over, scrape the backside and then pull it off, you will see how much easier the vinyl sticks to the transfer tape, just by pulling the backside of the transfer paper.


3. Add mod podge over removable vinyl
This trick is great if you have removable vinyl that you want to use but you want and need it to last longer. First, place the vinyl in the space where you want it to adhere, and then add some mod podge on top, and you’re done!. It works great to keep the vinyl from lifting off.

4. Weed out tricky brush type of Distressed grunge fonts
It’s very difficult and annoying to remove those little bits that are usually left on the vinyl using the hook, especially on these types of fonts.
But guess what! You can use a lint roller to remove those little bits. Make sure your lint roller is not too sticky because it will pick up a whole letter, you can rub the lint roller against your shirt and then run it across the vinyl, it will definitely pick up the little bits.

5. Add a sewing needle to a mechanical pencil to weed vinyl
With a mechanical pencil and a sewing needle you can make your own hook, all you need to do is place a sewing needle inside a mechanical pencil. Make sure the needle is the right size for your mechanical pencil to avoid that the needle ends up completely inside the mechanical pencil while you use it to grab the vinyl.


6. Use contact paper to make stickers glossy
To do this begin by changing the settings to the best quality and print your design. To make stickers glossy all you have to do is place some contact paper over the sticker you just printed, place it carefully and make sure you don’t leave too many air bubbles, scraping it off will help you.

Before you cut your stickers on your Cricut machine you should make some changes in the settings to make sure it cuts perfectly with the contact paper.


In the material set, go to “browse all materials”, then search and select the option “clear printable sticker paper” finally press done. Now your Cricut machine will cut it out without any problem. You will have a glossy sticker that you can even get wet and it won’t smear at all.


7. Use matte tape to Print & cut glossy paper on Cricut machine
Sometime the Cricut machine struggles to read those black registration lines, it is coming up with an error. If you try to cut glossy paper on it I recommend that you take a scotch tape (make sure it is the matte finish), and place it over the black registration lines, just by doing that the Cricut machine will be able to read it.


8. Remove excess vinyl by recycling a Clorox container
Take an empty Clorox wipes container, the point where the wipes go through is perfect to remove the vinyl from the hook, and once the container is full you can throw it away.


9. Using Paper Craft Punch on scrap vinyl
The Paper Craft Punch has different designs that you can use on your vinyl scraps, just punch and cut one of your choices to make different projects. These paper punches can be found on amazon easily!


10. Weed excess vinyl with a lint roller
Take a lint roller and stick the vinyl you have removed on it, as the lint roller is sticky it will stick the vinyl pieces easily, once the lint roller has a lot of vinyl pieces on it, you can clean it and reuse it until the vinyl pieces no longer stick.
11. Use a dry erase marker to line up design
To make sure the design you will be gluing is perfectly aligned you can use this trick!. First, fold your shirt vertically in half and run any heat source you have over the shirt, it will mark a line down and help you know where the center is.


Now take a dry erase marker and use a ruler to make a line down the center of the transfer paper where the design is, you must make a line both horizontally and vertically.
Next, place the vinyl sheet on your t-shirt, and line up the vertical lines on top of each other, the horizontal alliance probably won’t line up on top of each other, it will maybe be lower, but it serves as a horizontal guide. Finally, you can erase the marker, and place whatever heat source you are using to make it stick.


12. Store 12×12 vinyl in a scrapbook
This is perfect for storing your materials or scraps that are at most 12×12 in size, in an organized and easy way. The scrapbooks are so easy to find and with them, you can even organize your materials by categories


13. Layer vinyl using parchment paper
This trick is awesome when it comes to placing adhesive vinyl accurately. What you will need is some parchment paper, place a piece with one of your layer pieces on top of the parchment paper (I recommend putting some adhesive on the edges of the paper so it doesn’t move around on the surface you are working on).
Take your transfer tape and place it over one of the pieces of your design, take the second piece of parchment paper and place it on top of the vinyl layer where you will adhere all the layers. Don’t cover the whole piece with the parchment paper, leave a little bit out.


Start placing the layer you are going to adhere to on the side that has no parchment paper and then place the rest on top of the parchment paper, it doesn’t stick much and you can see if it’s well-aligned and if it’s not you can easily readjust it.
Once you have placed it where you like it, scrape the side without the parchment paper to make sure it adheres well, and then remove the parchment paper. Do the same procedure with all the layers of the design and will see for yourself how much more practical and less stressful it’s to get all the layers lined up.


And you got to tip number 13 of the 20 Cricut hacks of this post!. How exciting! that was the last of the tips and tricks about vinyl uses and manipulation. Now you are going to find different tips that you’ll love because they will help you to design and use the Cricut program better. check it out!
14. How to get the most out of your print then cut
As you probably know Cricut limits the size of pretend cut by 9.25 by 6.75 you can’t print anything larger than that, with this trick you will know how to make the most of that.
The first step is to go to shapes and take a square, then go to unlock and set the width and height to the maximum print and cut size. I recommend doing it 6.75 by 9.25 because this is the maximum size allowed with print then cut.


After that, place your design over the previously created rectangle, you can fill the entire rectangle with that design by duplicating it or place other designs, remember it depends on whatever you prefer, and need at the moment.
This example gives you an idea of how many you can fit on one print then cut page. Be careful not to have the designs too close together. Finally, remove the rectangle and attach all of that, when you click on the creation screen, you can see that it almost takes up the entire sheet, making full use of it!.


15. Easily find a fitting font for your project
Many times it is difficult to choose which font to use for a project, isn’t it? you should try this in that case!.
Go to wordmark.it, and type the word you want to test with. You have to add the extension for all your fonts to be shown, to do that click on “your fonts” and then click the button “get the browser extension”, then hit install, refresh the page, and you’re done! it will show you all your fonts and what the word you typed looks like.


A trick within a trick, you’ll love it!. If you can’t decide between four fonts or more, you can select each one by clicking on them, after that you will see at the top a part which says “Selected filter” click on it and it will show you only those four fonts you have selected, so you can analyze which one you prefer easily and quickly! Extra Tutorial
16. How to add a layer to an image
With this trick, you will know how to add another layer of the same design but only the solid background itself.
First, find and choose an image, insert it and you will see that it is a single layer, to turn it into two you will have to duplicate it, then go down to the right corner and touch the “contour” option.


As we only want the solid background, to make it faster, instead of hitting each one separately you can hit “hide all contours”, then you will see that everything is hidden except the solid background, then hit the X, and finally, you can change the colors of the layers and you will have two different layer colors.


17. How to save your project as a PDF file
You must go to the print and cut configuration, to do this, click on the green button that says “make it”, click continue, select send to the printer and you will get a print configuration screen, select the option “use system dialog” and then click print.


Another screen will appear and down in the lower-left corner you will see that it says PDF, select that and you can scroll down and select the option “save as PDF”, then you can name it and select where you want it to be saved, to finish click “save”, and you are done!.

18. Use TextEdit or Notepad to connect script font
When you type with a script font you can see how the spacing between letters is always separated, so you usually have to move it manually and many times it doesn’t quite fit the way you want it to. Here’s a trick you can apply to solve this!
If you are on a Mac computer you have to search for TextEdit, on a Windows computer, you can use NotePad, create a new document there, search for the font you want to use and type the word, make it bigger, and then all you have to do is take a screenshot, save the picture and go back to Cricut design space.


Open the photo searching in the upload, then you will want to take the wand and delete the background, finally hit continue, save it as a cut image and insert it into Cricut design space.


19. Use remove.bg to remove the background
Using this page you can remove the background of any image easily, all you have to do is to find the image you want to remove the background and save it, then you have to go to remove.bg website and upload the image there.


It will automatically remove the background, finally, you have to download it and go to Cricut design space, you have to select the image and then insert that into Cricut design space.

20. Have multiple Cricut machines running at the same time
This is a great way to save time! upload a design and take it to the design space. If you are interested you can take a look at my virtual store where you will find designs that you are going to love.


you have to select which machine you are going to use on the top right, either explore, maker, and others, then click on “make it”.
After that you have to go to “file” and select “new window” it will open a different window of the Cricut design space, you can choose a different project or you can select the same one, click on “customize” and select as said before the machine you will use.


You can make the windows smaller so you can see there are the two windows open, finally select “Continue” on both screens, the names of the machines you selected will appear and they will start working.

You can use either USB cables or Bluetooth connections through your laptop if you want to have more than two machines running at the same time.
Which of the 20 Cricut hacks tips and tricks did you like the most? Let me know below in the comments if you like this kind of post!