-
×
 LSU tigers Rhinestone SVG
1 × $5.99
LSU tigers Rhinestone SVG
1 × $5.99 -
×
 Black Nurses Rock
1 × $5.99
Black Nurses Rock
1 × $5.99 -
×
 Wreath scrapbook frame svg
1 × $2.99
Wreath scrapbook frame svg
1 × $2.99 -
×
 Won't he do it
1 × $5.99
Won't he do it
1 × $5.99 -
×
 Prince Naveen beer mug
1 × $2.79
Prince Naveen beer mug
1 × $2.79
Cricut Design Space
How do you slice in design space?
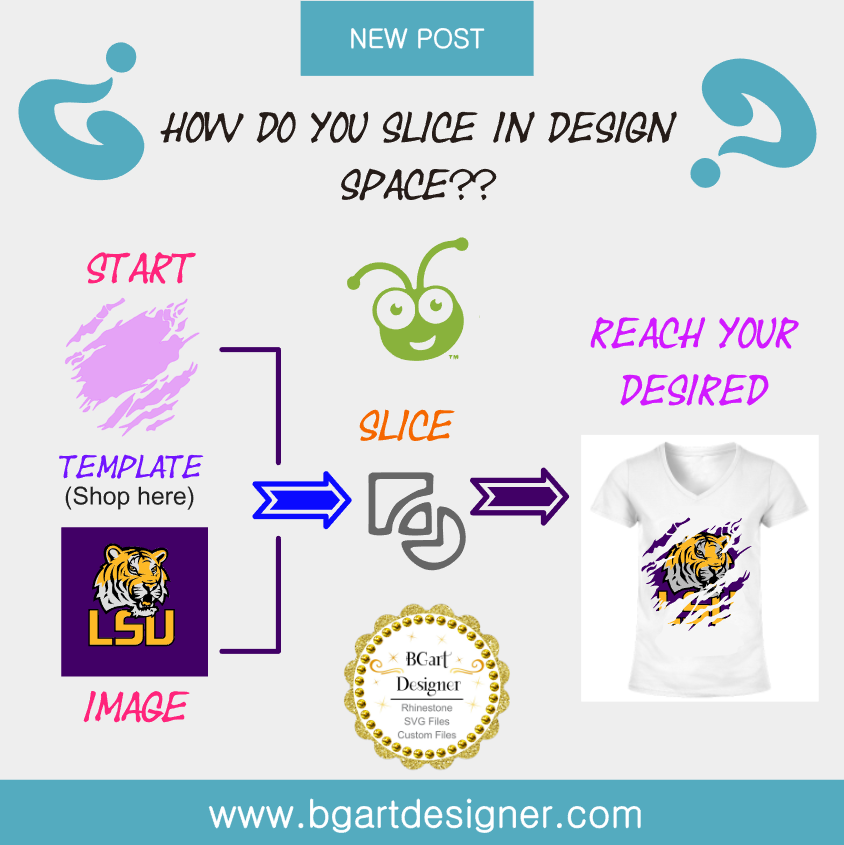
What is and how to slice svg files in design space app?
The slice tool in Cricut Design Space allows splits two overlapping images or text into different parts. Resulting new shapes, also you can slice text or words.
[toc]
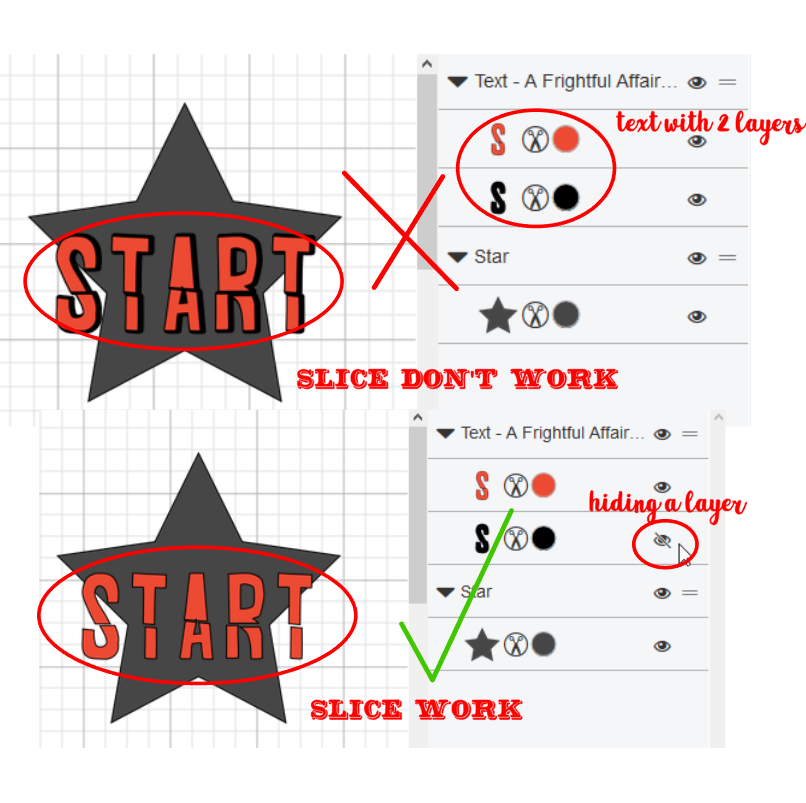
When using Slice with images, you can only work with two layers at one time. Text works a little differently with the Slice tool. If text is multilayered and one layer is hidden, you can use the Slice tool. However, if you ungroup text from its shadow layer, it becomes an image and will no longer work with the Slice tool unless the text is ungrouped to individual letters. By CRICUT
Image example with text multilayered:
Let’s take a look at a few ways Using Slice in Cricut Design Space:
- Remove part of an image
- Creating interesting shapes not found in the basic shapes toolbar
- You can crop and image in Cricut Design space with this tool
Why won’t slice work on cricut?
This happens mainly when trying to apply the tool with more than two layers, to solve it, you only have to hide the necessary layers remaining visible only two, to be able to apply the slice. If Design Space says “An error has occurred” In some cases, you may just need need to redo the last action. If that does not help, you will need to re-create the project.
Tutorial using BGartdesigner Template
(you can buy this template here or in my etsy shop)
- Open Bgartdesigner Template svg file in cricut design space.
- Open your SVG image or logo in the same workspace. (IMPORTANT: the image or logo must have a square background; it’s not necessary but I recommend it and ff the image has several colors, these should not overlap).
- Place the template BGartdesigner, centered and on the image where you want to apply the slice
- Select the template and duplicate it in the same position, one template for each color of the image. In the example below, the image has 4 colors so you must duplicate the template 3 times in the same position.

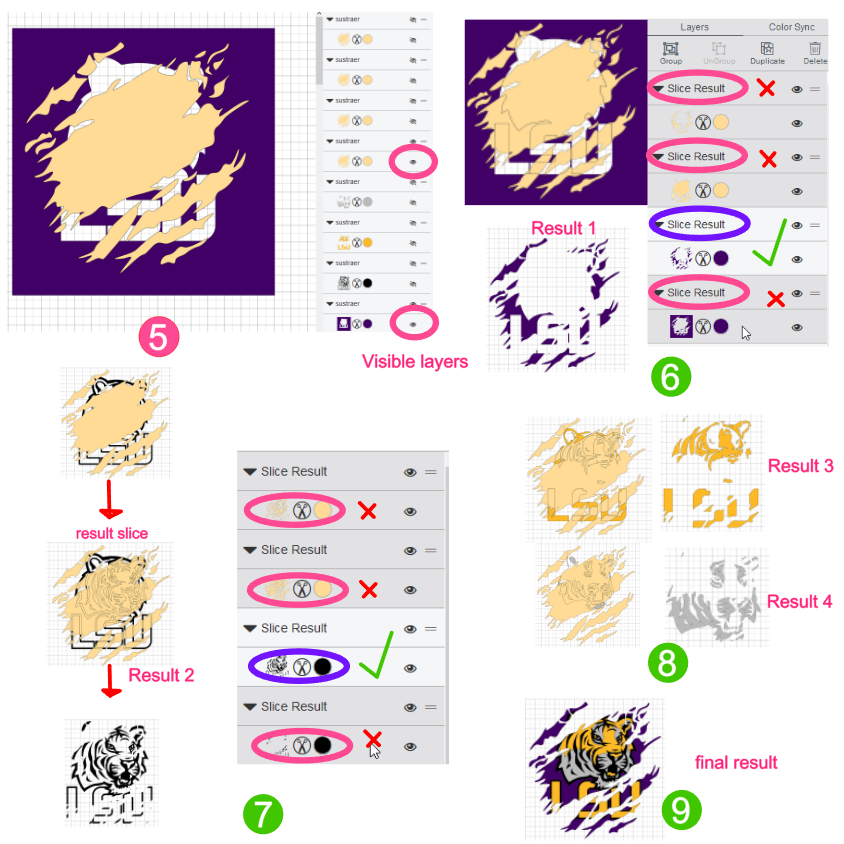
- Hides all layers except one of the template and the background layer of the image; i.e., the one with the square. Then select the two visible layers and apply the slice tool from cricut design space.
- When you apply the slice, 4 new layers called “slice result” are created, select them all, except the number 3 and delete them. You’ll only get one layer. Which you have to hide.
- Place visible one of the layers of the template and another of the layers of the image, select both and apply the slice tool. Then repeat what was indicated in step 6.
- Repeat step 7 with the remaining layers.
- Make visible the layers obtained as a result of each step made, and ready you have your beautiful and original design ready to create many projects.