-
×
 Regular Svg file convert
1 × $5.99
Regular Svg file convert
1 × $5.99 -
×
 Beauty afro black girl
1 × $2.99
Beauty afro black girl
1 × $2.99 -
×
 Alabama State university ASU Hornets Rhinestone
1 × $5.99
Alabama State university ASU Hornets Rhinestone
1 × $5.99 -
×
 Sorority shoes bundle
1 × $5.99
Sorority shoes bundle
1 × $5.99 -
×
 Afro Puffs Little Girl
1 × $5.99
Afro Puffs Little Girl
1 × $5.99 -
×
 Sgrho 1922 poodle
1 × $4.99
Sgrho 1922 poodle
1 × $4.99 -
×
 Proud Nana graduate rhinestone
1 × $5.99
Proud Nana graduate rhinestone
1 × $5.99 -
×
 Diva afro girl rhinestone svg
1 × $5.99
Diva afro girl rhinestone svg
1 × $5.99 -
×
 Birthday Queen
1 × $2.49
Birthday Queen
1 × $2.49 -
×
 Alabama AAMU University Bulldogs heel rhinestone
1 × $5.99
Alabama AAMU University Bulldogs heel rhinestone
1 × $5.99 -
×
 Birthday entourage girls
1 × $5.99
Birthday entourage girls
1 × $5.99 -
×
 Pug with glasses and bow tie SVG
1 × $0.99
Pug with glasses and bow tie SVG
1 × $0.99 -
×
 Olaf Frozen svg and printable
1 × $2.45
Olaf Frozen svg and printable
1 × $2.45 -
×
 Black woman queen
1 × $2.99
Black woman queen
1 × $2.99 -
×
 Santa Hat Wine glass svg
1 × $5.99
Santa Hat Wine glass svg
1 × $5.99 -
×
 Delta sigma theta high heel
1 × $5.99
Delta sigma theta high heel
1 × $5.99 -
×
 Black Nurses Rock
1 × $5.99
Black Nurses Rock
1 × $5.99 -
×
 Universal Word Bubble Hoop SVG
1 × $2.49
Universal Word Bubble Hoop SVG
1 × $2.49 -
×
 I love my HBCU
1 × $5.99
I love my HBCU
1 × $5.99 -
×
 Funny Toolbox Warning Sign SVG
1 × $2.99
Funny Toolbox Warning Sign SVG
1 × $2.99 -
×
 God is the Plug Rhinestone svg
1 × $5.99
God is the Plug Rhinestone svg
1 × $5.99 -
×
 Queens are born
1 × $3.49
Queens are born
1 × $3.49 -
×
 Pray until something happens
1 × $5.99
Pray until something happens
1 × $5.99 -
×
 Universal studio bubble cut file
1 × $2.49
Universal studio bubble cut file
1 × $2.49 -
×
 Sitting girl cake topper download
1 × $7.49
Sitting girl cake topper download
1 × $7.49 -
×
 Cheer mom bow lips
1 × $3.91
Cheer mom bow lips
1 × $3.91 -
×
 Auburn Rhinestone High Heel
1 × $5.99
Auburn Rhinestone High Heel
1 × $5.99 -
×
 Merry Christmas Grinch Rhinestone
1 × $5.99
Merry Christmas Grinch Rhinestone
1 × $5.99 -
×
 Saints Girl Heels
1 × $3.99
Saints Girl Heels
1 × $3.99 -
×
 Pillow Box Doily SVG
1 × $1.99
Pillow Box Doily SVG
1 × $1.99 -
×
 Small Rhinestone font BGARTBASIC4
1 × $6.49
Small Rhinestone font BGARTBASIC4
1 × $6.49 -
×
 Lips svg bundle
1 × $1.99
Lips svg bundle
1 × $1.99 -
×
 I Love being sexy rhinestone
1 × $9.99
I Love being sexy rhinestone
1 × $9.99 -
×
 AKA heart line rhinestone
1 × $5.99
AKA heart line rhinestone
1 × $5.99 -
×
 Legs in sexy high heels shoes
1 × $2.49
Legs in sexy high heels shoes
1 × $2.49 -
×
 Frida Kahlo quotes SVG
1 × $2.49
Frida Kahlo quotes SVG
1 × $2.49 -
×
 Wreath scrapbook frame svg
1 × $2.99
Wreath scrapbook frame svg
1 × $2.99 -
×
 Christmas Wine glass svg
1 × $3.99
Christmas Wine glass svg
1 × $3.99 -
×
 Athletic Fonts Rhinestone
1 × $6.99
Athletic Fonts Rhinestone
1 × $6.99 -
×
 Christmas wine glass svg
1 × $5.99
Christmas wine glass svg
1 × $5.99 -
×
 Graduation Squad file rhinestone
1 × $4.99
Graduation Squad file rhinestone
1 × $4.99 -
×
 Download DST Rhinestone Template
1 × $5.99
Download DST Rhinestone Template
1 × $5.99
Cricut Design Space, Cutting and Crafting
Engrave acrylic with Cricut Maker
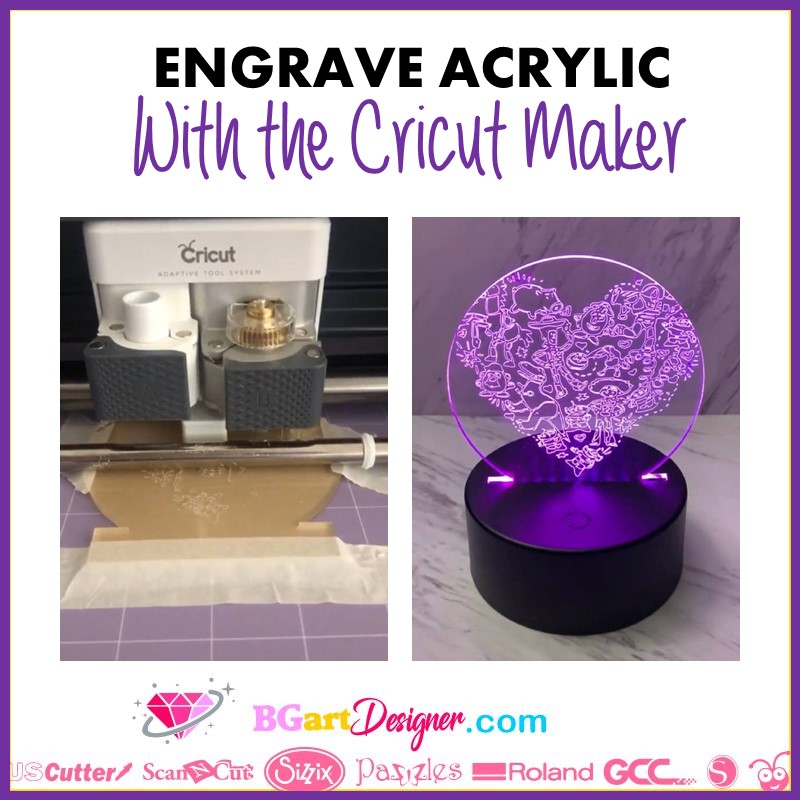
Easily engrave acrylic with the cricut maker! This is a perfect project for home decor or gift giving. The cricut maker has several tools that can be used to make projects such as engraving acrylic, check it out!
The others Cricut machines like the Cricut Explore Air have different tools for engraving, in this post will be the process for engraving using the Cricut Maker. That machine only uses the quick swap housing with the engraving tip.
Supplies needed
- Acrylic LED blank
- Wood base
- Cricut Maker
- Quick Swap Housing
- Engraving tip N.º 41
- Strong grip mat
- Brayer
- Painters tape
Design process to engrave acrylic
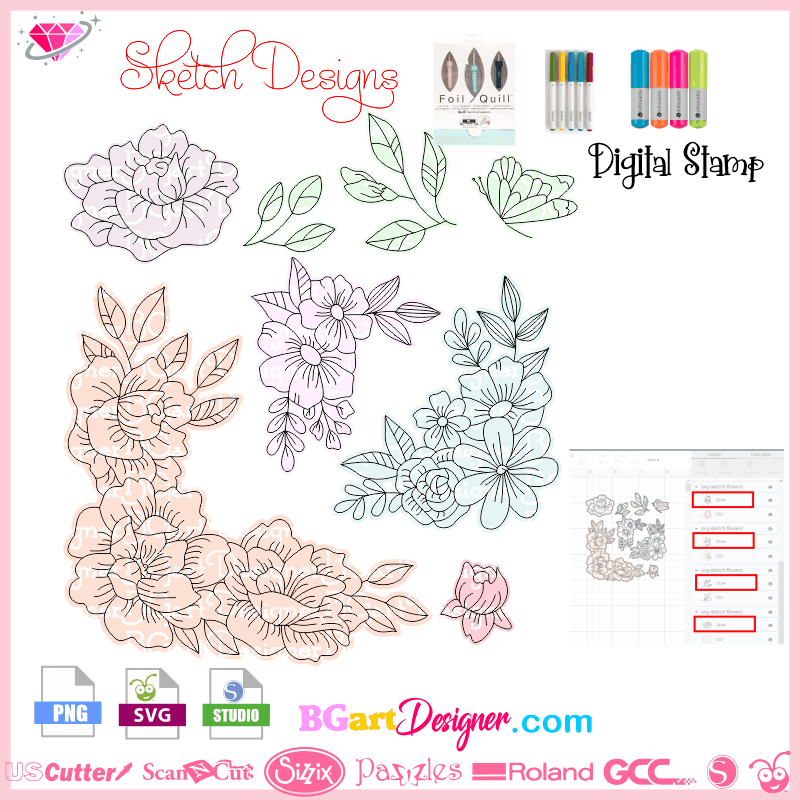
When looking for acrylics to engrave, make sure they are no more than 2 mm thick. They need to be thin enough to pass under the rollers of the machine. To start engraving acrylic with the cricut maker first of all choose an image to engrave. In the designer BGArtDesigner.com there are some sketches that will look amazing for acrylic engraving!
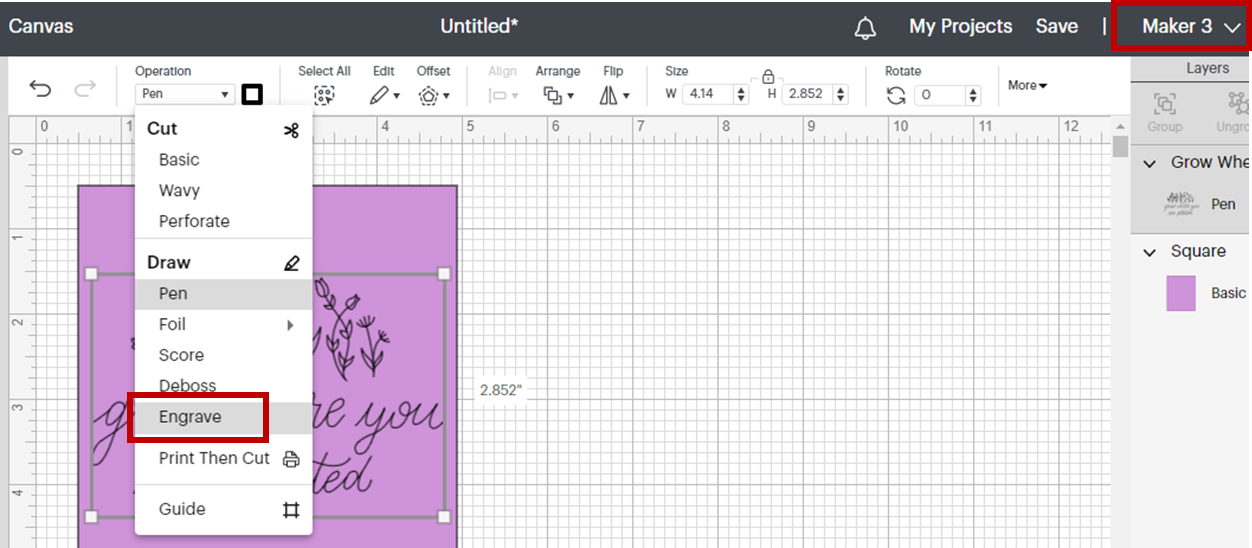
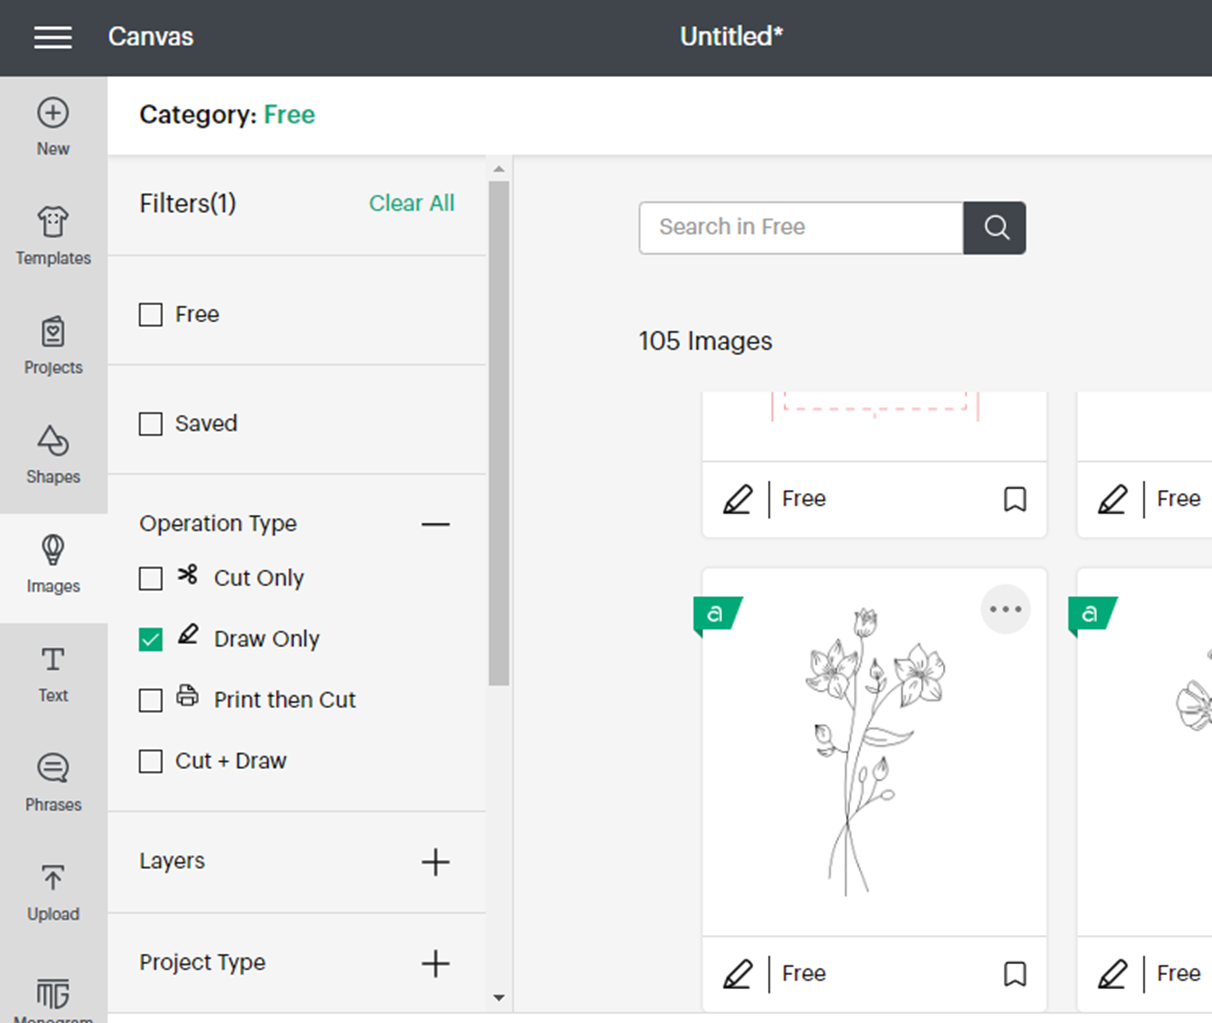
After that, select the machine from the top menu, click on “Cricut Maker 3” to display the engraving operation. Then go to “operation” and under “draw” choose “engrave”, to convert the image. If you are looking for a single line design in Cricut Design Space go to “images” and under filters change the operation type to “draw only”.
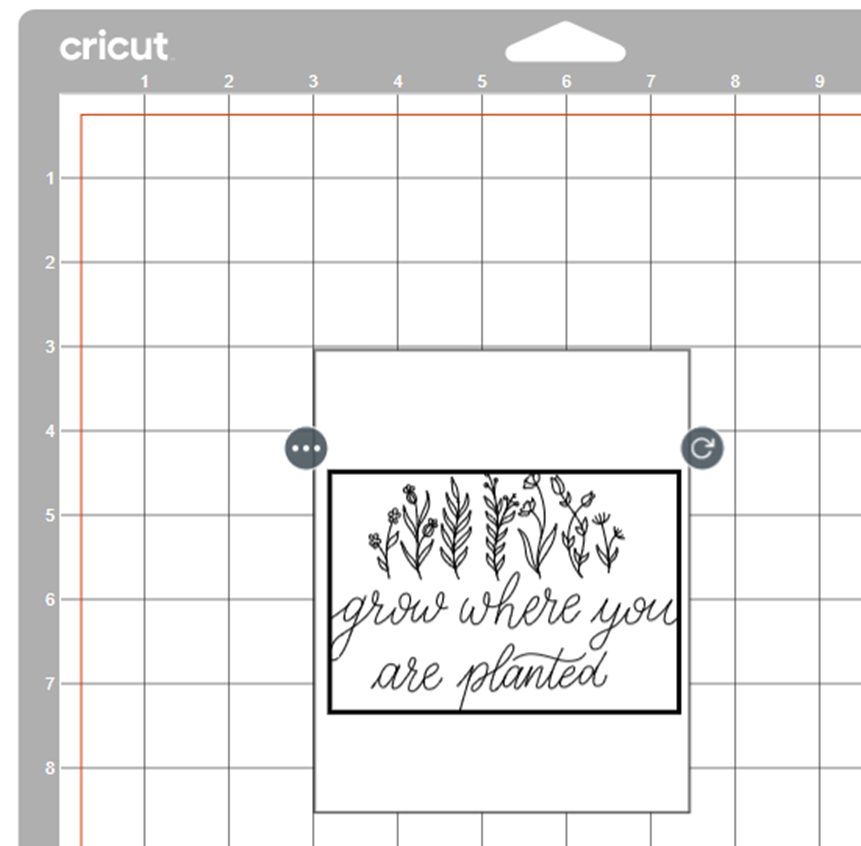
To line up the design perfectly on the acrylic first measure the acrylic sheet. Then create a template with those measurements in Cricut Design Space using the shapes. Drag the design over the top of the template, center it and resize it.
Make the design a little smaller than the blank, to avoid noticeable mistakes. Click continue without deleting the template, and without attaching the pieces. Cricut will place the two pieces on different mats. Start with the mat that has the template. Click on the three little dots in the upper left corner, click on “move object” and click on the mat that has the engraving design.
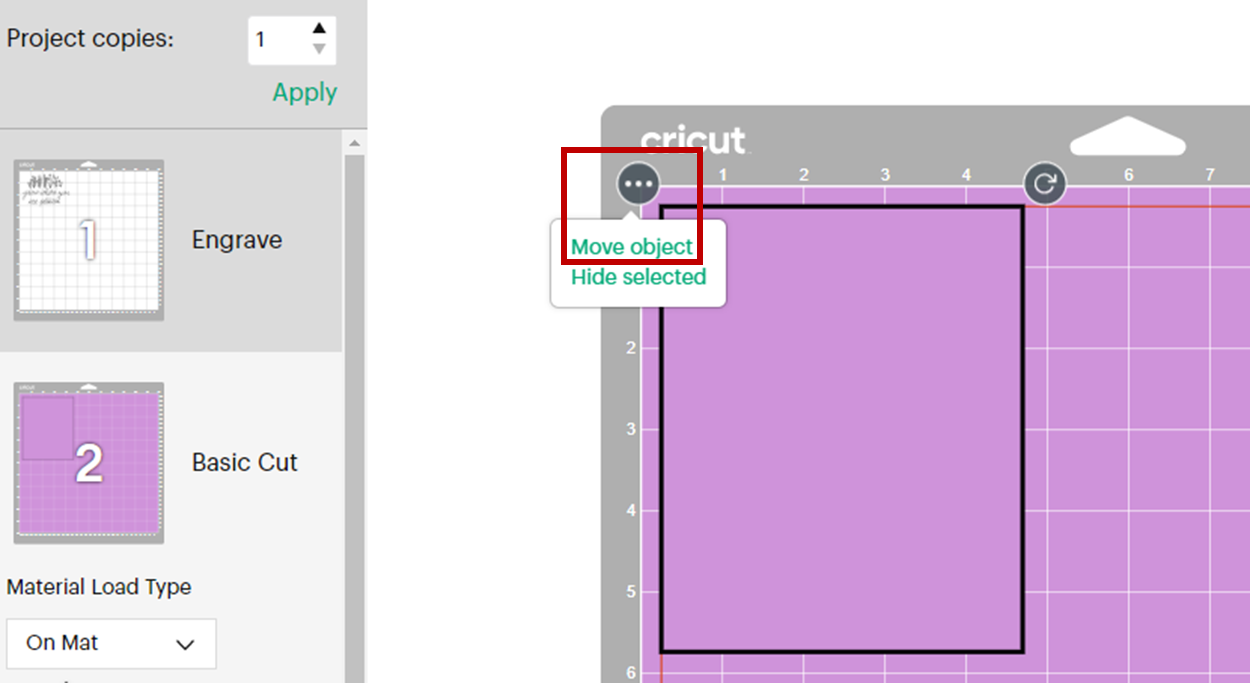
Now it is possible to line up exactly where you want the design to be. Move the template to the center of the mat and align it with the guide lines, so you can place the acrylic in the exact same spot on the actual mat. Once everything is aligned click again on the three small dots, then click on “move object”, and move the template back to the other mat.
Tips to engrave with Cricut Maker
Now move to the engraving mat and click continue. Select the 2mm thick acrylic in the material settings. Most importantly, to start engraving on the Cricut Maker make sure you have the correct tool attached to the quick swap housing, take the number 41 engraving tip. HERE is a post explaining all the blades of the Cricut machines, check it out!
To place the tip into the quick swap housing, simply click the button on the top of the quick swap housing and remove the tip that may be there, and clicking the button push the number 41 tip until it clicks firmly into place.
Next, remove the blade and insert the engraving tool with the open gears towards the back of the machine. the next thing to do is to move all the star wheels to the right, as if they move over the acrylic they can scratch it.
Next, prepare the mat, use the strong grip mat for this project. Remove the protective film from the acrylic on the top, but leave it on the back. Make sure the acrylic is well adhered to the mat, you can use a brayer so you don’t leave too many fingerprints on it.
After that, reinforce the edges of the acrylic with painter’s tape. Be sure not to put painter’s tape anywhere where the machine will engrave because it can ruin the engraving pressure. Once the engraving is finished, cancel the cutting project and continue with another project if desired.
Finally, use the same reinforcing tape to remove some of the dust and debris from the acrylic top to remove it from the mat. don’t forget to remove the protective sheet from the back once it’ s ready.