Cutting and Crafting
Create 3D sublimation projects

Learn how to create a 3D sublimation effect on your projects!
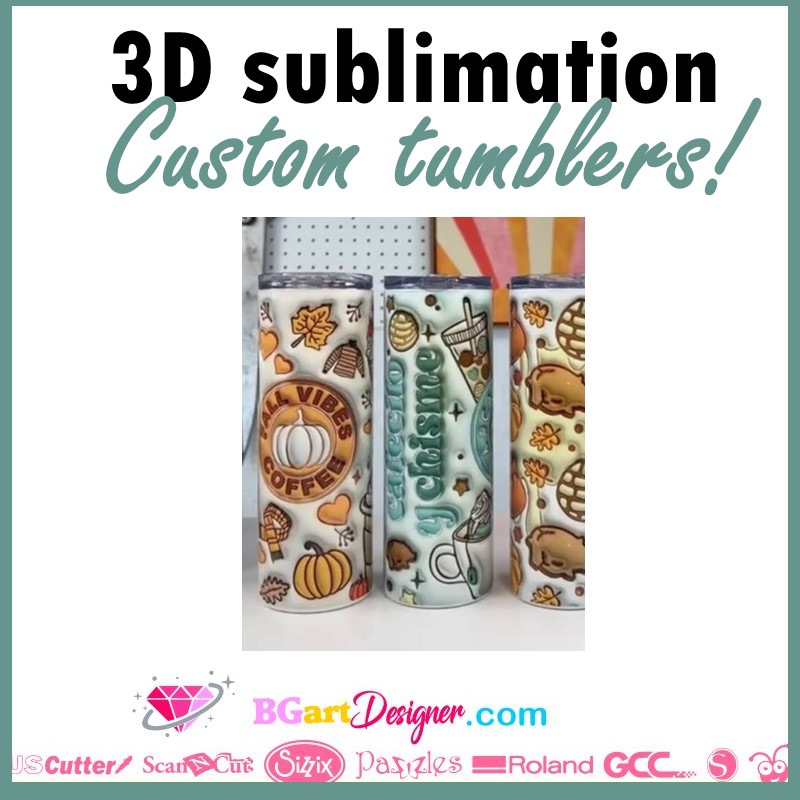
This is the new trend of putting 3D images on cups or any blank made for sublimation like mugs, mouse pads, jars and others. To clarify, 3D sublimation is the fact that the print looks 3d! To do this, search for 3d sublimation printing, and download the design you want! Learn more about sublimation projects HERE!
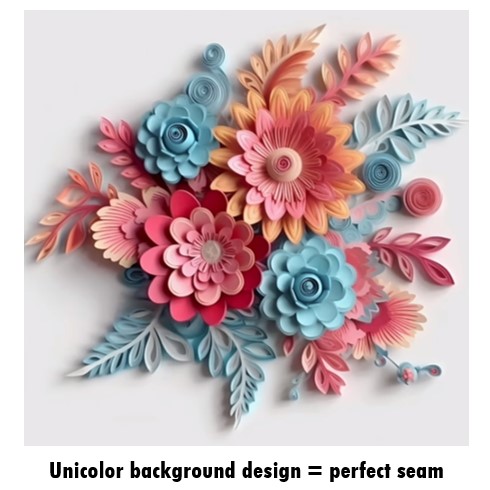
As a recommendation, look for images in which it is possible to see the seam. That is, the part of the design that will match when you wrap it. Avoid hard seams, this way your sublimation projects will look perfect and it will also make the process easier.

Supplies needed
- Sublimation blanks
- Sublimation printer
- Sublimation paper
- Heat resistant gloves
- Lint roller
- Heat resistant tape
- Heat source that gets to 400 degress
3D sublimation tumbler process
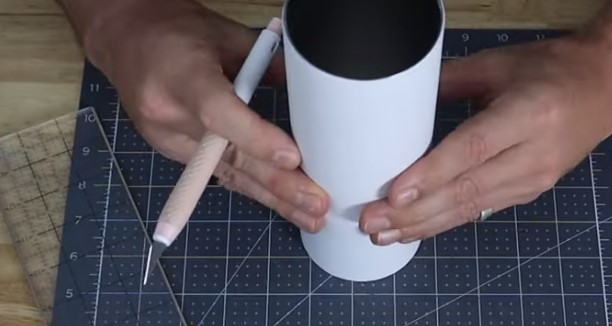
First, before printing the design, measure the tumbler for width, height and circumference. Next, measure the design slightly larger than the blank. Print the image and trim the white edges, as close to the image as possible, to make the seam as perfect as possible. Above all, measure the circumference with a tape measure, because the ends have to match exactly.
To create 3D sublimation projects with cups or mugs, as a recommendation use the cricut mug press or a tumbler press. First, clean the surface of the blank using rubbing alcohol, in this case of a tumbler, to remove any lint or dust from the elements.
Next, place the tumbler and the image on a work surface. Both the paper and the tumbler should be in contact with the table. This makes it easier to align the design vertically and then wrap the image all around. If there is anything left over, mark it and cut it out. Make sure the image is in direct contact with the sublimation surface.

When placing the image around the dryer, try not to leave fingerprints.
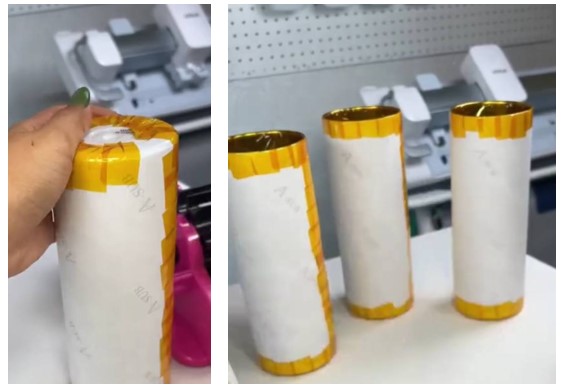
Most importantly, the tighter you place the paper in the tumbler, the better. Otherwise, it will leave air bubbles inside that will cause ghosting, which in crafts means an unclear image result. So to place it tight, take the heat resistant tape and put one piece on top and one piece on the bottom. Then squeeze the paper very tight and tape it down.

Finally, tape all the top, putting half of the tape in the paper to fold the rest inside of the tumbler. Set the press to 375 degeress fahrenheit and press for 75 seconds. And let it cool in a silicon mat before removing the paper.
