-
×
 Alabama State university ASU Hornets Rhinestone
1 × $5.99
Alabama State university ASU Hornets Rhinestone
1 × $5.99 -
×
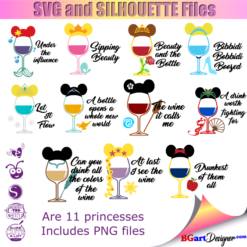 Princess Disney wine glass
1 × $7.49
Princess Disney wine glass
1 × $7.49 -
×
 Dabbing unicorn
1 × $1.99
Dabbing unicorn
1 × $1.99 -
×
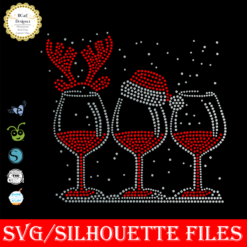 Christmas wine glass svg
1 × $5.99
Christmas wine glass svg
1 × $5.99 -
×
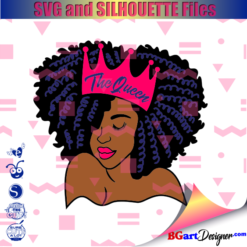 Black woman queen
1 × $2.99
Black woman queen
1 × $2.99 -
×
 Birthday Queen
1 × $2.49
Birthday Queen
1 × $2.49 -
×
 Love valentines day svg
1 × $1.49
Love valentines day svg
1 × $1.49 -
×
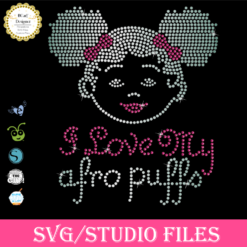 Afro Puffs Little Girl
1 × $5.99
Afro Puffs Little Girl
1 × $5.99 -
×
 Birthday diva rhinestone
1 × $5.99
Birthday diva rhinestone
1 × $5.99 -
×
 Frida Kahlo quotes SVG
1 × $2.49
Frida Kahlo quotes SVG
1 × $2.49 -
×
 Template for use slice in design space app
1 × $3.91
Template for use slice in design space app
1 × $3.91 -
×
 Black Nurses Rock
1 × $5.99
Black Nurses Rock
1 × $5.99 -
×
 Living My Best life
1 × $2.99
Living My Best life
1 × $2.99 -
×
 Beauty afro black girl
1 × $2.99
Beauty afro black girl
1 × $2.99 -
×
 Script Rhinestone font
1 × $6.99
Script Rhinestone font
1 × $6.99 -
×
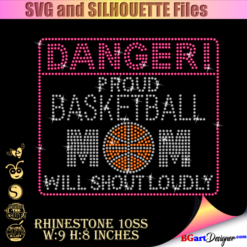 Danger proud basketball mom
1 × $5.99
Danger proud basketball mom
1 × $5.99 -
×
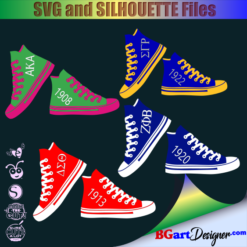 Sorority shoes bundle
1 × $5.99
Sorority shoes bundle
1 × $5.99 -
×
 Diva afro girl rhinestone svg
1 × $5.99
Diva afro girl rhinestone svg
1 × $5.99
Cutting and Crafting
Wooden family birthday calendary
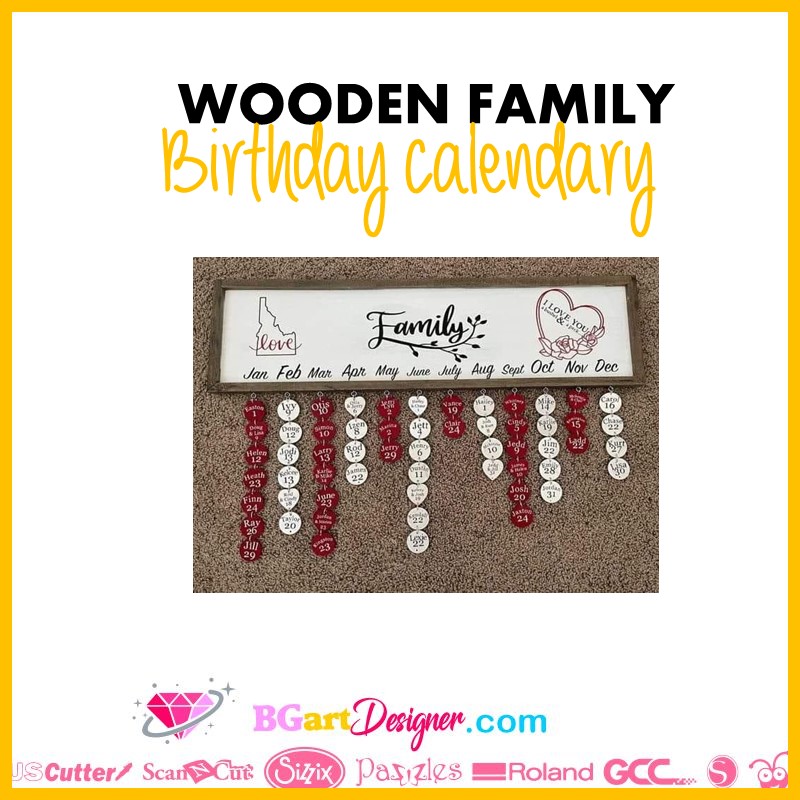
Create a wooden family birthday calendary so to not forget the birthday of your loved ones. Of course, you can do it on your phone, but this project is so cute and, besides, it’s worth it! The process is easy, and the result is amazing as a home decoration, or even as a gift.
Supplies needed
- 12 Eyes hooks
- Jump screws
- Wood plaque
- Permanent vinyl
- Basswood
- Cardstock
- Paint
- Transfer tape
First, create a design. A family celebration decal that represents the intention of the wooden calendar. Find some designs at BGArtDesigner.com!. In addition, cut out the names of the months to place them later.
After that, it is also necessary to cut out the day markers in some 1/16-inch thick basswood or cardboard. Make sure the shape has two circles, one at the top and one at the bottom of the design. Those will be the holes to insert the jump screws.
It’s possible to create different shapes for different celebrations, such as squares for birthdays and hearts for anniversaries. Next, get the wooden plate. There are several ways to create this calendar. It is possible to paint the wood with white chalk paint, metallic paint, spray paint, or simply leave its wood look.
Assembling
It is time to assembling the wooden family birthday calendary. For that, insert an eye hook for each month of the year, 12 in total. To do this, measure the board, subtract about two inches from that measurement and then divide the result by the number 12. That will be the space between each spot. Start at one edge and mark the spots with a pencil until get the 12.
Make the marks on the bottom of the wooden plaque, to insert the eyes screws there. Then screw the eyes into the marks, you can do it by hand or using a drill. As a recommendation, put the eyes screwed near the back because this way the day markers will be in place, without rotating, because they are close to the wall.
Decorate the plate, using transfer tape to place the decals. If the design has two layers, adhere the bigger layer on the transfer tape first. Then tape the second layer onto the work surface so that it will not move.
Using the same transfer tape with the first layer, adhere the second layer by carefully placing the transfer over the top of the decal. When it is in the correct position, press down from the center outwards to prevent bubbles. Also place the name of the months on the wood plaque above the eye hooks.
Take the date maker shapes and, if you want, paint them. Mark the shapes with a fine permanent marker with the name and date. For this step, you can also cut out of vinyl the names and dates! Finally, attach the date markers to the celebration board. To do that, take some jump rings and a pair of tweezers. Start inserting them into the holes of the shapes and that’s it!