Cutting and Crafting
How to make a tote bag with cricut
Customized tote bag using a cricut machine and different techniques!
Creating a tote bag with a cricut machine is possible! They are now a sensation accessory to combine with many outfits and be super chic but minimalist. You are probably wondering how it is possible to create a tote bag using a cricut machine, well, there are many ways and three of them are described in this post, check them out!
First of all, for any technique you choose, you need to find a design, of course. At BGartdesigner there are many designs you can choose from at the best prices! On the other hand, we have to purchase some tote bags for this project, cricut has its own tote bags but there are many others on the market.
Custom tote bag with HTV
Supplies needed
- HTV vinyl
- Butcher paper
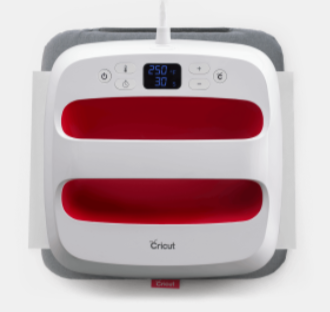
- Heat press (easy press, easy press mini, Cricut AutoPress)
The first one is using HTV vinyl and a heat press. To cut the design on the vinyl don’t forget to mirror it. With HTV we have to put the shiny side down on the mat. Then load it up and send it to be cut.
Peel the mat off the HTV, cut off the excess parts and weed the design. Now, preheat the press to 315 degrees for 30 seconds. Next, take the cloth bag and run a lint roller over it, to remove any wrinkles and debris it could have.
To apply the design, measure the space of the tote bag and leave the same space on the borders to apply the design right in the center. Take a Teflon sheet or some butcher paper and place it on top of the design.
Press the design for 30 seconds with the easy press. Finally, let the design cool before removing the backing sheet. In case the design does not adhere well after the first press, simply place the Teflon sheet on top and press for another 15 seconds.
Print then cut to custom a tote bag
Supplies needed
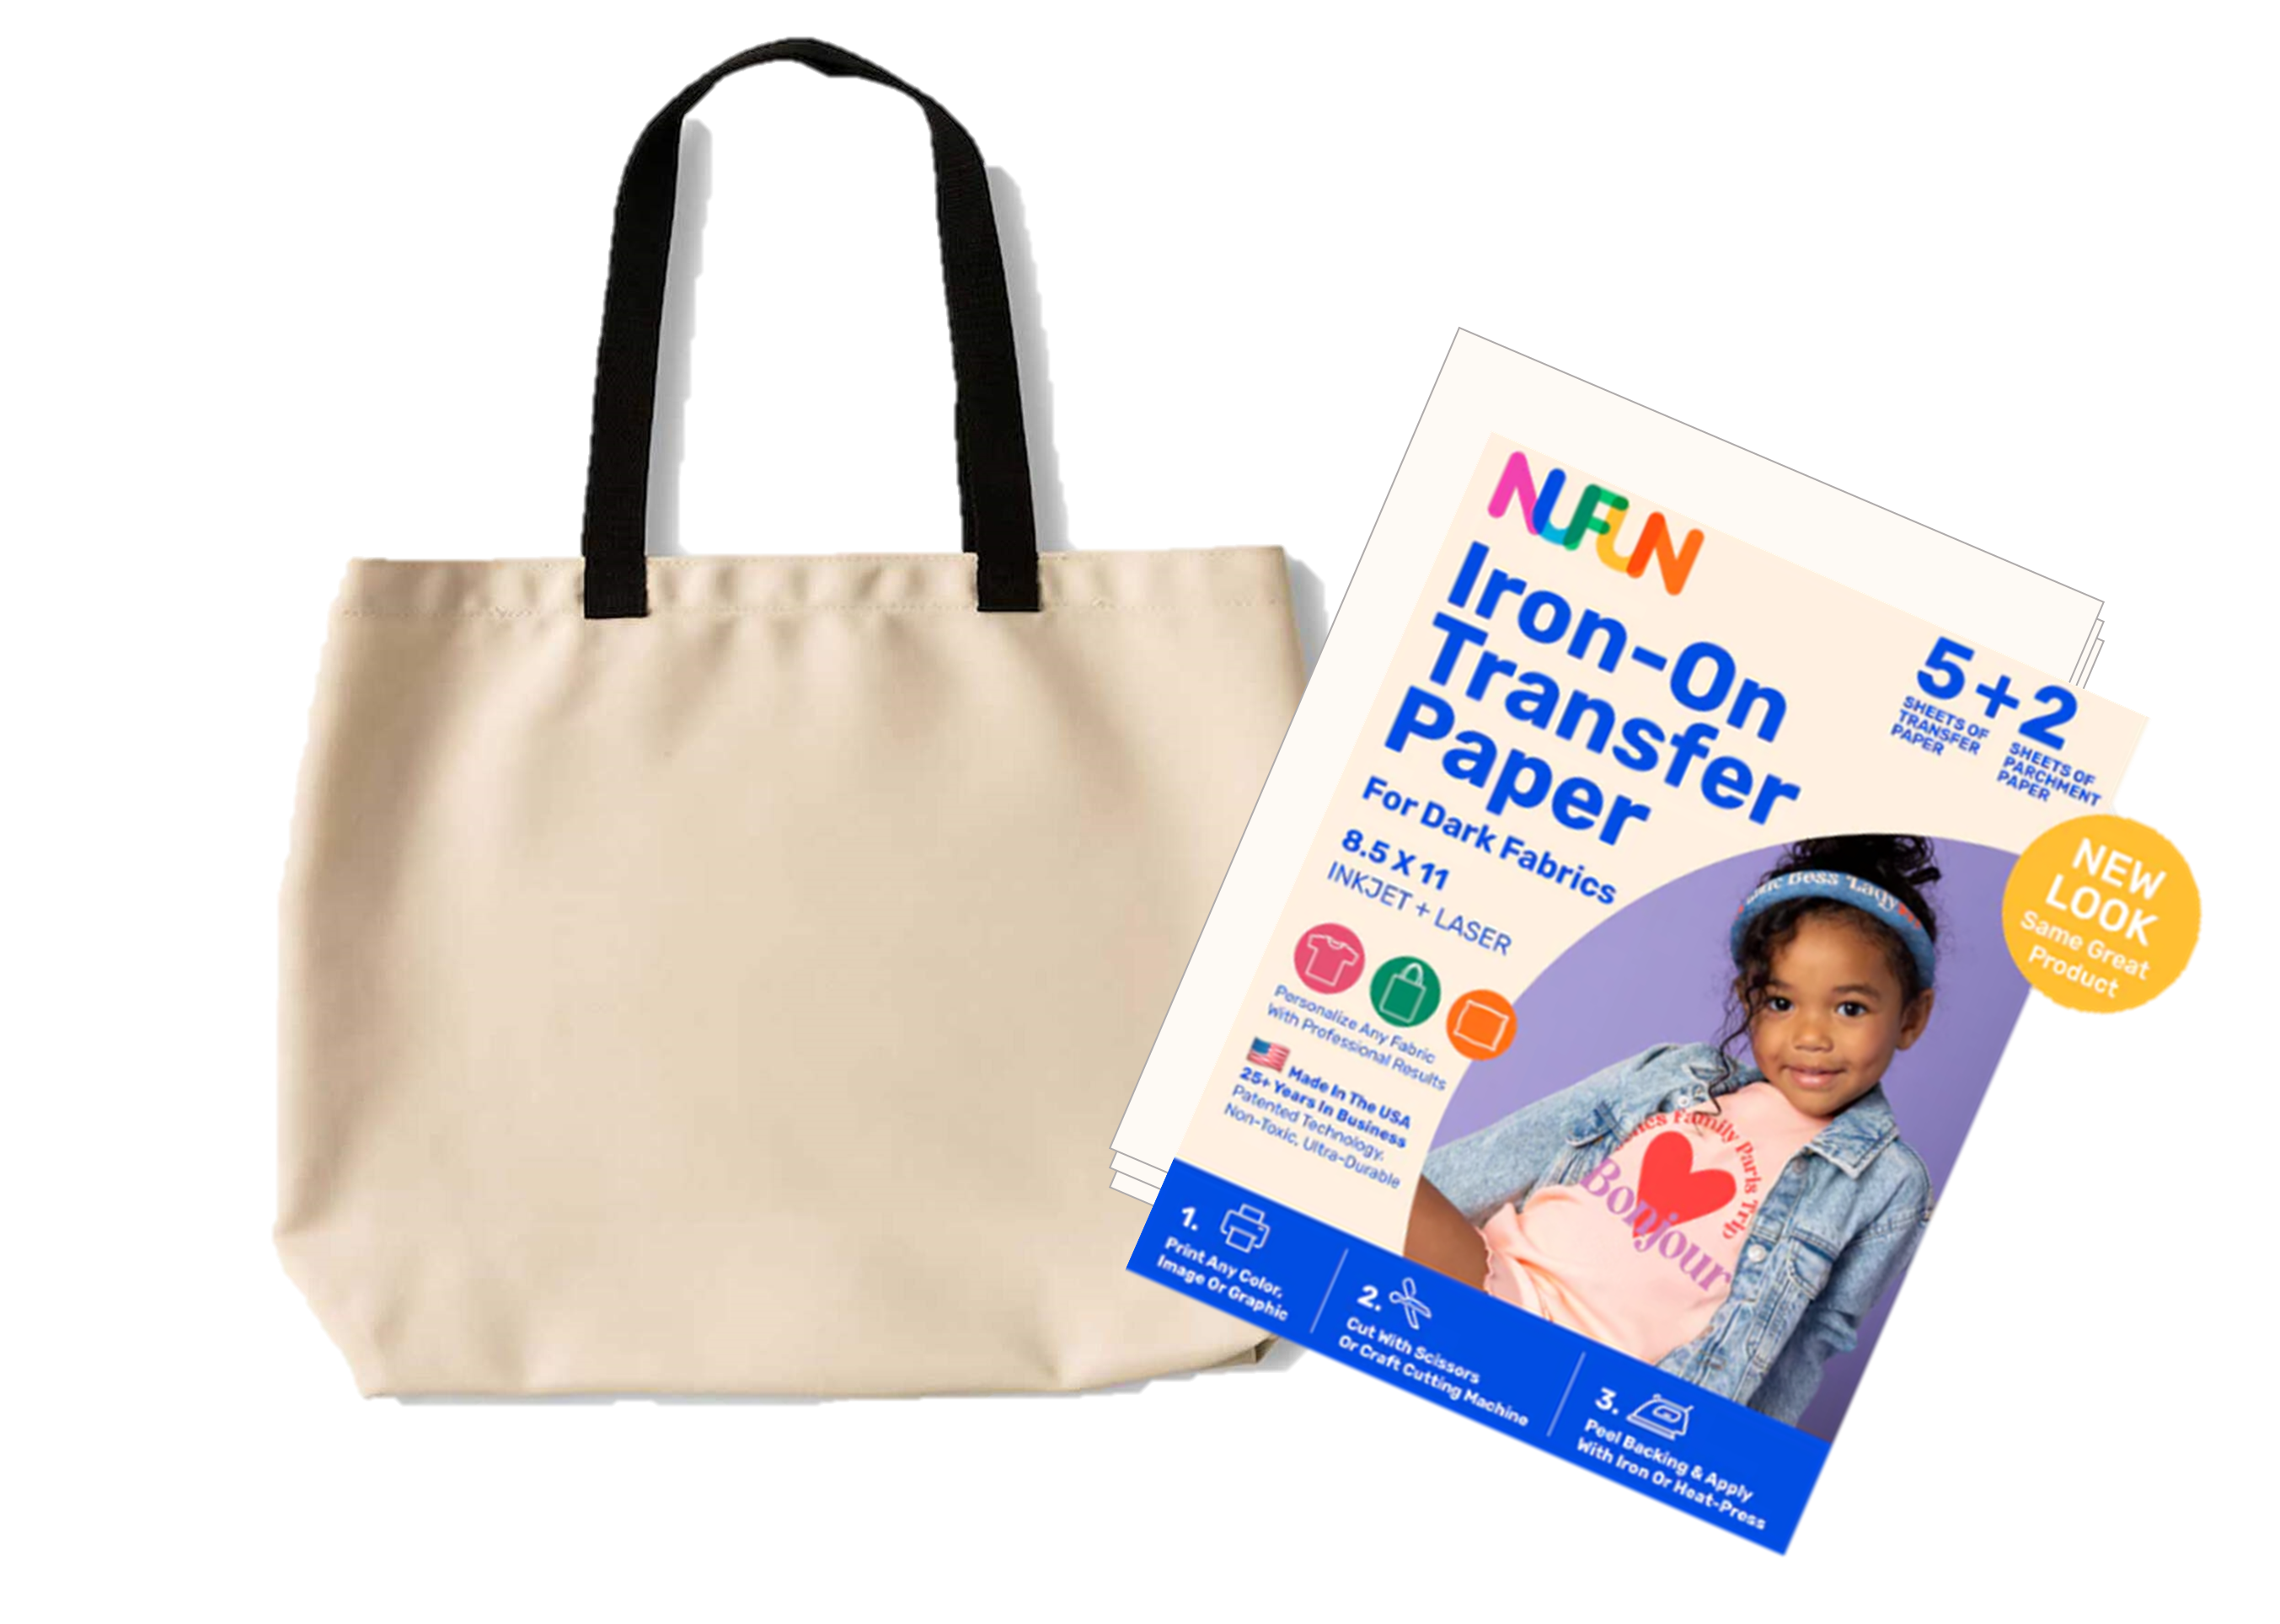
- Printable iron-on vinyl
- Heat press
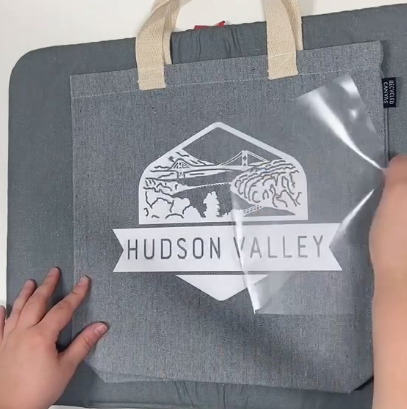
Another way to personalize a tote bag is to use the print then cut feature. Use printable iron-on vinyl and print the image on it. Make sure the registration marks are printed well, because those lines allow the cricut to cut the design perfectly.
the cricut machine will cut around the image. After that, peel the mat from the paper, not the image from the mat and do not peel the paper from the mat to avoid paper curling or folding. To press the design, just cut off the excess of the iron-on and peel the vinyl from the backing paper. You can use the Cricut Heat App to use the easy press. There are many settings available.

Get the cricut works space mat. It is useful, not only does it protect the surface we press on, but it gives us a solid pressing surface. Don’t forget to preheat the surface for 5 seconds at 315 degrees to remove any wrinkles. Above all, each vinyl is definitely not the same so be sure to adjust the temperature and time accordinly.
In addition, don’t forget to put a Teflon sheet or butcher paper on top of the design and press it for 30 seconds. Then turn the bag over and press it again. Do this from the underside for another 30 seconds. Finally, let it cool for two to three minutes and remove the butcher paper or Teflon sheet from the top.
Custom tote bag with infusible ink markers
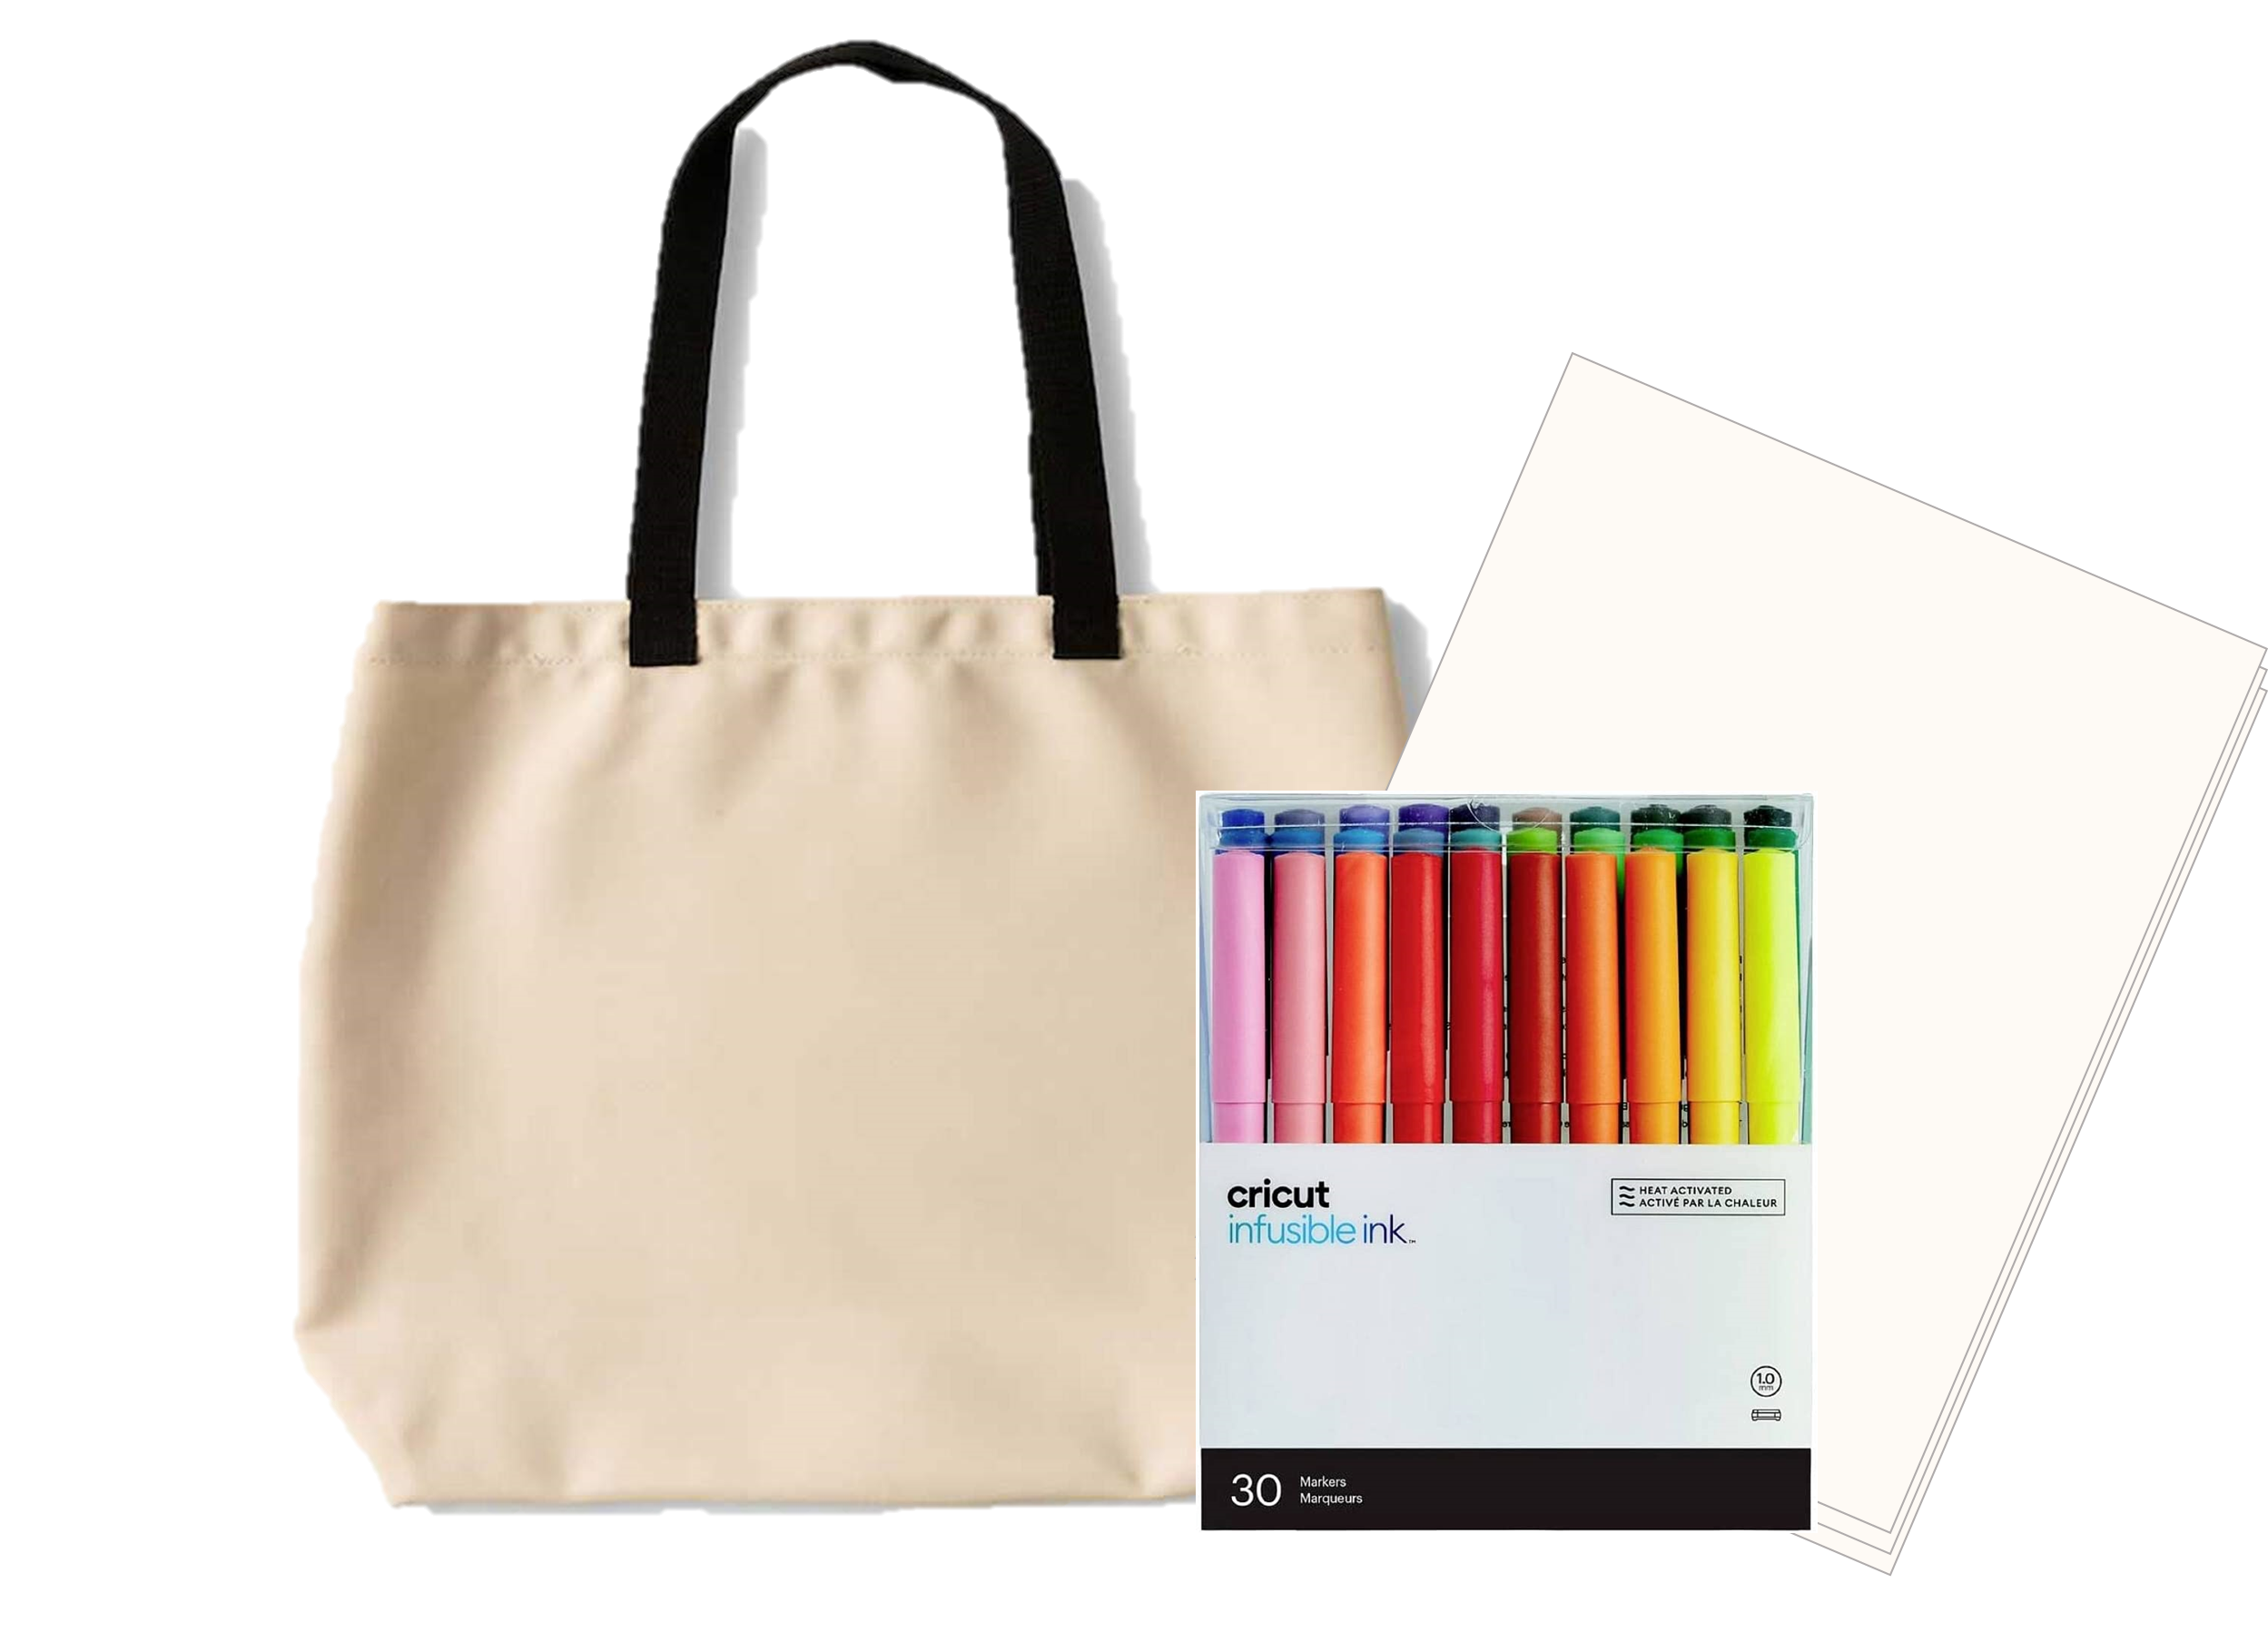
Supplies needed
In case you don’t have a printer, iron-on vinyl or HTV but you do have the infusible ink markers and a few sheets of copy paper, of course there is an option for that! So upload a design with line drawing and be sure to select the type of line drawing. Adjust it to the size of the bag and don’t forget to mirror the design.
Design process
Select the Cricut explore machine and set the media to “copy paper”. Load the infusible ink markers into the machine, and place the copy paper on the mat.
To create a different color design it is necessary to layer the image. This is so you can change the color of the lines in the Cricut design space and then change the markers while the machine is drawing. Above all, don’t forget to attach the design to draw all together.
The Cricut Design Space program will tell you what color to put on the machine next, so don’t worry about that.
Transfering the design
With the design drawn, it’s time to transfer it to the tote bag. Set the heat press to 360 degrees for 80 seconds for this paper. To press the design, place the easy press mat inside the tote bag and put an 80 pound piece of cardstock between the mat and the bag. This is to avoid bleed marks.
place butcher paper to preheat the bag for 15 seconds. Above all, make sure the sheet of butcher paper is larger than the heat plate. Place the design face down, center it with the white side facing up. Tape the corners with heat-resistant tape. Finally, cover the design with butcher paper and press it for 80 seconds with light pressure.
slowly remove the butcher paper and let the design cool for 5 minutes before removing the paper sheet and tapes. Keep in mind that moving it while it is still hot can result in ghosting or marbling.