Cutting and Crafting
Make temporary Tattoos with a Cricut
Learn how to create temporary tattoos using the print then cut function with the Cricut machine or the silhouette cameo. This project is ideal for children’s parties, hollidays or even for adults.
Supplies needed
- Silhouette tattoo paper
- Cricut maker explore 3 or cricut air 2
- Light grip mat
- Scraper tool
- Spatula
- Brayer
First of all, let’s talk about the paper we are going to use. Silhouette tattoo paper includes two items. One is the tattoo paper itself, it has a glossy side (where we are going to work) and it also has a matte side (the back of the paper). The second item is the adhesive sheet. We must adhere it to the tattoo paper after printing and before cutting.
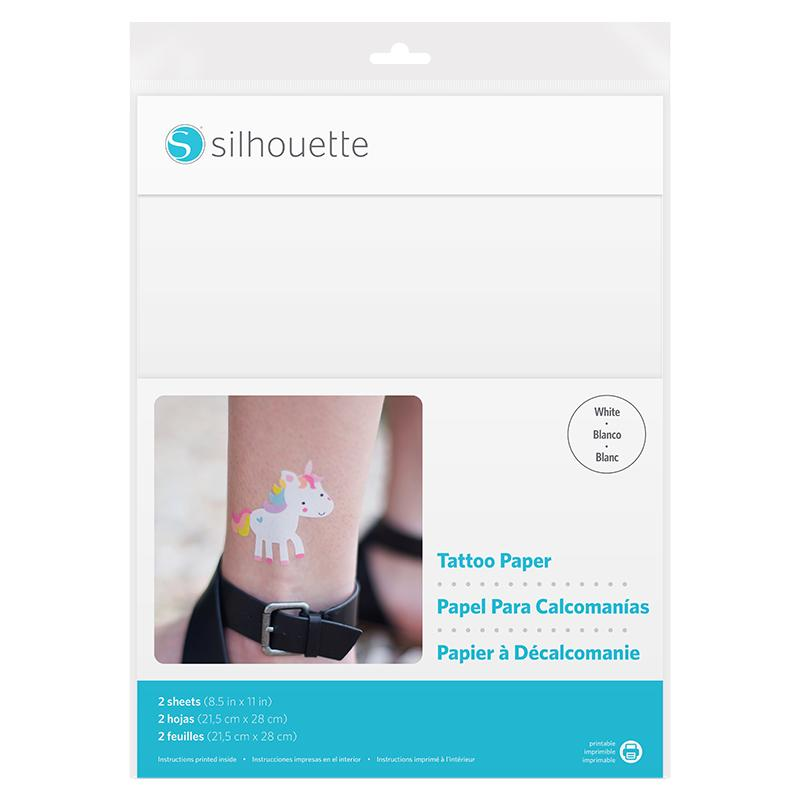
To clarify, each package comes with two pairs of these items.
Desing process
To make temporary tattoos with a Cricut, first search for a design, on BgartDesigner there are multiple options to choose from. Another way to find a design is to search in the cricut graphics by typing the word “tattoos”. There you will mostly see images to print then cut. Above all, make sure the image has a continuous border. Then change the size of the tattoos. Here are some recommendations.
- For kids: 1.5 inches weight
- For adults: 2-3 inches weight
Simply change the weight of the design, so as not to distort the image. The height will automatically change while maintaining the dimensions of the design. Now, create a template to make sure all the tattoos fit in the print then cut area, and also so you don’t waste material by filling the sheet completely.
Insert a square and size it with the measurements of the print then cut area. That is 6.75 by 9.25. Remember that making the print then cut space bigger is now possible check this post out.
Here is a design tip. In case you have a design set up as a cut image, you need to select all layers and flatten it, to have only one layer. Also, make sure we change it to be a “print then cut image”. Then select the machine and clik do it. Do not forget to mirror the design.
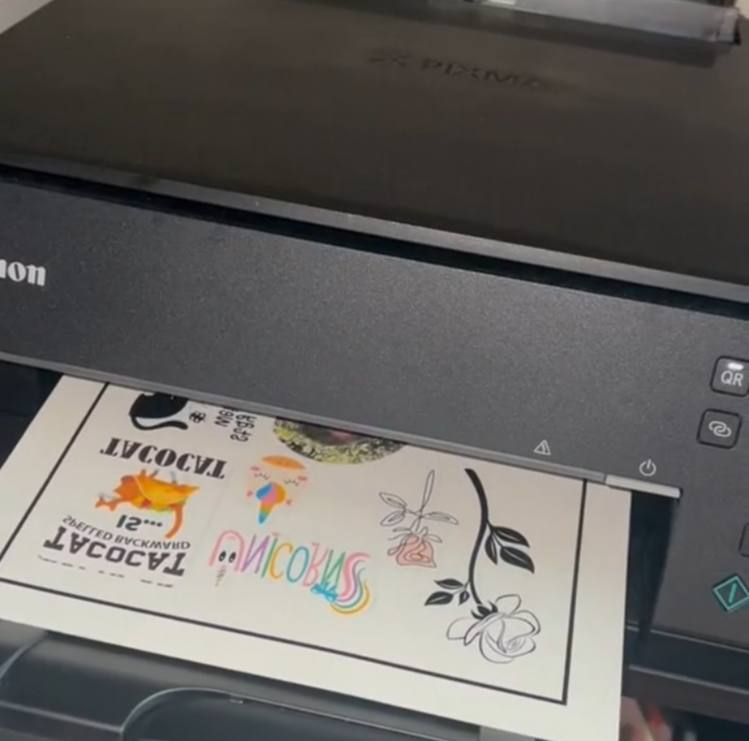
As you probably know, first send the image to print. Select use “system dialog” and click on print. A tab will appear to change printing preferences and paper type. Go to photo paper and select “glossy photo paper”. Also, select high for print quality.
Applying the adhesive sheet
let’s apply the adhesive paper sheet on top of the tattoos. To do this, remove a little bit of the backing on top of the adhesive sheet. carefully place it aligned with the tattoo paper on all sides. start peeling the backing off the adhesive paper scrape the adhesive over the tattoo paper as you go along with the scraper. make sure you don’t get air bubbles.
Cutting the temporary tattoo with cricut
Next, place the temporary tattoos on the cricut light grip mat. Select the pressure for your machine, default usually works, but do some test cutting because this has to cut all the way through the paper to get individual tattoos.
Last tip, if the cricut has trouble reading the registration marks, cover them with tape. But, if there are still problems try dimming the lights near the cricut.
Most importantly, after unloading the mat make sure the tattoos are cut all the way through. if not just send to cut a second time. Finally, remove the temporary tattoos by pulling the mat away from the paper.
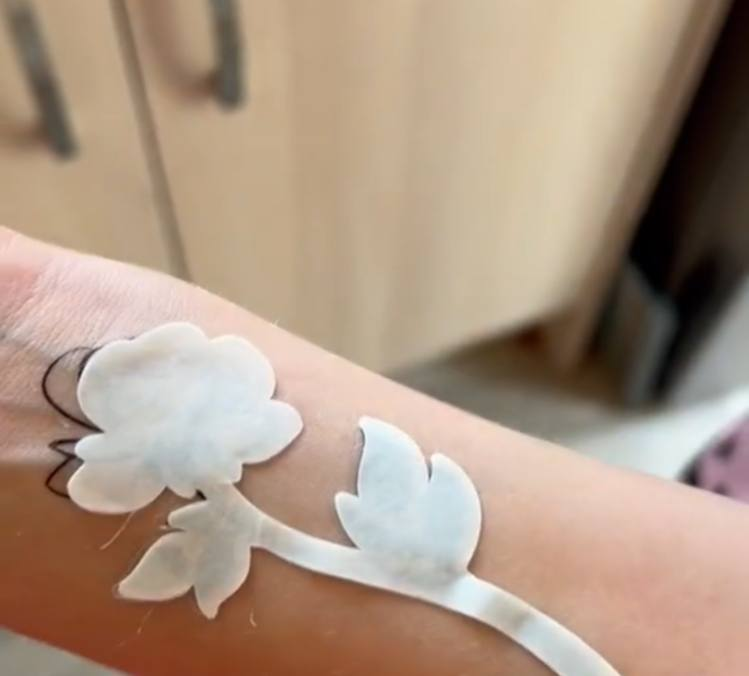
How to use temporary Tattoos
First, remove the clear plastic layer. Then place that side (the sticky side) against the skin. Place a damp cloth against the back of the tattoo for 10-15 seconds or until the back slides off easily. To clarify, the tattoo will last a day or two.