Cutting and Crafting
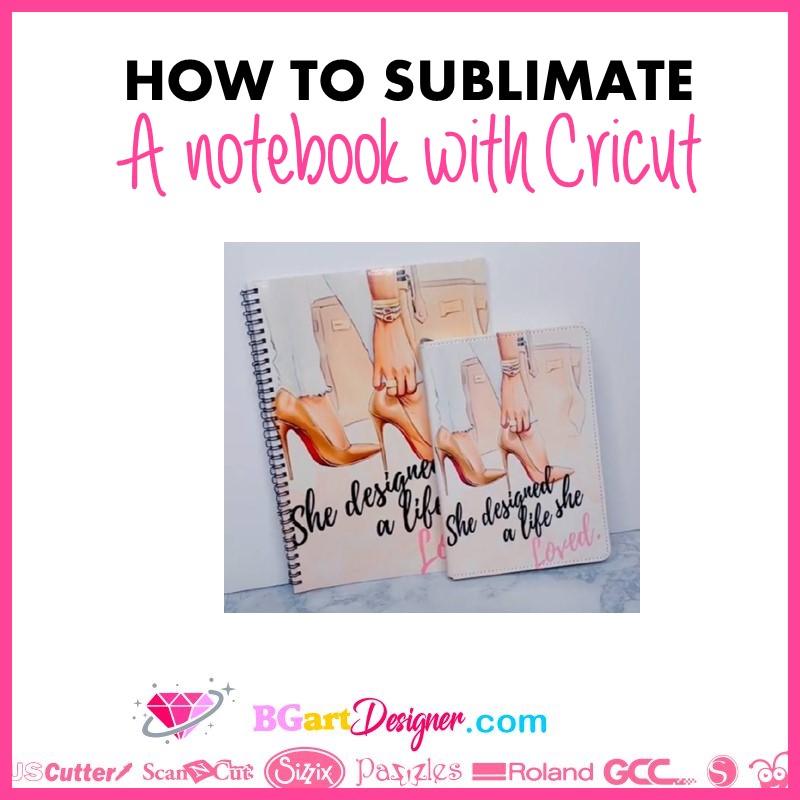
How to sublimate a Notebook with Cricut

Since it is possible to sublimate on fabric, there are many markets that sell notebooks with fabric covers. This means that it is possible to sublimate a notebook with a Cricut press to create an awesome project!
- Heat resistant tape
- Printer
- Sublimation paper
- Heat transfer warehouse fabric notebook
- Easy press 2
- Butcher paper
First of all you should know that for this project it is necessary to purchase special notebooks with fabric covers for the sublimation to work. Knowing that, create the pattern or designs you want to sublimate on the notebook. Remember to do the front and back so it looks nice and original. On BGArtDesigner there are many designs that will work for beautifully customizing a notebook!
Measure the notebook and create a template with the size to make sure all the design fits well. Extra details should fit inside the template, but make the pattern or color cover a little larger so to have room to work. Then send the design to the printer.
Now go into the printer settings to make some changes. Click on “more settings” and look for the option “print using system dialog”. Select the printer and then click on “preferences” to make two changes. First change the paper type, choose “premium matte presentation paper” and change the quality from “standard” to “high”.
In addition, remember that for sublimation it is necessary to flip the image. To do this in the same system dialog option, go to more options and look at the bottom in the “additional settings” uncheck “high speed printing” and turn on “mirror image”. Click on Ok and finally click on apply.
These settings are for Windows computers, with Mac there will probably be some differences.
Heat press tips
There are many different styles of heat presses on the market, if you are going to use a traditional style of heat press the best one for projects like this is a swing-away press style and that is because of the thickness of the notebook. On the other hand if you have a clamsheel style heat press test to see if the notebook will fit before turning the press on. This is to make sure the press closes properly to make this project.


With these types of presses you need to test the pressure and make sure it is set to medium to firm.
In case of not using a traditional heat press, the Cricut Easy press will work perfectly for this project. the pressure required to sublimate the notebook is similar to that of sublimating the HTV glitter.
Sublimate a notebook
Set the press to 400 degrees for 90 seconds, let it heat up while you prepare the notebook. These settings are specific to the Heat Transfer Warehouse fabric notebook, so keep in mind that they may change if using another notebook. Before placing the paper on top of the notebook, run the lint roller over both sides of the notebook to remove dust.
Next, pick up the printed designs and trim the excess paper from the edges. Now, look at the way the notebooks open and which side the front cover is on to place the correct printed image on top. Take the design and place it with the image facing the blank. Make sure the design goes from edge to edge.
After that carefully hold the design in place and open the front cover to add some tape. Trim the edges if necessary so you don’t have so much paper off the surface. now repeat the steps for the back of the notebook.
For this project the only option is to sublimate one side at a time. So cut four pieces of butcher paper so you have two new sheets each time. Remember that one piece goes under the notebook and the other on top to protect the press from bleeding.
Once one side is pressed down, quickly and carefully remove the paper. Remove the tape very carefully so as not to rip the paper inside the cover. Repeat the process with the other side of the notebook, placing new pieces of butcher paper. It is necessary to let the notebook cool down under something heavy to ensure that the pages do not bend and the notebook does not deform
