Cutting and Crafting
How to make a paper box with Cricut

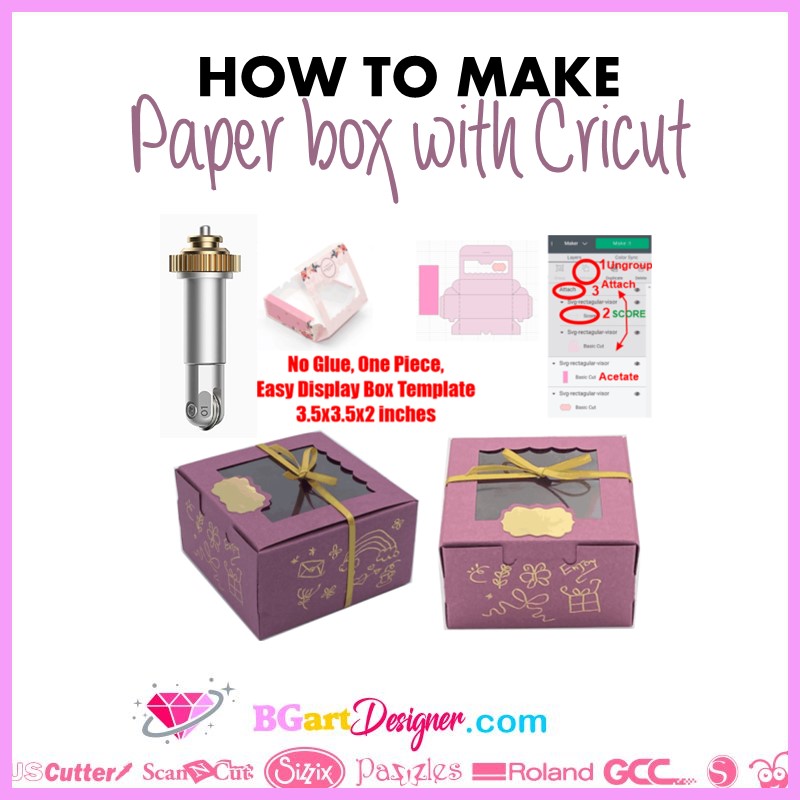
Create a stunning paper box with Cricut machines! The Cricut machine has a special tool for this kind of projects, the scoring wheel and scoring pen. In this tutorial will be the step by step process on how to create paper boxes easily whether or not you have the scoring tools.
Supplies needed
First of all, find the file with the paper box design and upload it to Cricut Design Space. On BGArtDesigner there are some box designs, check them out HERE! It is also possible to find some box patterns in Cricut projects. Type “boxes” in the search bar and find all the available boxes.
Keep in mind that when using these box designs you can only modify the overall size of the box. It is not possible to modify each part of the box separately, otherwise you will deform it. In spite of that, here is a tip to create boxes with the size we want.
First, insert a shape with the desired size. Use the size of the box base as a guide for this procedure. Next, align the shape in the corner of the box base. Finally, drag the corner of the box and size it according to the template, make sure to align all the pieces at the same time so to don’t deform the pattern.


It is necessary to create two more templates with the sizes of the Cricut mats. One of 12×12 inches and another of 12×24 inches. This is to know the maximum size we are allowed to make the box to be sure it fits the cutting mat. This way we will avoid mistakes and any problems related to the cutting process.

Although the maximum size of the mat is 12 x 12 inches, the size of the box should be no larger than 11.5 x 11.5 inches.
Now let’s look at the layers panel. Notice that one of the box layers says “score” and the other says “cut”. The “score” are the dotted lines that allow folding and assembly the box. That is done with the scoring wheel exclusive of the Cricut Maker. In case of not having it, simply hide that layer. Make the scoring lines manually after cutting.
Cricut configurations for paper box
Now it is time to configure the Cricut settings to send it to cut. First, select the material. With Cricut Maker for box making it is possible to use the scoring wheel with tip 01. If you don’t have it, edit the tools and select the scoring pen instead. This will draw the scoring lines for folding later by hand, any pen that fits in the Cricut will do the job.
On each piece of the box there will be two actions, scoring and cutting. To do this first put the marking tool, once the machine has finished the process, remove it and insert the fine point blade so that the cricut machine can cut the box template.
Cricut Design Space will show the time to change tools so don’t worry about it. In case of not having the scoring tool, insert the scoring pen into the holder A, and the blade in the other holder. The Cricut Machine will draw and cut at the same time.
To make a paper box with the Cricut machine both the fine point blade and the deep blade can be used, it really depends on the material. HERE is a post that explains what materials each blade works with.
Finally, assemble the box using the glue of choice, double-sided tape is perfect for this. The box is done! this is one of the most created projects with the Cricut machines, it is a hard process but it is totally worth it. Let me know your comments below!
