Cutting and Crafting
How to cut fabric no-sew applique with Cricut

Learn how to cut fabric to create a no-sew applique using a Cricut machine! Best of all, this does not require a rotating blade.
Applique designs are those that don’t need to be sewn to adhere to a surface, check out this post to learn more about it! With a no-sew applique the possibilities for custom projects are endless. It is possible to combine the no-sew applique with a iron-on vinyl to add more detail to the project.
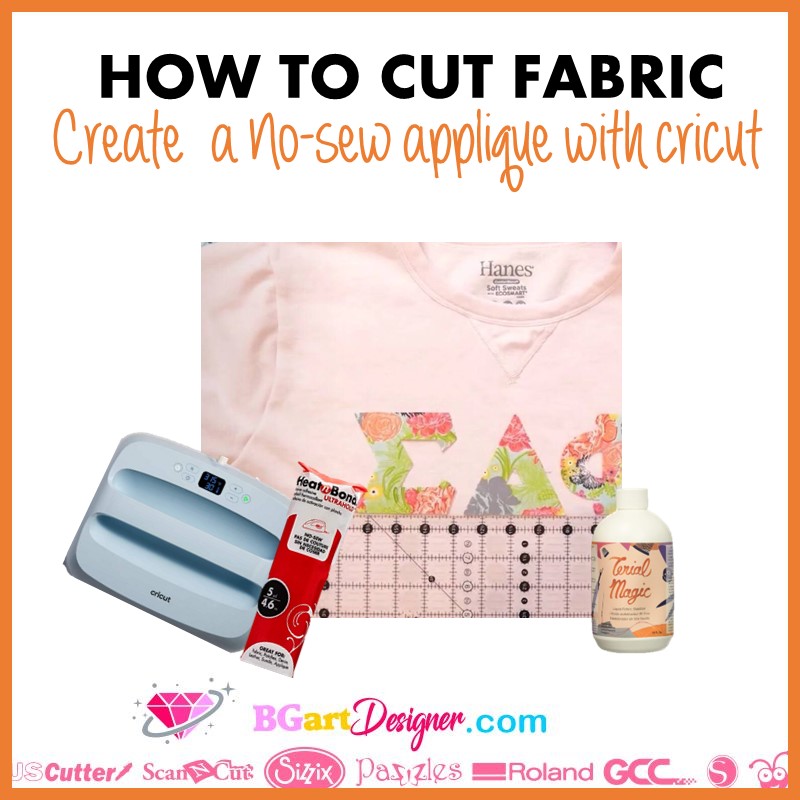
Supplies needed
First, to create an applique we are going to convert a regular fabric into a bonded fabric. The bonded fabric will have double sided tape on the back, so that one side will adhere to the frabric itself and the other side is going to adhere to a shirt, cotton bag or other surfaces. This will allow us to create a no-sew applique.
Above all, for this project it is necessary to have Terial magic. This is a fabric stabilizer that stiffens the fabric and helps to achieve a good cut. To put the product on the fabric, pour it into a spray bottle. Spray the fabric until it is saturated. As a recommendation put a piece of butcher paper under the fabric so as not to make too much mess.
Spray the front and the back. There is no need to wait for one side to dry, just flip the fabric over and spray the entire other side as well. In addition, in order not to waste material, it is possible to spray only the piece of fabric you need.
To find out if there is enough terial magic on the fabric, see if the design comes out on the back of the fabric, that’s a good indicator. Most importantly, it doesn’t have to be soaked, but it does have to be damp. Spread it out to dry. Putting it in a home dryer is an option but be aware that it leaves a sort of sticky residue on surfaces.
Cutting process of the no-sew applique
First of all, find the design you want to cut out of fabric. At BGArt Designer there are delicate and beautiful designs that will work great. Keep in mind that to cut the fabric and create an no-sew applique with a Cricut machine we don’t have to mirror the design.
Next, select the material and look for the fabric options. For this project we do not need the rotary knife. By following this procedure you can cut the fabric with a regular fine point blade. Most importantly make sure of having a strong grip mat, because the fabrics needs to be still while the machine is cutting it. If you don’t have one, use painter’s tape around the fabric making sure it doesn’t interfere with the design.
Applying Heat n bond
First cut a piece of heat n bond large enough to cover the design. Take a heat mat and flip the fabric over. Then take the piece of heat n bond. Heat n bond has a paper side and a textured side; place the textured side against the fabric. Place it as close to the edge as possible without going over the edge so as not to get adhesive on the mat.
After that, take a heat press. The easy press will work fine, but don’t press too long in one spot, move it around the heat n bond piece. Do this until the heat n bond is completely adhered to the fabric. Next, trim the fabric around the heat n bond piece.
Finally, place the fabric on the mat with the pattern side lined up, remember we do not mirror the design to cut the fabric so the placemnet on the mat is like regular paper. Send the machine to cut.
How to adhere no-sew applique to a surface
Get a Teflon sheet, a heat press and the heat n bond cut fabric. To adhere the fabric to the surface, first remove the paper backing from the heat n bond, it should have a nice glossy finish. Place the fabric ont he surface and cover it with a sheet of teflon sheet. Finally, press with the a heat press at 320 degrees for 15 to 20 seconds. So it’s easy to create a no-sew applique with fabric and a Cricut heat press.
