-
×
 Birthday Girl elegant shoes
1 × $2.99
Cutting and Crafting
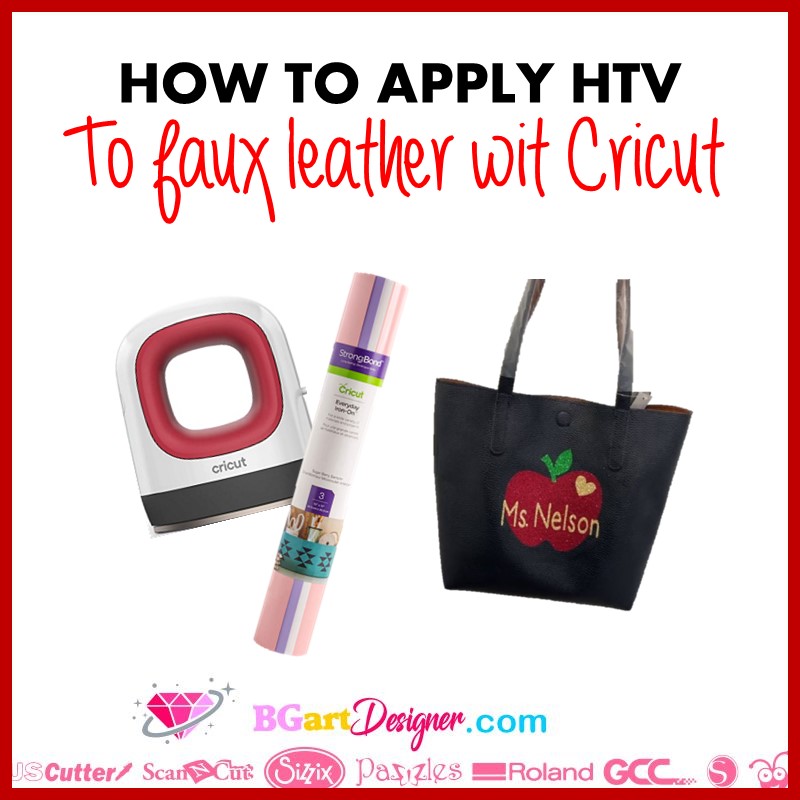
How to apply HTV to faux leather with Cricut

Learn how to apply HTV to faux leather using a Cricut heat press. This method will protect the leather from burning and is perfect for creating more custom projects.
Supplies needed
- Iron-on vinyl
- Faux leather
- Easy press mini
- Teflon sheet
- cutting machine
Remember that Iron-on vinyl, HTV and heat trasnfer vinyl are all the same.
First of all go to Cricut Design Space to create the design, it can be a name or even a silhouette. At BGArtDesigner.com are many designs check them out! Here’s a tip to use the special characters in a text. Insert the text on the canvas, then on a Mac computer look for the “font book” application. There look for the name of the font, and look for the letter. Copy and paste it over the letter you want to replace.
It is necessary to measure the surface of the faux leather to facilitate the design process. Back in Cricut Design Space insert a template with the size of the faux leather surface. Finally, size the design accordingly.
Once the design is ready, select it all and click on “weld” in the lower right corner. Then click on “make it”. Remember to mirror the design to make this project with iron-on vinyl. Finally, select the material and send it to cut. Place the vinyl on the mat making sure the shiny side is facing down. With the design already cut trim off the excess of the vinyl and weed it with a weeding tool.
Pressing HTV to faux leather with a Cricut
Now, the process to add HTV vinyl to faux leather with a Cricut heat press is to press for 30 seconds but in 10 second intervals at a low temperature. In other words, first press the design for 10 seconds, when the 10 seconds have passed, stop for about 10 seconds, and press again for 10 seconds.
Remember not to stay in the same spot for a long time, but to move the mini-press over the entire design. On the mini-press the low temperature is represented on the by a line with light. So when pressing, first press only the faux leather to remove moisture and wrinkles.
Remember to put a Teflon sheet on top. Then press the design also with a Teflon sheet. Once you are finished with the 30 seconds, peel the sheet slowly. If some of the vinyl comes off put the sheet back in place and press for another 10 seconds. Press the place where the design is not fully adhered.
