Cutting and Crafting
Glitter Vinyl Sublimation Tutorial
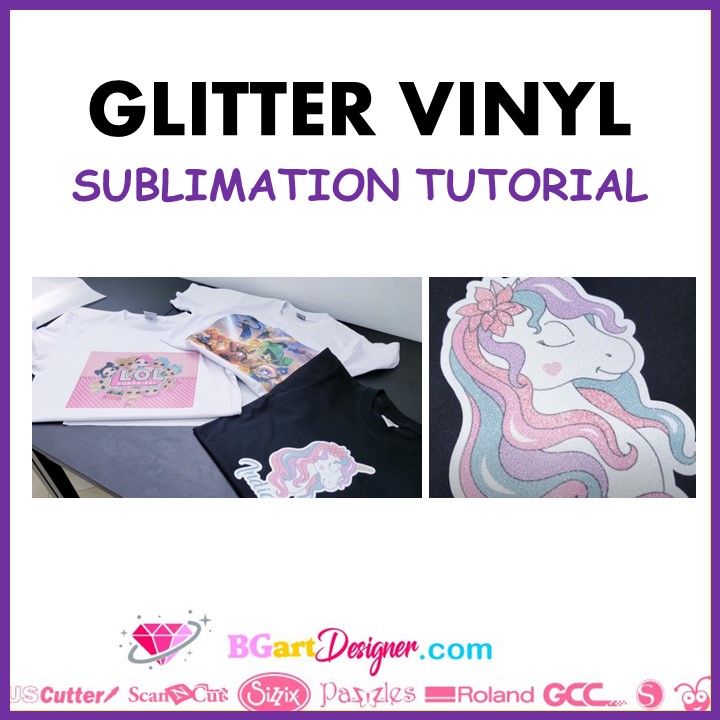
Use glitter vinyl for sublimation! This technique has wonderful results because it gives this glitter effect to the t-shirts, and it has incredible durability, even if you wash it in a washing machine, the design keeps its quality. Find other tips & tricks for sublimation HERE!
Supplies needed
- Printer
- Sublimation ink
- sublimation paper
- white glitter vinyl for sublimation
- heat press
This technique can be used on t-shirts of any color. It can be a t-shirt made of polyester or cotton. The reason to use white glitter vinyl for sublimation is that the design always looks better on a white background because the colors integrate into that background completely well.
Print settings tips
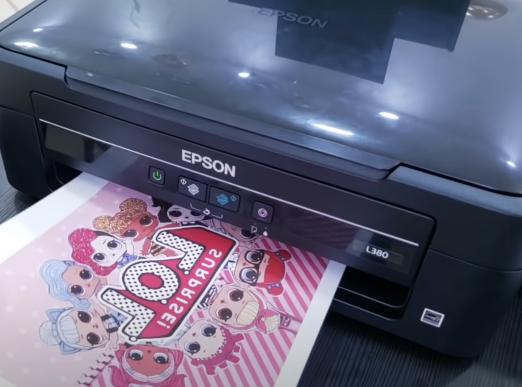
When printing the image for sublimation it is necessary to correct the print settings to obtain a full-color design result. Use any design program of choice.
When sending to print, in that settings box will appear an option called “preferences” click on it and change the quality to “high”. Now go to “more options”, click on “custom” and finally click on “advanced”. Go to “adjust color” these are the settings we are going to modify. There will be a preview of what the printout will look like with the changes made.
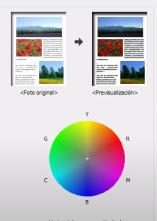
In reality, you should test because it is likely that the settings will change depending on the printer in use. But feel free to test these settings by decreasing the brightness and contrast a bit, the saturation can remain at 3.
The results of the preview should look vivid in color, so that when printed, the colors of the image on the paper will also look vivid and vibrant.
Tips for cutting the glitter vinyl
There will probably be two types of designs. One that is symmetrical and the border is a square or rectangle, and one that the design has its shape, making it difficult to hand cut the border on the glitter vinyl. Don’t worry here are some tips for that!
When the design has a square shape, just cut the vinyl with scissors, taking the size of the design as a reference, and leaving a small border around it.
Now if the design doesn’t have that symmetrical border; go to silhouette studio, take the design and select it all. Click the “offset” setting, and make a border, with enough distance. Click apply. Change the color of the offset created, and it will be the template to cut on the white glitter vinyl. When cutting vinyl with a silhouette cameo, try these cut settings, a depth of 5, a pressure of 33 and a speed of 5.
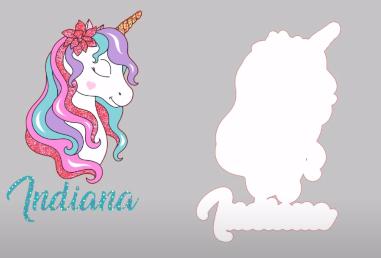

Don’t forget to mirror both, the template to cut on the vinyl and the design to print. To do this click on the design and click on flip horizontally
Time to press
Put the t-shirt in the heat press, set it to 160 degrees, and preheat the t-shirt for 5 seconds. now put the glitter vinyl in place, with the plastic sheet facing up, and put some butcher paper on top, press for 8 seconds.
Next, remove the t-shirt from the heat press, and let it cool down for 10 seconds. When it does, remove the plastic sheet from the glitter vinyl. Now change the settings to 180 degrees and 70 seconds, put the t-shirt back in the heat press, and put on the glitter vinyl the design, don’t forget to put some butcher paper on top, finally press it on.
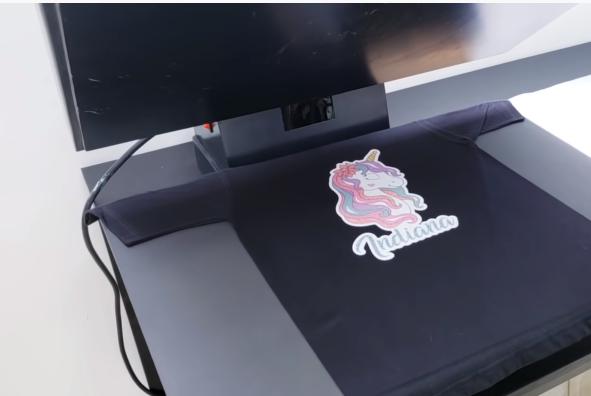
And that’s it! the design will shine through the glitter vinyl and will look amazing! Let me know your comments below!