Cutting and Crafting
Custom Flip Flops With Iron-on vinyl and Cricut
Today’s tutorial is about custom flip flops using Iron-on vinyl and an cricut easy press mini! There’s really no limit in terms of blanks when it comes to customizing flip flops! The possibilities are endless, and the results are stunning!
Supplies needed
Designing the decal
First of all, let’s create the design or find one HERE! It is important to measure the space of the flip flop where we want to place the decal. Then insert a rectangle in Cricut Design Space with that size and start working according to it.
To create a text type design, one idea is to add a short phrase and split the words into the two flip-flops. In that type of design we could cut the words separately, so that we don’t have to add the two words in the same text box. Don’t forget to change the size of the text by unlocking the pad lock to add a specific size.

It is possible to play with the text, overlapping some letters or even adding this new wrapping feature to it, check out the wrap text directly on Cricut tutorial!
Some design tips
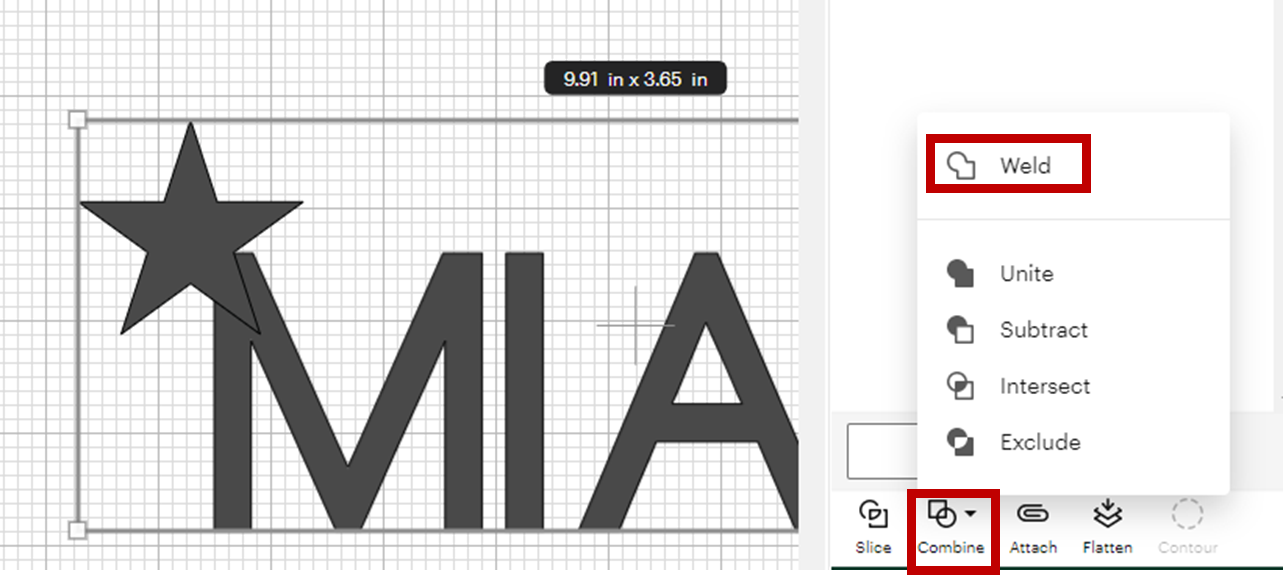
One way to play with the letters is to overlap some of them. To do this there are two options, cut them in different colors, without unifying the design to get a single cut line, or cut them in the same color by selecting the pieces (two by two) and use the weld function to get rid of the extra cut lines.
It is also important to know that if we want to cut the pieces in vinyl of different colors, a good trick is to change the color in Cricut’s design space, the software will group the pieces in different mats according to the colors they have.
Click “Make it”, and for this project be sure to mirror the images on all the mats, because that’s how iron-on vinyl works. Next, select the material. Look for the iron-on vinyl settings. Above all, it is possible to change the material settings on each mat.
Cutting & Pressing Iron-on with Cricut
To custom flip flops using vinyl and a cricut, insert the fine point blade on the Cricut machine. Cut the piece of vinyl you need and place the vinyl shiny side down on the mat. Then send the Cricut machine to cut. Once this is done, on the mat weed the designs, that is removing the vinyl parts that you will not be using.
Just remove the vinyl, the vinyl backing sheet will remain because the machine with the vinyl iron-on setting does not cut through it. Now, take the Cricut easy press mini and preheat the sliglhty flip flop for a few seconds. Place the decal and take some butcher paper to press it. press on the design until it is well adhered.
This vinyl peels off when cold so wait a few minutes to do it. if it has not yet transferred completely just put it back on and press for another few minutes. In case of having a multi-layered design, place the new piece on top. Above all, don’t forget to place some butcher paper covering the whole design so that the other layers don’t melt.