-
×
 Snowman Rhinestone bling SVG
1 × $5.99
Snowman Rhinestone bling SVG
1 × $5.99
Cutting and Crafting
Engrave a photo on acrylic with Cricut
Learn how to engrave a photo in acrylic with a Cricut machine! Using the fill line technique and some web sites recommendation to create the design!
Above all, keep in mind that to engrave a photo on acrylic with a cricut machine it must be with the Cricut maker, it is the only one that has those functions available. To engrave a photo we need to convert it into a stroke design, all those steps and tips are in this post!
Supplies needed
- heart Acrylic blank– Rounded acrylic blank
- Light base
- Engraving tip
- Cricut Maker
- Painters tape
As you probably know the Cricut Maker has an engraving function available. It is possible to engrave acrylic up to 2 mm thick. Don’t try to engrave one thicker than that because it won’t pass the test.
This project consists of engraving a photo of ourselves or a loved one, of course we can engrave any image we want and repeat this step to get a beautiful result! In BGArtDesigner there are sure to be many designs that will work for you!
Trace the photo
First of all, find the photo you want to use. Search for Picsvg.com on the Internet. Then import the image. The website will trace the image for free. It has different filters to choose from, so see which one is the best. Above all, each of the filters is useful for engraving or cutting.

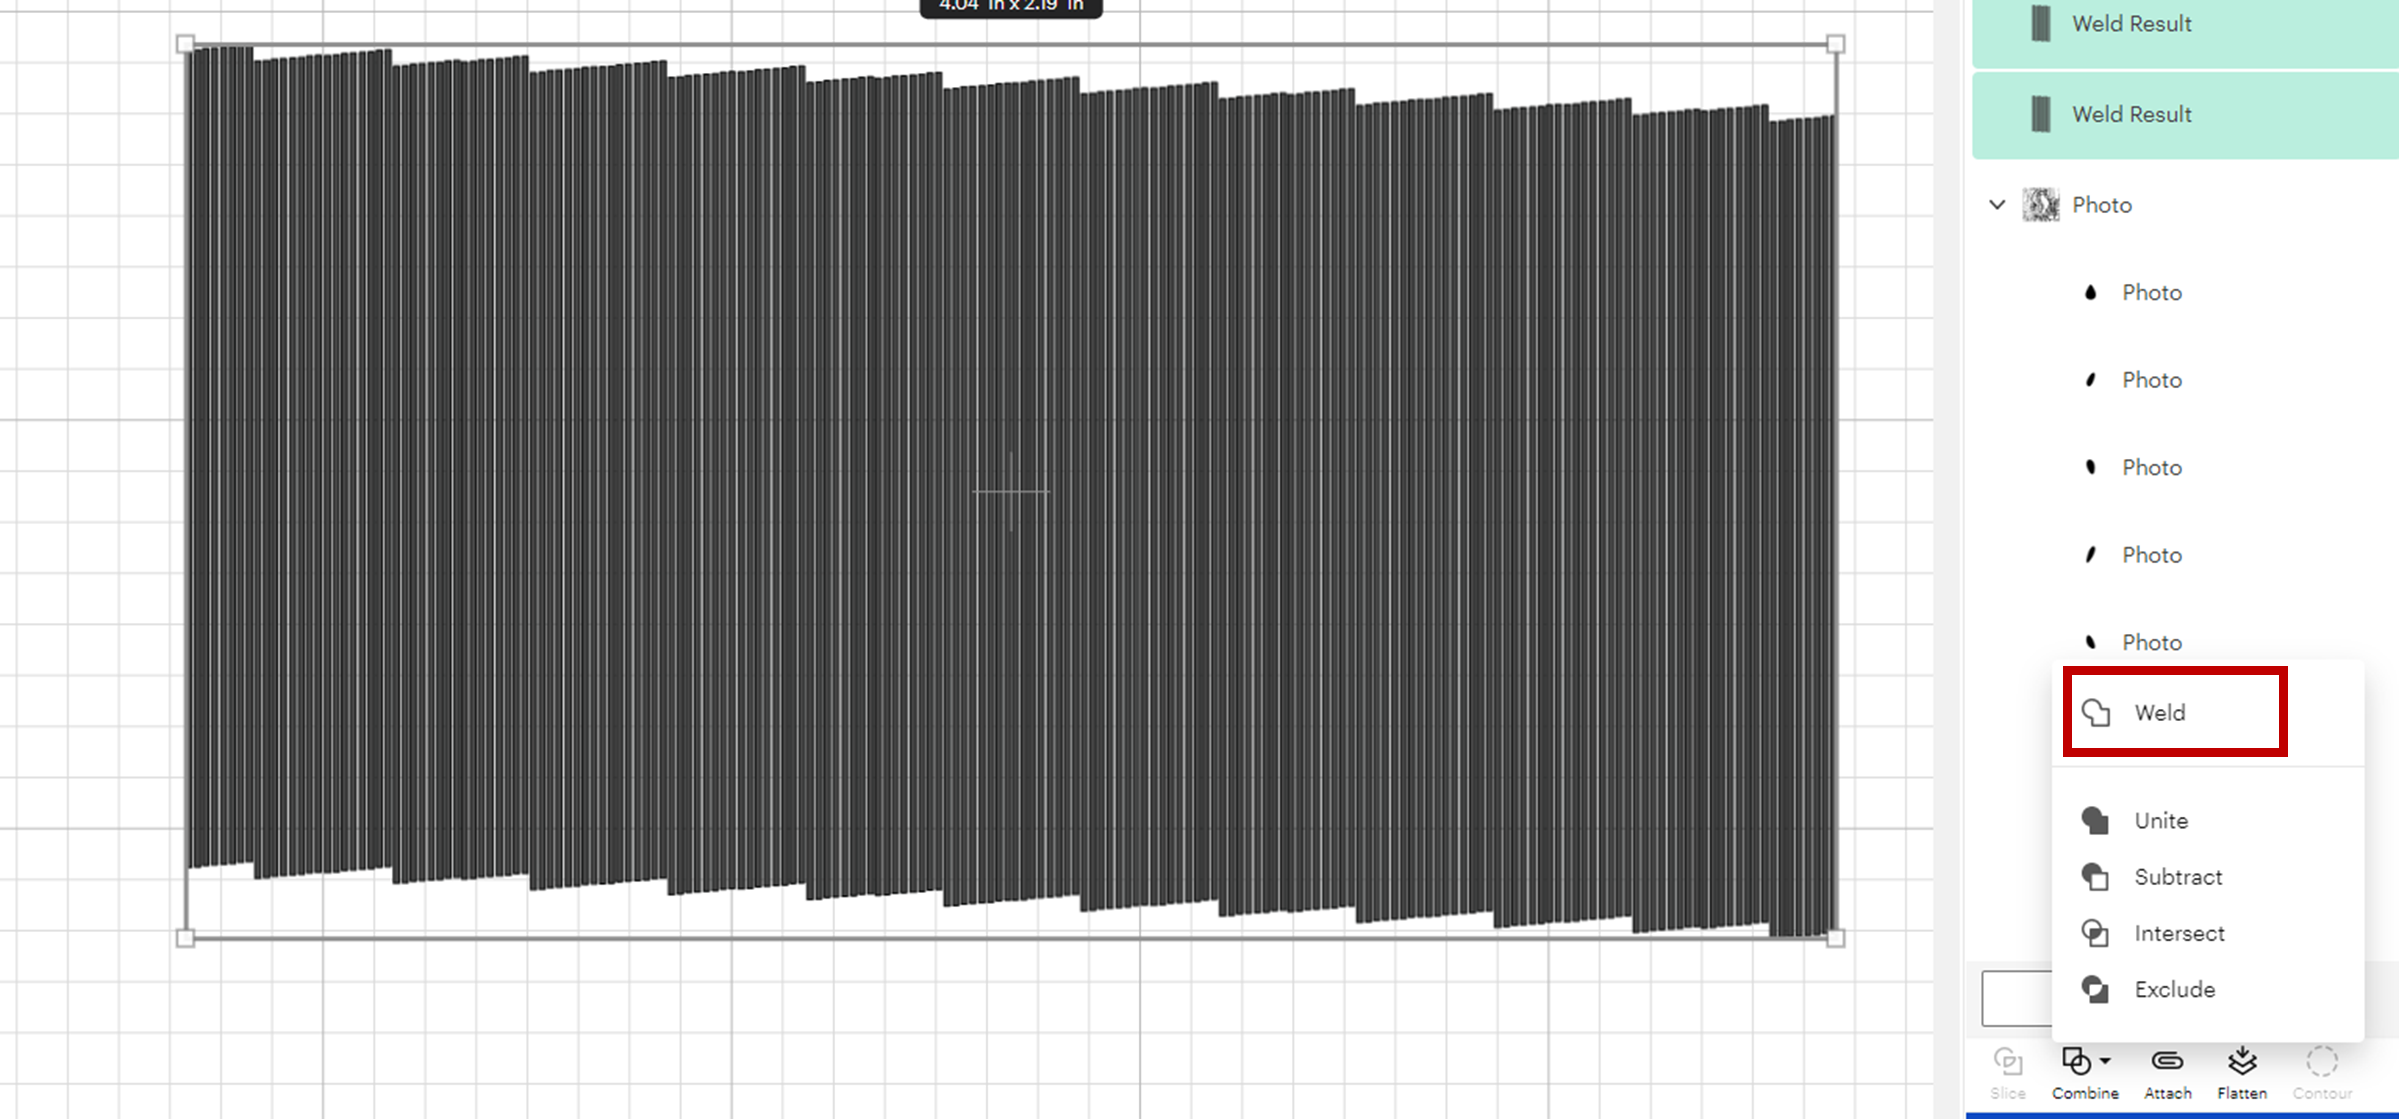
Play with the filters and download the svg, then upload it to cricut design space. Be sure to select the cricut maker in the machine settings so that the engrave option appears. The design will have the pieces separated ,as if they were individual cut lines. So select all the elements and click “weld”. That will make the cutting process easier.
Fill lines process
To engrave the image and get a better result create fill lines. To do this insert a rectangle 0.014 inches thick by 8 inches high (the high could vary according to your design). Duplicate that piece and place each line close together but not overlapping. Zoom in to the maximun.
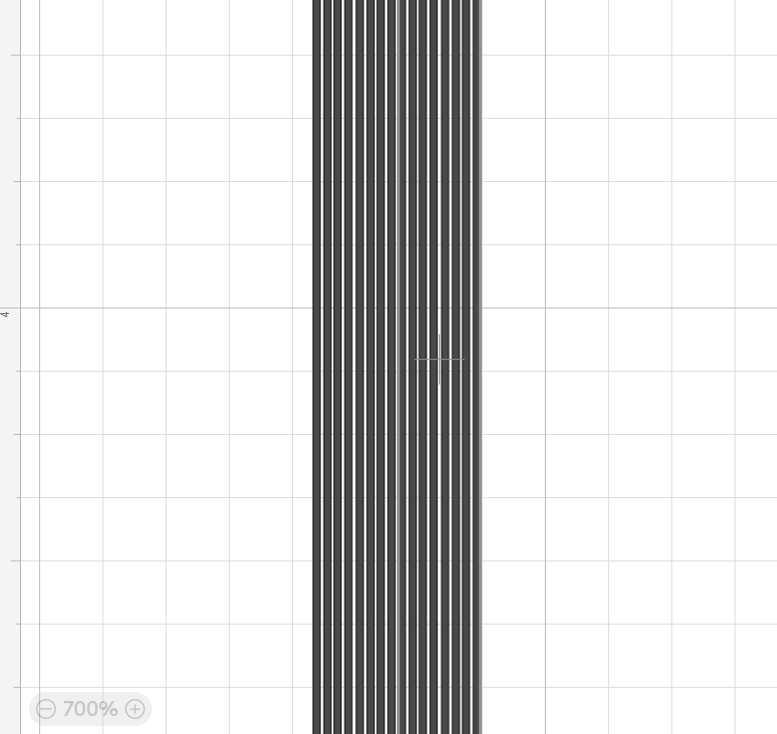
To make the process faster, start welding the lines you get, then duplicate the piece and repeat the process. This way we will duplicate one large piece each time. Finally, be sure to select all the lines and weld them together.
Measure the acrylic piece and insert a shape of the same size to use as a template. Of course, you can add text to the acrylic pieces. But be sure to size all the pieces according to the template.
Select the fill lines we created earlier and multiply the piece by ten. For example if the size is 3.53 just move one decimal to the right to get 35.3 , do the same for the image. This is to see them better.
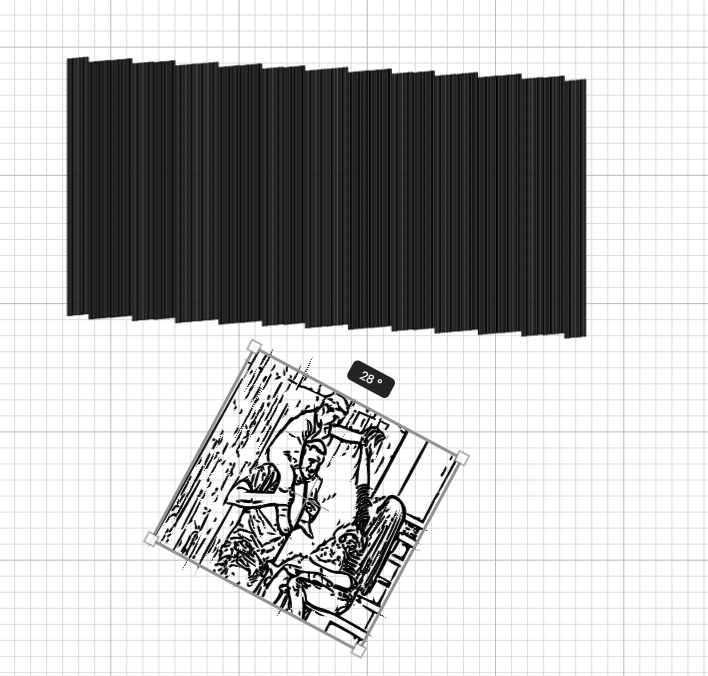
Place the image on the fill lines. Flip the image a bit so that it is slightly inclined and make sure it fits well. Then select both and click on “slice”. Finally set the image to its original size. When slicing, three images will appear. At first they will all be in the same place overlapping, separate them and select the one you prefer.
Finally, select the image, go up to “operation”, and click on “engrave”. The fill lines will give a better coverage to the image, if we do not do it the cricut machine will only engrave the contours. Be sure to mirror the image, in case of engraving on the back of the acrylic. That will look much better for sure.
Engraving the photo with a Cricut
Click on do without hiding the templates, until you see where they are going to be on the mat and until place the acrylic in the exact same place. At the end right click on the tempalte and click on hide. Above all, do not forget to remove the protective film from the acrylic.
Take the strong grip mat and, with some painter’s tape, adhere the acrylic blank to the mat. It doesn’t matter if we use a strong grip mat, the use of painters tape is vital to get a perfect result.
Finally, insert the engraving tool into the machine. Push the white rollers to the side and set the material to acrylic. When it is done wipe the surface with a baby wipe and insert it into the base. That base is wonderful because it comes with a remote control to change the colors of the led light and it looks amazing.