-
×
 Prince Naveen beer mug
1 × $2.79
Cutting and Crafting
Dr. Seuss-themed project ideas
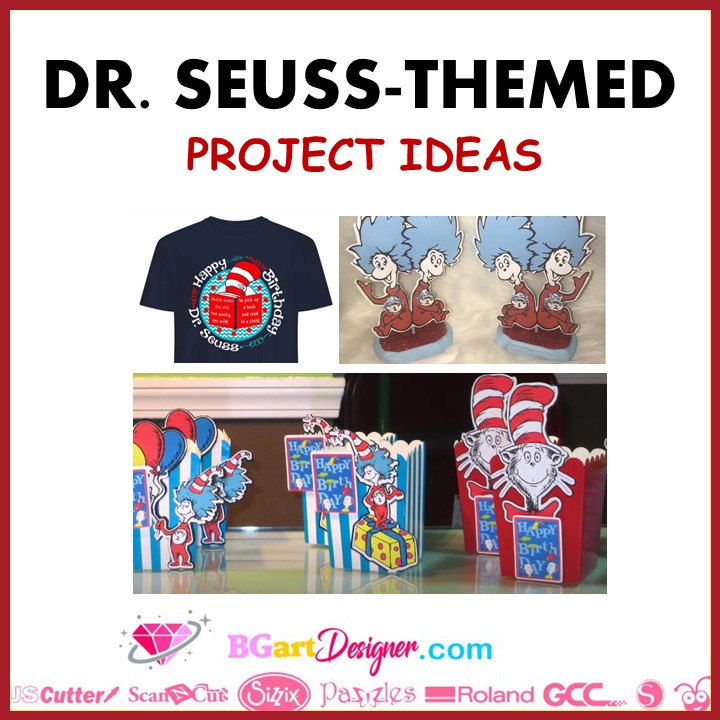
Make some awesome Dr. Seuss creations with these project ideas!
Let’s talk about some projects you can make with a single SVG file! Dr. Seuss wrote the most creative books that kids love! and many of them will probably want a gift or even a party in his honor! Find an awesome Dr. Seuss SVG HERE! To make the most of it, here are some great ideas on how to use the SVG by making some awesome projects with it! whether it’s for a party, or just to make a gift!
Using your Cricut it is possible to make all kinds of projects.
Dr. Seuss Centerpiece
Supplies needed
The first Dr Seuss project ideas is about a centerpiece! Upload the SVG of Dr. Seuss. First size the pieces, it could be 6.5 by 9.25. To size the image go to the top and unlock the sizing panel, then insert the numbers there. Secondly, Create a white border for the centerpiece, for that click on make it, and select print, but don’t print it! it’s just to see how much space is left to go back and create the border.
For this go to offset, and create a small border around the project. highlight the image and flatten it, this is super important to cut only the edge of the design. To make a double-sided centerpiece change the copies of the project to two. Mirror the second image, this is very important. print the images on a hundred-pound cardstock.
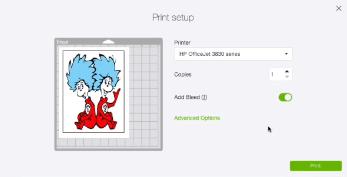
Before loading the mat click on the image you are going to work with.
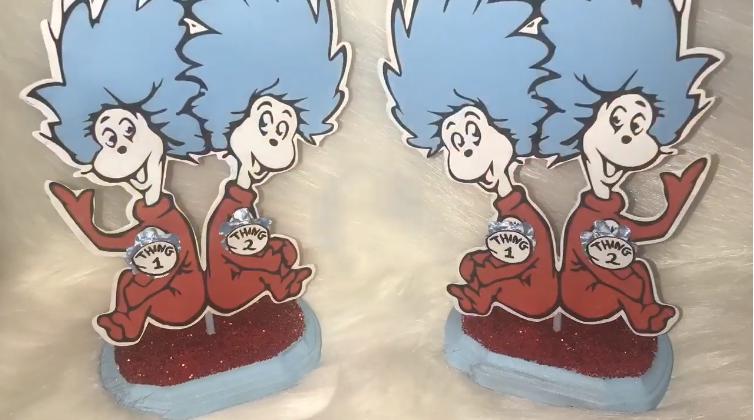
Next, make a small hole to the base with the diameter of the dowel rod. also paint the bottom of the base, and the dowel rod as well. on the top of the base put a little mod podge and then put some glitter on it. Once it dries, drill the hole again.
Cut the rod if necessary, we don’t want it to show. Glue it to the back of one of the images first. Finally, put the mirror image on top of both and glue them together.
Custom popcorn box
The idea of making a personalized popcorn box makes kids excited! To get a template and make the popcorn box just search Cricut design space. Upload the image and give it the desired size.
First of all cut out the popcorn box, so that we can measure it, and size the design correctly to customize it. Once the popcorn box is cut out, it is time to assemble it, folding the cut marks, reinforcing them, and adding a little glue to the tabs.
Now it’s time to print and then cut the SVG, get it HERE, to make some decorations. First insert the image into the Cricut design space. go to “fill” and make sure the whole image is changed to print.
In addition, keep in mind that Cricut design space has a print then cut area of 6.75 by 9.25. So to make the most of the space, insert a square with these measurements and use it as a template, remembering to hide or erase it before printing.
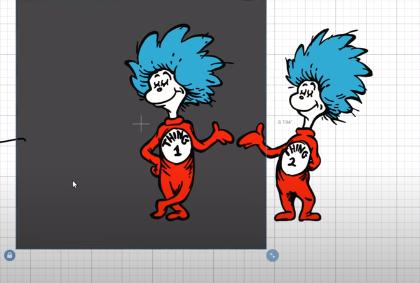
Then select all the pieces you want to print and then cut and go to the bottom right of the screen and click on “flatten” to cut only around the design and not through it. After that, print the images on the desired paper, place them on the mat and start cutting them out.
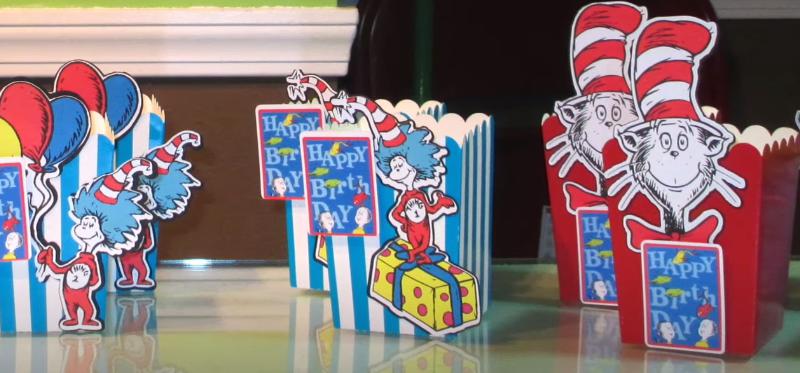
Finally, start gluing the images to the popcorn boxes, and you’ll get a super cute, personalized Dr. Seuss project!
Sublimation project ideas
This technique has many ways to be used, you can sublimate some t-shirts, or even a pillow! for those little kids out there having a Dr Seuss t-shirt or pillow won’t be a bad idea! so this is your chance to take advantage of it! get the SVG and you can add some phrases or even combine two of the images from the file!
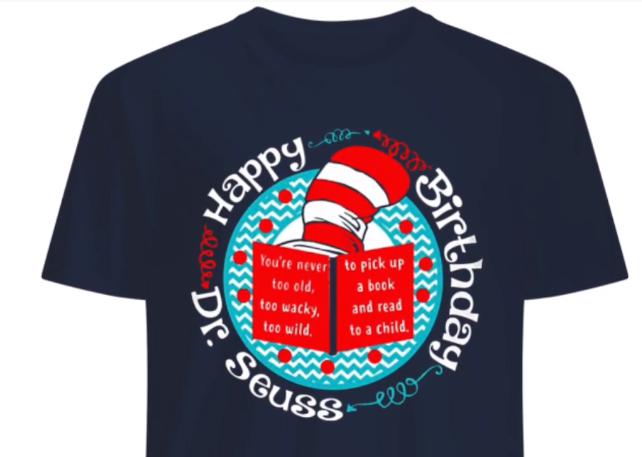
There are lots of techniques you can use when sublimating, like bleaching the t-shirt or sublimating with glitter vinyl or even sublimating on sequin pillows! isn’t that great?
Print the image, without forgetting to mirror it, and finally press it out! And that’s all the Dr. Seuss project ideas using a SVG! Of course, you can also use these ideas as inspiration using other themes with them! let me know your comments below!
