Cutting and Crafting
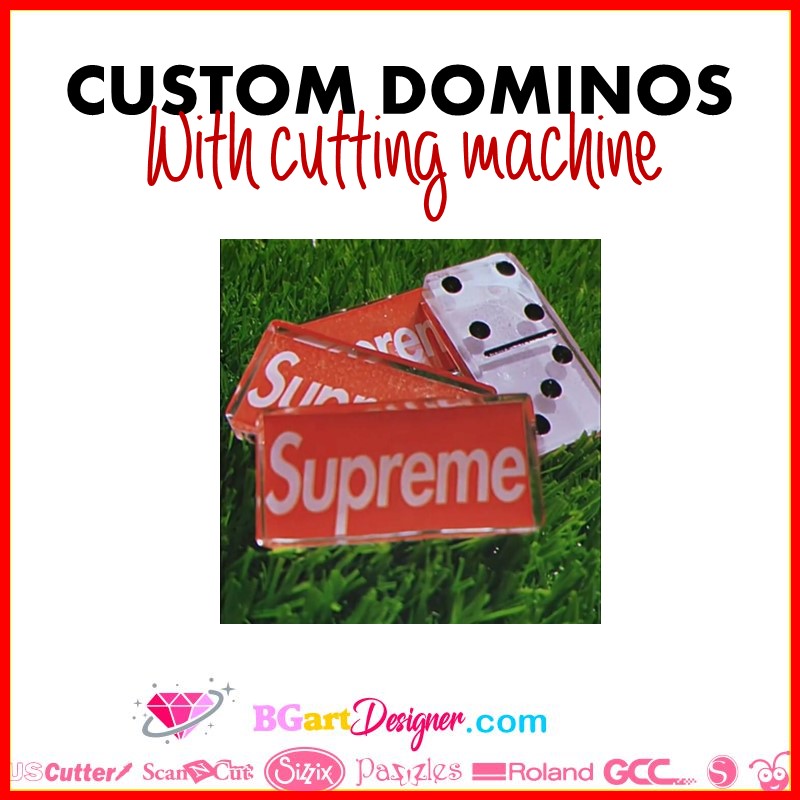
Custom dominos with Cutting machine

How to create decals or stickers to custom dominos with a cutting machine
To custom dominos using a cutting machine, we are going to use the print and cut technique. It works with Cricut machines and also with Silhouette Cameo machines. Here are both processes.
First, find a printable design, BGArtDesigner has a lot of gorgeous designs. Another option is find an image and remove its background. To do this go to www.remove.bg. This website is perfect for removing the background of images, and it is easy to use. Once remove.bg is open, click on “Upload image” and search for the image. Then wait for the website to remove the background from it.
In case there are some places you want to keep from the image that the website did not recognize, click on “edit”. Enlarge the image and start modifying it, either by deleting some parts of the image or by using the “restore” tool, brushing the parts you want to keep.
It is also possible to choose a previous background on the same web page, once it is done, click on “download” to save the image. After that, go to the design program of choice and load the image there.
Process for Silhouette
Insert a rectangle to cover the place of the image you want to put on the domino pieces. Then, select both pieces. Click on the top bar “object”, then on “modify” and finally on “crop”. This step is not essential, but as the domino pieces are small, putting a part of an image that others can visualize well is better.
Insert a rectangle with round edges 1.800 inches high and 0.800 inches wide. That will be the domino template to create the decal. Keep in mind that the size of the domino may vary, so measure it in case it is different. Size the image according to the template.
To do that drag the corner of the image. Don’t drag the sides, because the image will be totally deformed. nce you have it, select both pieces, and crop them. Add an offset to the design. Click on the right bar the offset setting which is a star icon. click on “offset” and then modify the “offset distance” to 0.035, finally click on apply.
To do the print and cut technique on Silhouette, first add the registration marks. To do this, click on the page settings, which is a mat icon on the right bar. Click on the last section called “registration marks” and select it.
Go back to the first section “page set up” and go to “print and cut borders”. Click on “show cut borders”, to have a guide to place the decals. Select the design, and duplicate it as much as needed.
Next, put the sticker paper in the printer and click on “send to print” then place the paper on the mat and send it to cut. click on “send” then click on the image and finally click on “cut”. Finally click on “send”.
Process for Cricut
First upload the image, select “complex” and finally save it as a print and cut image. Insert a rectangle with rounded edges 1.800 inches high and 0.800 inches wide to create the template. size the image accordingly by dragging the corners. Place the domino template on top of the image, select both and go to the bottom right corner to click on “Slice”. If you don’t remember how to use these tools, HERE is a post that explains it all.
Duplicate the design as much as necessary and click “make” once you are done. The image will be inside a black box and that is exactly what we need. Click “continue” and send it to the printer first. put the “bleed” on, to leave a small offset around the image so that when you cut it out there is no white space.
Finally, load the sticker paper on the mat, align it to the corner and load it into the machine. Set the material and send it to cut. Then place the sticker on the back of the domino pieces, you can add resin to protect the paper and you’re done!
