Cutting and Crafting
Balloon bouquet tutorial using a Cricut
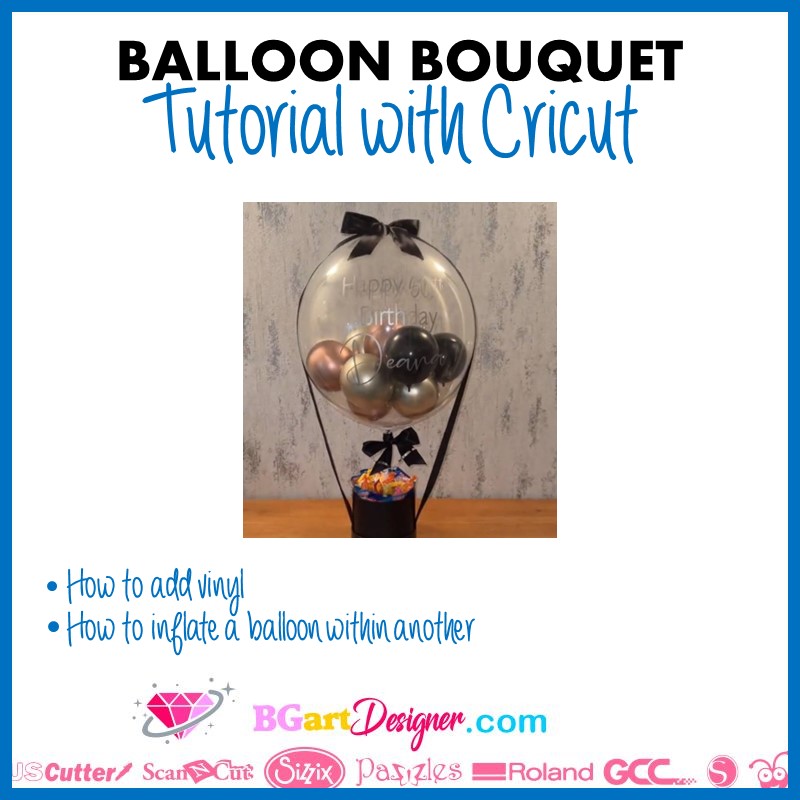
Learn how to make a balloon bouquet with a Cricut with this tutorial
Making a balloon bouquet has its own methods, here are the most important tips and procedures! Balloon bouquets are perfect for any celebration, as a decoration or simply as a gift. First of all, let’s start by getting to know all the materials needed.
General craft materials
Balloon bouquet general materials
- Clear Latex balloons
- Confetti
- Balloon stick
- Balloon attach cup
- Balloon hand pump
- Adhesive vinyl
- Standard grip transfer tape
- Little balloons
- colored papers
The most important thing to know is that almost all balloons are made of latex. In case the client or yourself are allergic to latex, there is a second option, use Mylar balloons and the whole process would be the same.
In this tutorial you will find all the steps to create a balloon bouquet using a Cricut machine. First of all, keep objects such as hot glue (the balloon will pop if you accidentally touch it with the hot metal tip of the glue gun), scissors, cutters and things that can pop the balloon away from them. Even though they are very strong, it is better to prevent a possible disaster.
Create the vinyl decals first. Open Cricut design Space or the design software of preference. Find a cute design HERE or create one. As a recommendation for a 24 inch balloon, size the design to 9 inches wide and 7.5 inches tall. This is because a large design looks better on such a big balloon.
In case of resizing a design make sure that the lock icon is close to maintain the proportions of the design.
In Cricut Design Space place the elements on the mat so that there is enough space to cut between the pieces and enough room to work easily with them. Set the material to “premium permanent glossy” if you are using permanent adhesive vinyl.
As a recommendation, change the pressure to ” more” for a cleaner cut. Place the vinyl on the mat and use a scraper tool to make sure it is well adhered. Finally, load the mat into the machine and start cutting. To remove the vinyl, turn the mat over and peel off the design.
Preparing the balloon
Let’s prepare the balloon. Here are some tips. First, hold the balloon with both hands and pull it up tightly in opposite directions. Do the same thing all around the balloon stretching it. The balloon will look very wrinkled, that’s exactly what we want.
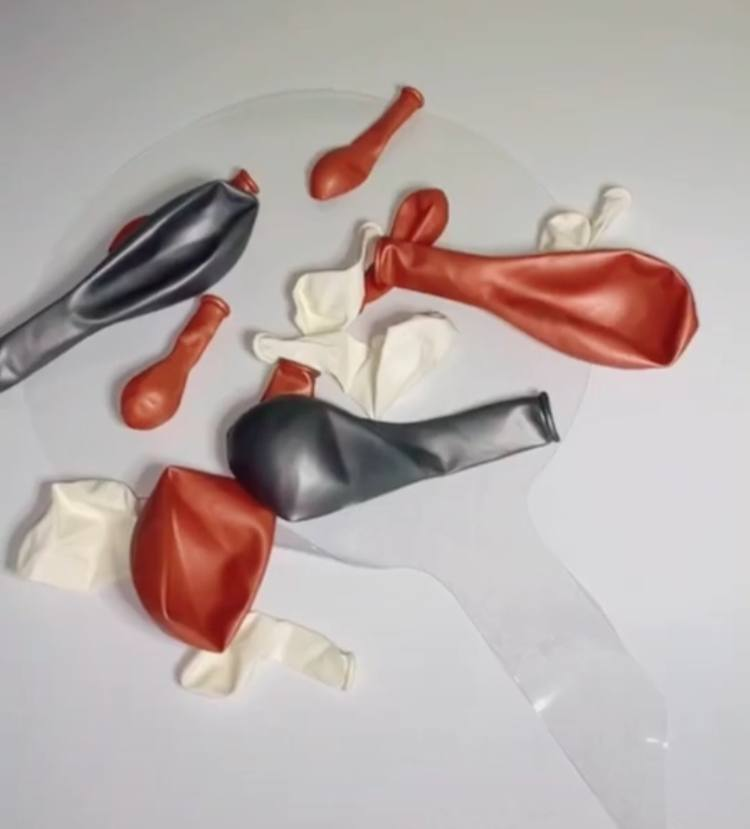
In addition, fill the balloon with air and release it a couple of times right away. All these maybe rare methods will make inflating the balloon easier.
Inflate a balloon within a balloon
First, insert the small balloon into the uninflated large balloon (this is essential). Push the small balloon all the way inside. Hold the opening of the large balloon tightly and hold it in place while you inflate the small balloon inside.
Inflate it for about 5 inches, once it is done hold it tightly and do not let the air escape inside the big balloon. Tie the small balloon tightly and let it go inside the balloon, repeat the process.
When you add more small balloons start adding some air to the big balloon to make room. As a recommendation, to prepare the next small balloon you can put a clip on the end of a balloon so that the air does not come out.
But as you add the other small balloons don’t worry if the air comes out, the big balloon will expand as you add the new small balloons. At the end of the process, when it is completely filled with air, add the small details inside, such as confetti, glitter, and so on.
Applying vinyl
Sometimes it is very difficult to apply vinyl decals on round surfaces. But don’t worry, here are some tips! Applying a vinyl decal is easier if it is divided into pieces to apply each one individually rather than all at once.
This is the first tip when transferring the design. The transfer tape will be too sticky and this will make it difficult to place the decal on the balloon. In addition, there is the risk of popping it. To prevent this, stick the tape on a lint-free cloth and peel it off a couple of times.
Above all, to make it easier to apply the decal, the balloon should be shaped more like a circle than an egg. To do this fill the balloon with air, put a clamp to prevent air from coming out and with a little pressure roll the top of the balloon on the work surface.
That will make the bottom and the top are more like a circle. let out a bit of air and repeat the process. After that, inflate the balloon to a circumference of 40 to 48 inches. Finally, tight it very well.
Now it is time to place the decal. Place the balloon on the work surface. Make sure the center part is facing up. With painter’s tape attach it to the work surface by adding pieces to the sides of the balloon and to the work surface.
To apply the decals do not press immediately, first check if it is in the correct position, then start pressing carefully, from the center outwards, do not use your nails to prevent the balloon from popping. Remove the transfer tape slowly and you can reuse the trasnfer tape to add the other piece of the decal.
Assembling the balloon bouquet
Take a box and place some papers inside. First look at the position and appearance of the box, then remove all the papers and glue the balloon stick in the center of the box. After that start gluing the papers carefully around it. Finally, add a ribbon or any embellishment on the outside of the box.
This tutorial on how to make a balloon bouquet with a Cricut has maybe a long procedure, but it’s totally worth it! Let me know your comments below.