Cutting and Crafting
Back to school Cricut projects
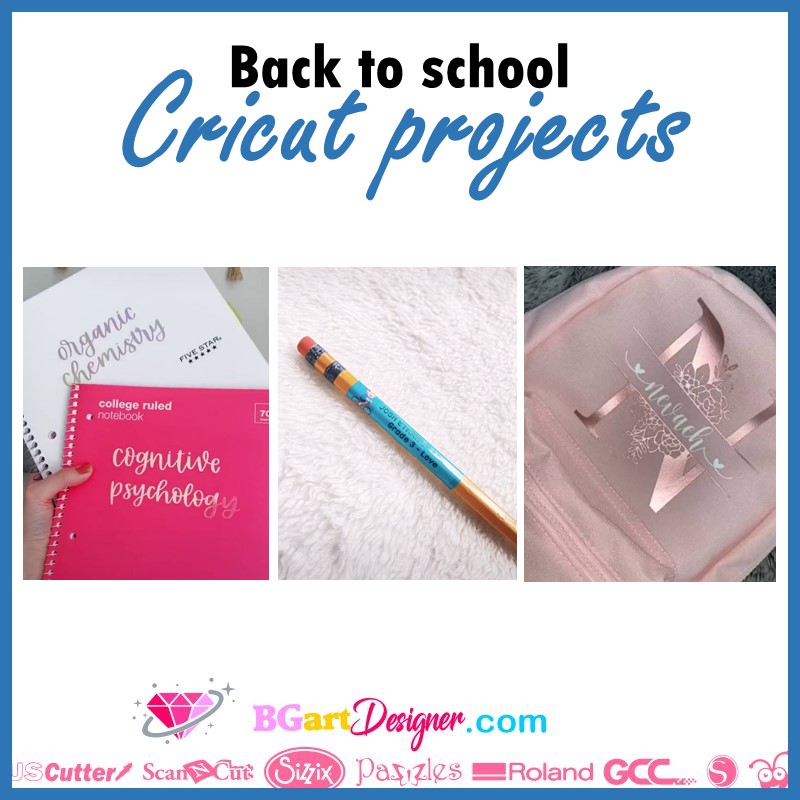
Create back to school projects with cricut machines! Personalize school supplies in an easy and cute way! In this post there are lots of ideas to customize many school supplies for this back to school season. Super easy projects to create using a Cricut machine and a little creativity!
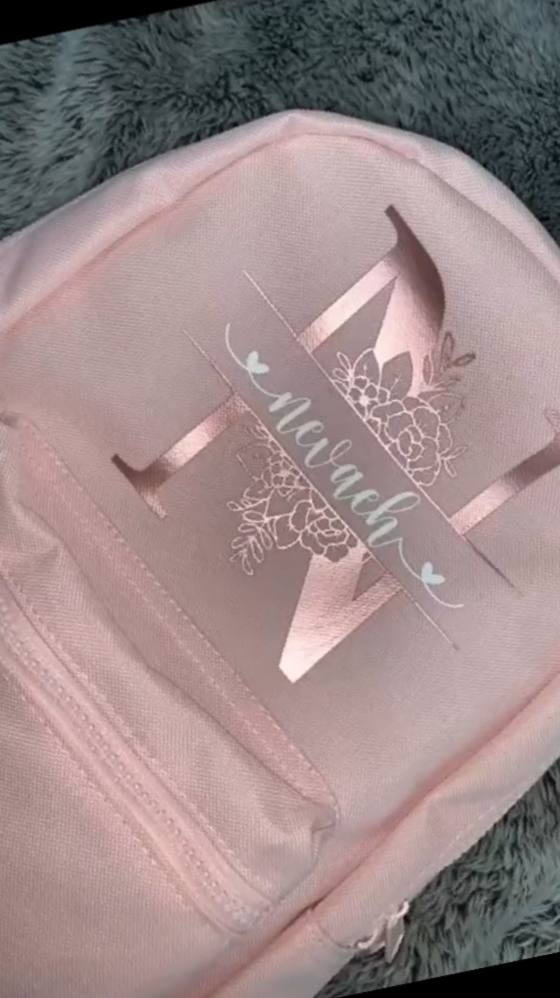
Monogram to a backpack
Open Cricut Design Space and use its new feature to add monograms automatically. Insert the initial you want to use, then select the desired monogram style. Measure the backpack to size the monogram. Click make it, then click mirror on. That is because remember we are using heat transfer vinyl. Finally, send the Cricut machine to cut it out.
Once it’s ready, take a weeding tool and weed the design carefully. After pressing, place the heat mat inside the backpack so you have something to press the vinyl onto. Set the heat press to 315 degrees and preheat the backpack, to remove moisture so the vinyl will last longer. Keeping the same temperature, press the design for 30 seconds.
Don’t forget to put some butcher paper on top to protect the plate of the heat press. Sometimes the heat transfer vinyl with transfer tape does not adhere well to the surface to press it. Even if we put a piece of painter’s tape. In this case just put some teflon sheet or butcher paper on top. Then hold it with your hands being careful not to burn yourself. And that’s all!
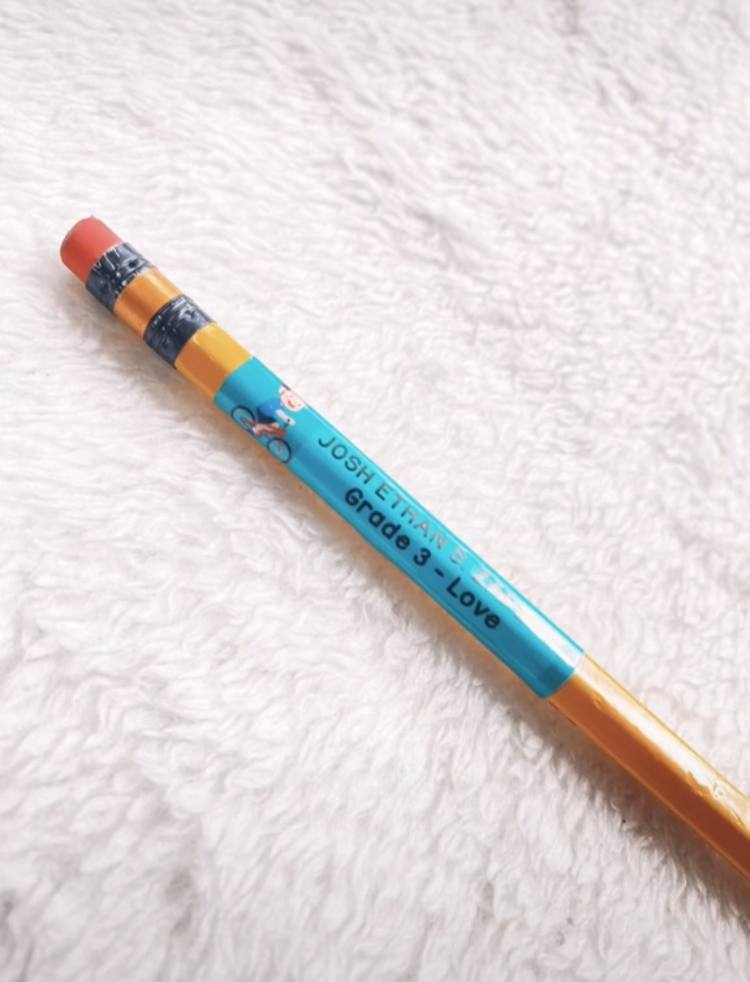
Personalized pencils
Personalized pencils are possible using the print then cut function of the cricut machines. Label the pencils by making stickers with your cricut machine! To make it prettier add a figure and on top of it the name. align the name to the center and then flatten the whole design.
After sending it to print then cut, resize the design, the space on the pencils are actually tiny so as a recommendation size the sticker to 0.5 inches. Most importantly, since the sticker is very small don’t use a very truncated design so that the cricut can only cut the outlines.
If there are many pencils you want to label, instead of duplicating the designs, click on make it and then modify the copies of the projects to the number you need and hit apply. They will appear automatically and with enough space between all the copies to cut.

Send it to the printer, add bleed on. Click on use the system dialog to change the print quality to “best”. Finally, place the stickers on top of the pencil, near the eraser, and it will look amazing. Add these labeled stickers to other school supplies like rulers, glue sticks, sharpeners and more!
Labeling binders and notebooks
labeled binders and notebooks are super cute projects for school and using a cricut machine you can do it! Open cricut design space and type the name. Find a nice font and adjust the size of the text according to the space in the notebook. Use a different style of adhesive vinyl like teckwrap vinyl, it’s an amazing holographic vinyl and super pretty.
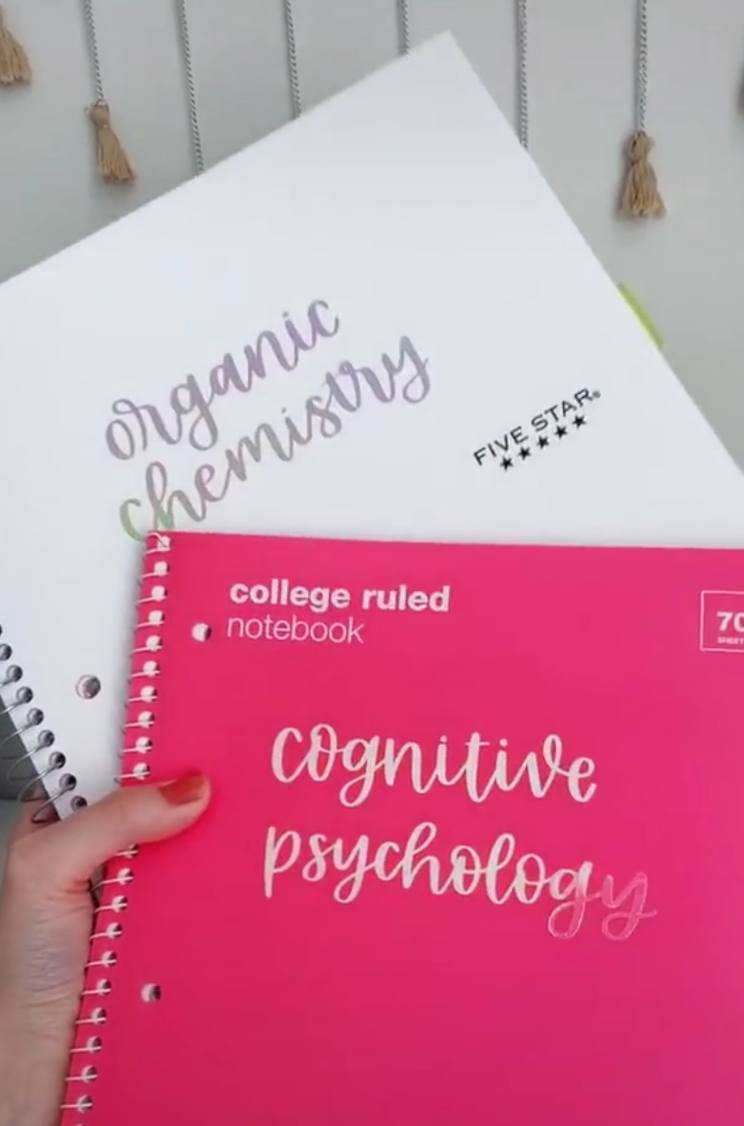
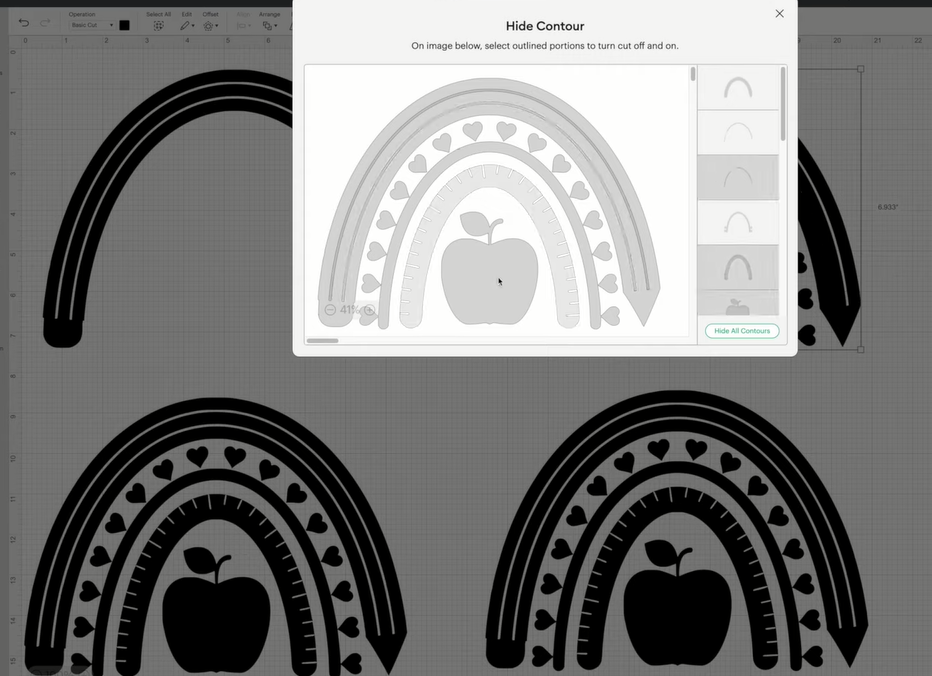
A super trick, to customize an svg file that is not divided by layers, you can duplicate the design and use the contour function. there you select the layers you don’t want in each color group, and so you will have the different layer colors of a design. By the way, you can get amazing SVG files at the best prices HERE!
Using adhesive vinyl is such an easy and super cute way to label school supplies.
Another way to personalize a notebook or binder is to create a label. Look for a label in the cricut images, select the one you prefer. Get cardstock to cut out the shape of the label and some cricut pens to draw the name and design on it.
Keep the label shape as a cut out image and change the text to the drawing setting. The adjustment bar is located at the top left of the cricut design space workspace.
After sending the cricut machine to work, be sure to attach the hole design. Set the material to thick card stock. After that, insert the pen into the Cricut Maker 3 to use the drawing function. Finally, to adhere the label to the notebook, use double-sided tape.
Here are all the school projects ideas to create with a cricut machine. Let me know in the comments which one is your favorite!