Cutting and Crafting
Custom magnets with Cricut machine

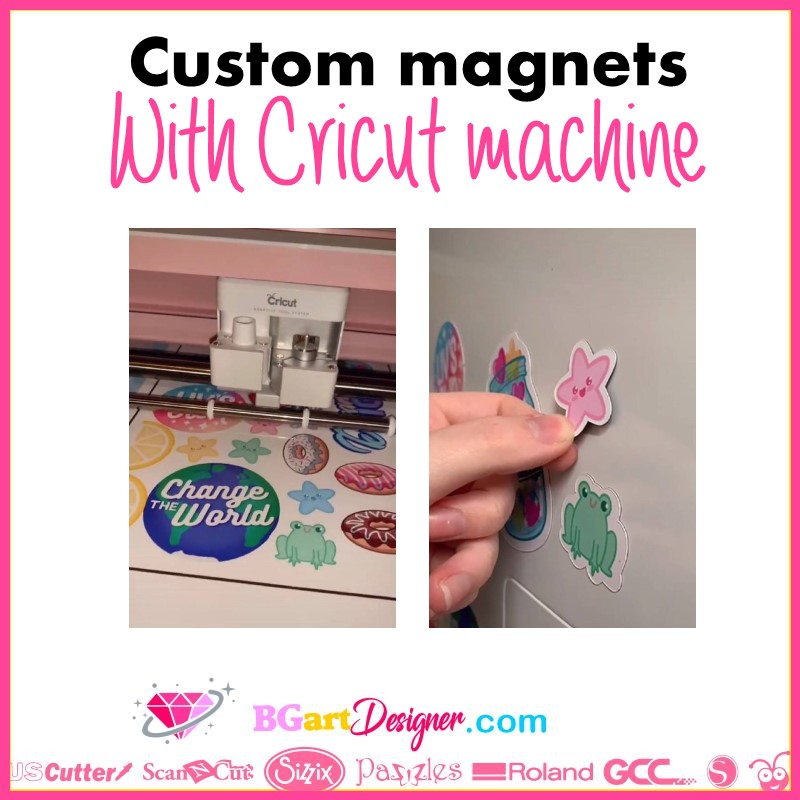
Create custom magnets with a Cricut machine! The process is super easy and it is possible to use them for cars, refrigerators, metal boards and much more.
Materials
Supplies needed
First of all, let’s talk about the materials. The sticker paper can be glossy or matte, it really depends on the customer. Above all, to use the magnets outdoors, make sure the sticker paper is waterproof. In addition, the ink also needs to be waterproof, and pigment ink is perfect for that.
The UV laminate vinyl is a clear sheet of the Oracal brand, it is ideal to protect the magnets when they are outdoors, it guarantees about 5 years of protection. If you are not going to use the magnets outdoors, you can use a normal laminate or not use it at all.
Designing custom magnets
First of all choose the designs or create them. At BGArtdesigner.com there are many different designs that will work to make awesome magnets. Go to cricut design space, and create the template based on the print and cut dimensions. The template is a rectangle 6.75 in wide and 9.25 in high. this is to make sure all the stickers fit in the area.
Upload the image and add it to the canvas. resize the images by dragging them in the lower right corner. Make sure that the size is according to the place where you are going to put the magnet. It is possible to put logos, or any image of choice, on the magnets.
If there are images that do not have an external border, create an offset for that design so that the image can be cut out after printing, as if it were a sticker. In case there are small holes in the center of the design due to the offset it is necessary to convert the offset to a basic cut design.


To do this, select only the offset and change the settings to be a “basic cut”, then click on ” contour” in the lower right options and remove each small piece inside the offset to have only the outer edge. Finally, change the offset color to one that fits the design because we are going to print it.


In the “operation” settings on the left side of the top bar, go to the print and cut settings, and click on it to have the print and cut settings again. Don’t forget to flatten the design so that the print and cut method works. Then send them to print on the adhesive paper.

Cutting the custom magnets with Cricut
With the image printed, add the UV laminate on top before gluing it to the magnet and cutting it out. Size the UV laminate sheet to fit inside the registration box without being on top of it, because it could cause problems while the machine reads the registration mark to cut.
To apply it, first of all test the magnet. One side is the real magnet and the other is not. Then, peel off the backing a little, and place the laminate part on top of the sticker paper, then with the squeegee remove the air, and keep pulling the backing. Repeat the process to adhere the adhesive paper with the laminate on top of the magnet sheet.
After that, it is time to cut the magnet sheet. Select the material “tooling leather 4-5 oz”. as a recommendation use the knife blade, but keep in mind the deep point blade will also work. To change the blade in the settings click on “edit tool” and choose the one you want, Add more pressure in the settings
Finally, send it to cut. Make sure the rollers are on the sides. With this material it doesn’t matter if the cut magnets don’t peel off the mat like other materials. It is possible to remove them by peeling them off from around it.
.
