Cutting and Crafting
Water tracker decal using Cricut tutorial
Water tracker decal with vinyl using cricut tutorial! An easy, practical and beautiful project to stay motivated to drink more water!
This type of projects are so useful to create habits to have a healthy lifestyle, want to know how to make a water tracking decal with holographic vinyl using a cricut machine?, check out this post.
Design process on cricut
First of all, here are some tips when using Cricut Design Space to design a project. Get the design of the water tracker HERE or create one.
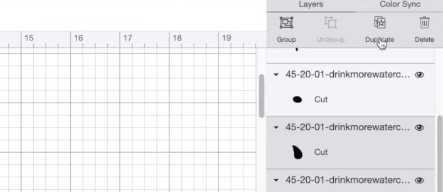
To edit a decal that has many layers, first, ungroup them all to work on the decal in a customizable way.
Use the keyboard to select several layers at once; select shift; and then click on the layers, or highlight on them, to group them momentarily to move them all at once.

On the right side of the screen will see which layers are selected.
In order to put a part of the design in another part of the piece as well, select the layers and click duplicate, and move it to the place for it to go.
It is important to make sure that the design is well aligned; so group each section, highlight them, go to the top, and choose to distribute them horizontally and vertically as well.

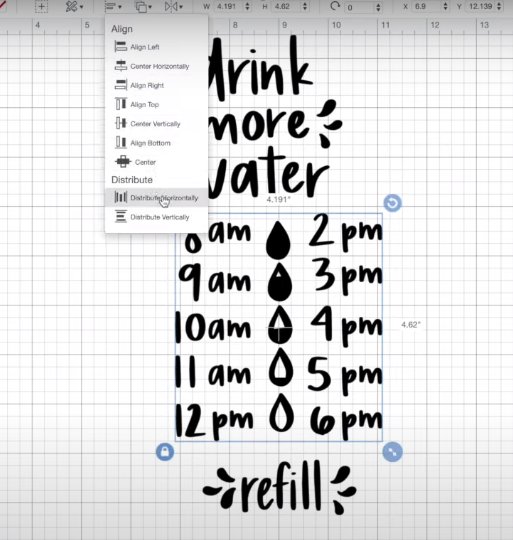
To ensure that one part of the design is centered in relation to the other, group all the layers, in two different groups or more depending on what we need to align.
One group should be of the part that is to be centered and the other of the rest of the design that is to be the guide; After that highlight over both groups and click align-center horizontally.

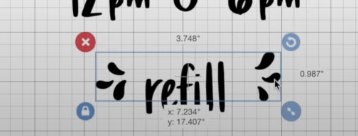
When the design is ready, go to select attach, in the lower right corner, so to move it on the screen easily.
Final steps to get the water tracker
Now it’s time to size the design, before that, measure the water bottle, and then insert those measurements into the software at the top; When all the parts of the designs are attached and sized go and click do it.
In this case, it is not necessary to mirror because it is adhesive holographic vinyl the one that we are using.
When you select the material, go to browse all materials and look for premium vinyl holographic; it doesn’t matter if the vinyl is not the Cricut vinyl.

For this project the water bottle is 32 oz which is a good size for the decal to fill it once if wanting to get 8 cups of water in a day.
After the Cricut finishes cutting, cut out the decal and weed the design; Use a nail polish holder for weeding, it’s very handy.

Before sticking the vinyl desing of the water tracker on the bottle; clean the surface with a little isotropic alcohol. Then add some transfer paper to the decal, and finally add the decal to the water bottle.

As a recommendation let the vinyl cure for 24 hours before wetting it.
And that’s the whole process of this Water tracker decal using Cricut tutorial!
It is possible to make all kinds of designs to customize your water tracker with vinyl! let me know your comments bellow