Cutting and Crafting
3 valentine’s Day DIY’S with Cricut

Valentine’s Day DIY’S using a cricut machine! Easy and beautiful projects to give as gifts on special days!
Cricut is an awesome machine that allows you to create personalized projects, with different types of materials. These are some easy DIY’S to make for Valentine’s Day, but you can also use these ideas for birthdays, anniversaries, or other important dates.
These projects are very simple and easy to make, so in case you run out of time.
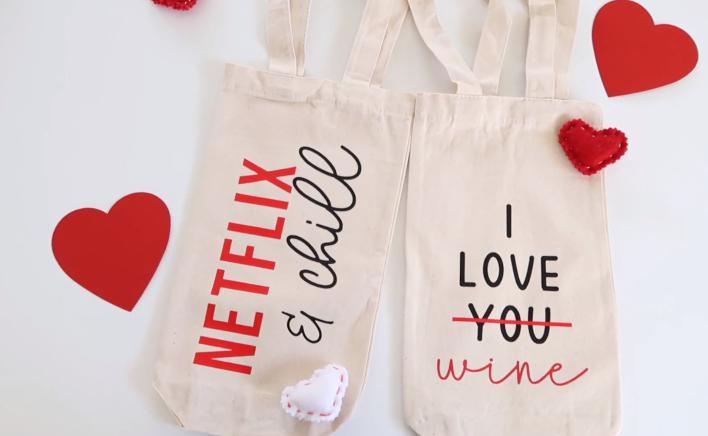
Wine bag
In this project, you need a Cricut cutting machine and a Cricut easy press. First, go to Cricut design space, and make the design of your choice; another option is to get one HERE!
Size the design to make sure it will fit in the wine bag, then group it by color sections to cut it on the HTV vinyl. Mirror the design before cutting, this is very important!
When cutting put the vinyl with the shiny side down, and let the Cricut cut it all out. Do the same with the other pieces you need to cut, mirror the design, and put the HTV vinyl backside up on the mat. Then weed the design.
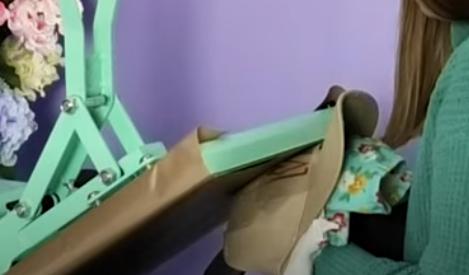
Set the easy press to 310 degrees for 20 seconds. Press the surface of the wine bag with the Cricut press first; to remove any wrinkles, and place the design before putting the transfer tape on the wine bag, to press it. Remember to put some Teflon sheet between the design and the press.
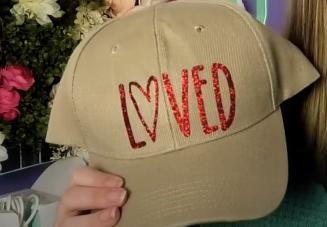
Custom baseball cap
A gift that you can use all year round, cut a design in HTV vinyl with glitter to make it look good. Set the press to 320 degrees.
The first thing to do is to center the design and put some heat-resistant tape on the borders of it, to glue the design in place. Be very careful when pressing; as you have to push the hat manually against the top paddle of the heat press, which is very hot.
It is recommended to use an oven mitt or heat-resistant towel to cover the hands that will hold the hat against the press.
Push the hat against the iron, curved visor side up, of the heat press, then turn it so that after a few seconds for the HTV vinyl to adhere well over the entire surface; it is necessary to heat it enough to stick to the hat, apply as much pressure as you can to adhere well. and make sure all areas get the heat they need.
This is one of the Valentine’s Day DIY’S with cricut, worth trying!
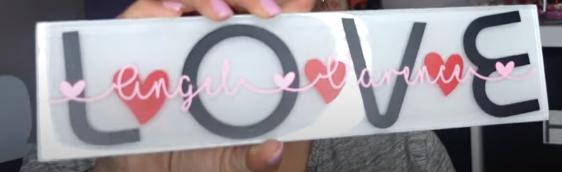
Love tile
Open the design program of your choice to make this first project. Go to insert a shape, select a square, and give it the necessary dimensions; to use it as a template. Now it’s time to insert a text.
Do it by writing each capital letter individually, so first write one letter, size it, duplicate that letter and edit it to write the other letter; this way each one will have the same size.
Now size the letter in the template created before, you can add any decoration you want, like a heart between the letters. Type another word in a script font, and put it over the letters; to size it and see how the sign is going to look like.

Each piece is going to be cut in different color vinyl, so to do this, select the group of letters that are going to be cut with the same color vinyl, holding down the shift key on the keyboard. Group and attach it also, so that when you cut, it does so with the space between letters; so to facilitate the process when assembling. Do the same with the hearts, group, and attach.
Finally send it to cut, remember to delete the square template. Select the material; the smart permanent vinyl will work. Weed out the vinyl, and stick it on the blank.
These DIY’S of Valentine’s Day with cricut are some amazing ways to surprise our loved ones on important dates, but also on some day you want to give them a gift! leave me your comments below.