Cutting and Crafting
Sublimation of a sequin pillow with Cricut
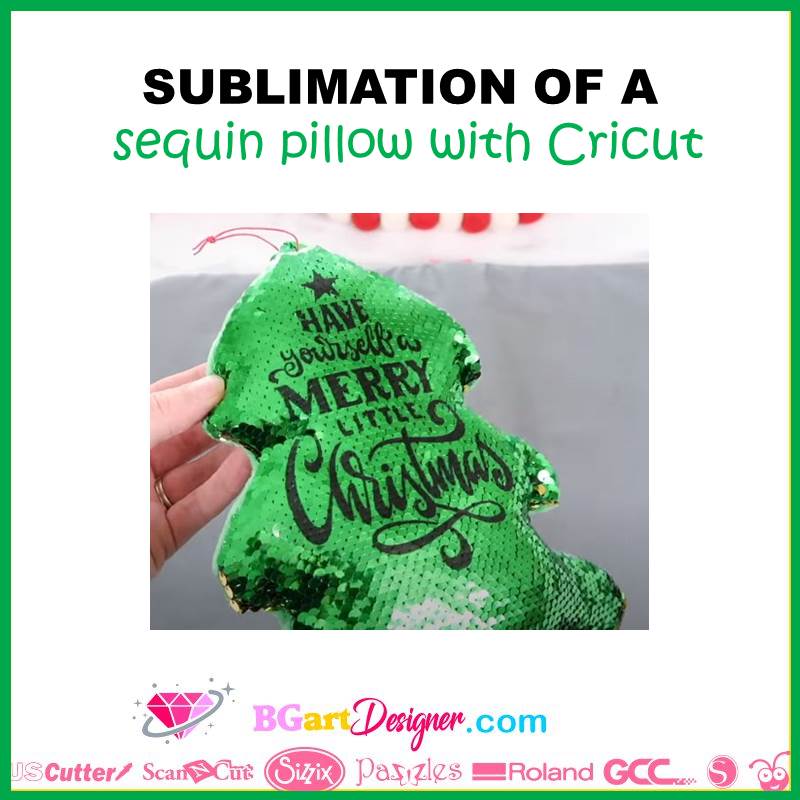
Sublimation of a sequin pillow with Cricut! A tutorial for a stunning and clever project to create, sell and to give as a gift for any occasion!
This tutorial is about the step by step sublimation of a sequin pillow with Cricut. As always giving some original and easy to create ideas. A sublimation cricut tutorial for a nifty project with sequin pillows worth to try!
Some tips before sublimating the sequin pillows
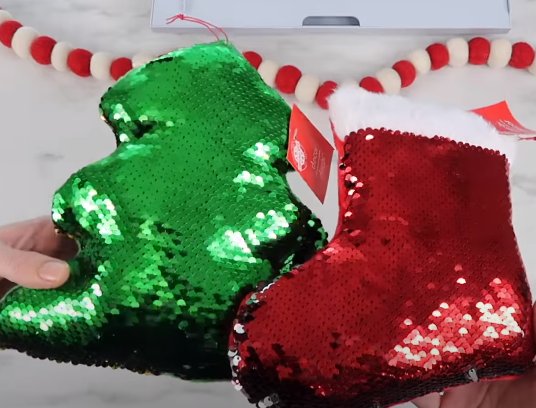
First of all check on the label that the entire sequin pillow is made of polyester, if so, it will be a good candidate for this sublimation project.
Another thing to look at when choosing a pillow is what the color of the sequin pillow backing is, the lighter the better.
Design process for sublimation sequin pillow design
Go to silhouette studio or any other design program and upload the design, you can make one or choose one HERE. Choose either a design or a picture, it depends on personal preference.
Select the image and size it appropriately, making sure it fits on the sequin pillow; for this, measure the sequin pillow first.
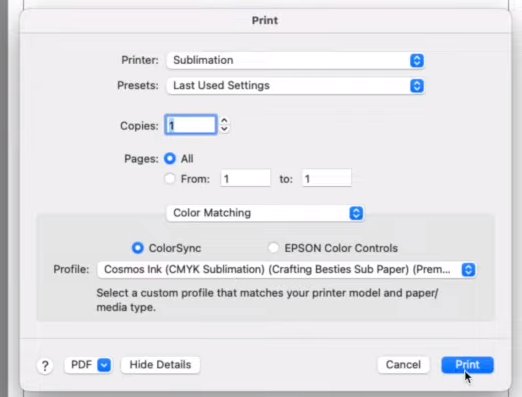
We are going to print so click on the upper print button (it has a picture of a printer), select the printer you are going to use, and check the settings, they should look like this
Print settings
- Media type: Premium presentation paper matte
- Print quality: High quality
- Mirror image: Selected
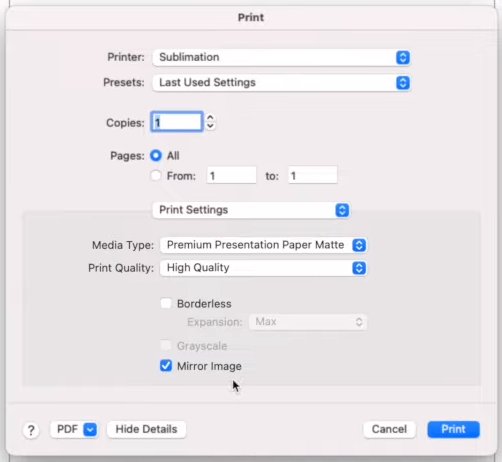
Color matching settings
- Infusible ink: selected
Finally, press the print button, A-sub paper is a great choice for sublimation projects, as a recommendation turn off the fast print speed on the computer settings to help print better as well.
Pressing process with a Cricut machine
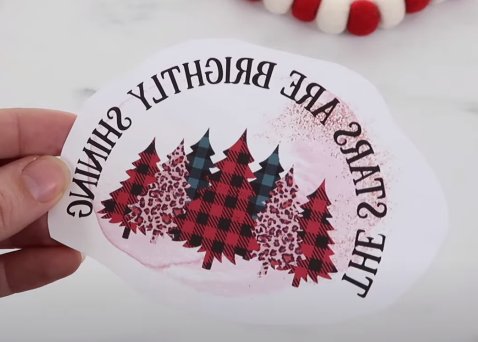
Cut around the design, it doesn’t have to be straight because sometimes the line can show up on the material after pressing it, so just follow along with the design.
For this it is a good idea to use a Cricut easy press, set it to 400 degrees at 50 seconds, you can also use any heat press but the setting may change a little.
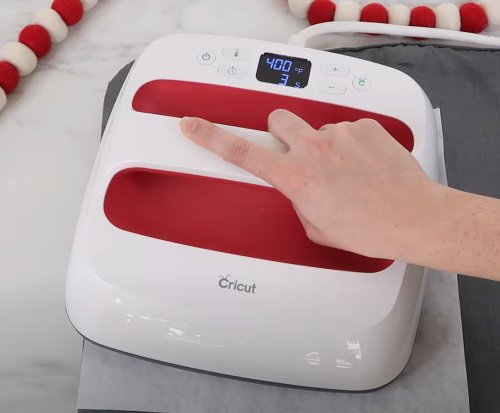
Before adding the design, heat press for a couple of seconds the sequin pillow, remember to put some butcher paper on top to protect the Cricut easy press.
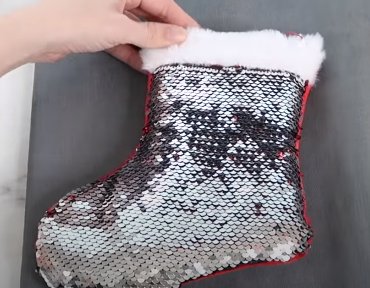
When pressing to add the sublimation make sure all the sequins are facing the same color. It’s always a good idea to take a lint roller, and run it all over the material. Place the design face down and add some heat resistant tape around it so it doesn’t move.
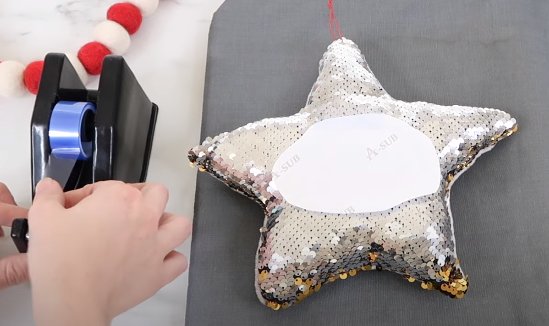
Hold the press in place while pressing the design, so it doesn’t move and ruin it; Wait until it cools to remove the tape and sheet, and you’re done.
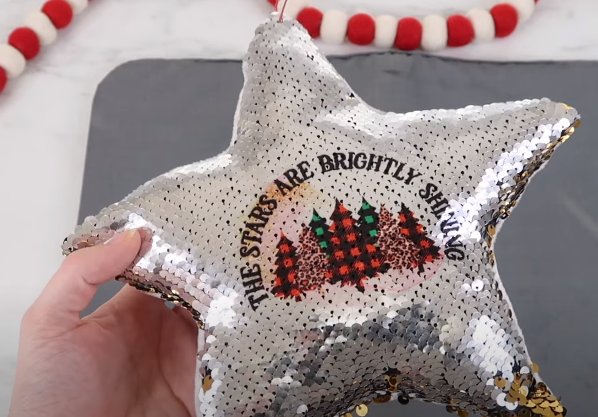
And that’s it for this sublimation of a sequin pillow with Cricut tutorial! Let me know bellow in the comments if you liked this project!