Cutting and Crafting
Sublimate Glass & cups With Cricut

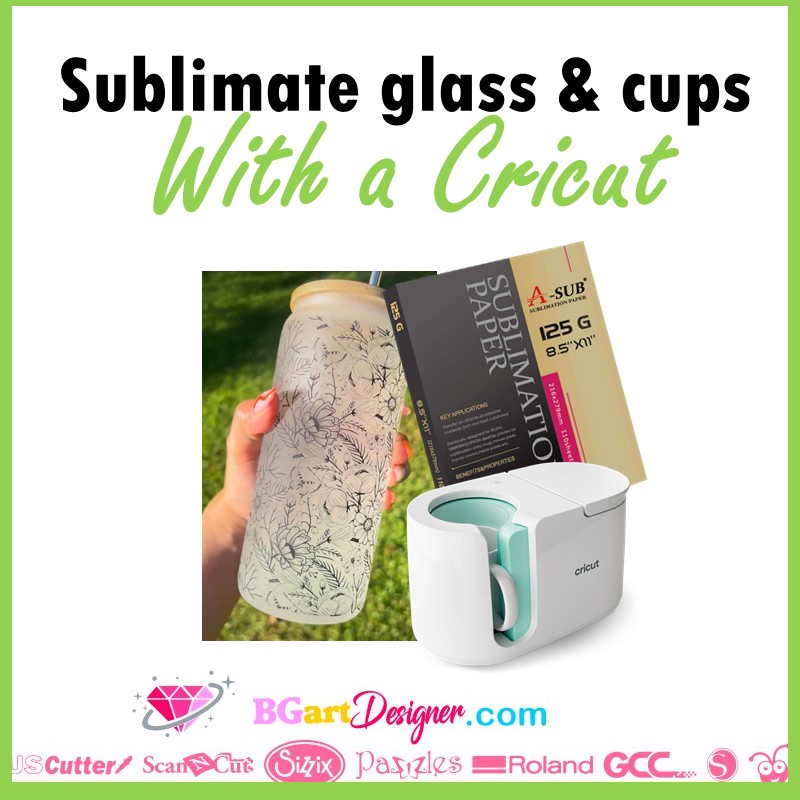
Sublimate glass and cups using the Cricut mug press! And also learn how to sublimate the taller blanks.
Sublimation is a great technique which is possible to use with almost anything! Of course, we have to find the special blanks for it. Actually, it is possible to sublimate, mugs, cups, glasses using the cricut mug press. It’s really fantastic, try it!
Supplies needed
- Sublimation Blank glass
- Butcher paper
- Cricut Mug press
- Heat resistant tape
- silicon inserts
- Heat resistant gloves
- Sublimation paper
Most importantly, the glasses available for this project are specially created for sublimation, some of them are:
- 20oz Sublimation Glass Jar with Handle and Lid
- 13 oz Sublimation Glass Wide Mouth Jars
- 18oz Sublimation Glass Wide Mouth Jars
- 20oz Sublimation Skinny Glass Tumblers
- 13oz Sublimation Glass Wide Mouth Jars (Hot Color Changing)
- 13oz Sublimation Glass Wide Mouth Jars (Cold Color Changing)
- 13oz White Shimmer Sublimation Glass Jars
- 18oz Blue Shimmer Sublimation Glass Jars

Design and print
First of all, look for a design. When looking at different images to choose from keep in mind that the colors might not be as bright as shown in the sample images, this is because the glass incorporates the colors to its material slightly different.
There are mockups on the market with the size of the glasses in oz, which cover the whole glass. That could be a good option, as well as getting individual images and placing them on the glass. Find some amazing images HERE. Then print the design. In case of getting a mockup, do not modify its dimensions.
Select the printer and in preferences, make sure to set the printing to high quality. In addition it is important to mirror the image, especially when there are words on them. The next step is to trim the paper with scissors or a cutter, get a straight edge and get as close as possible to the image, in order to avoid white borders.
Sublimate glass
To sublimate the design on glass or cups using a Cricut mug press, first, clean the outside of the glass with a bit of alcohol. Then, place the design facing the glass directly. Make sure that when rounding the glass with the paper the parts do not overlap when joining. Trim the paper a little at a time if necessary.
Align the tops, and make sure the paper is super tight to tape through the seam. After that, take some butcher paper and roll the glass and tape using heat resistant tape as well. This is to have a protective layer between the glass and the press.
With the mug press and silicone inserts, it is possible to sublimate glass. To clarify, the silicone inserts ensure a firm pressure. Set the mug press to 180 degrees for 4 minutes. After that, place the mug inside the cricut mug press, and do a quick peeling using heat-resistant gloves.
Sublimate a taller glass
To sublimate a glass larger than 20 oz, cover the glass as usual. the process will be different when trying to put the glass in the mug press. Above all, itimportant to know that if you are pressing a tumbler, there will be a space that will not get pressure because of the space for the handle.
Don’t worry about that, first press the tumbler as usual, for a time of 4 minutes. Mark the part that remains for pressing. After that, turn the tumbler all the way around 180 degrees and press for an additional two minutes.
Instead of putting the cup touching the bottom of the mug press, you can raise it a little and, while holding it, close the mug press. Above all, don’t forget to rotate it 180 degrees again. Most importantly, seeing the design through the paper is always a good indication, if you don’t see it, press again for two minutes.
