Cutting and Crafting
How to screen print multiple colors

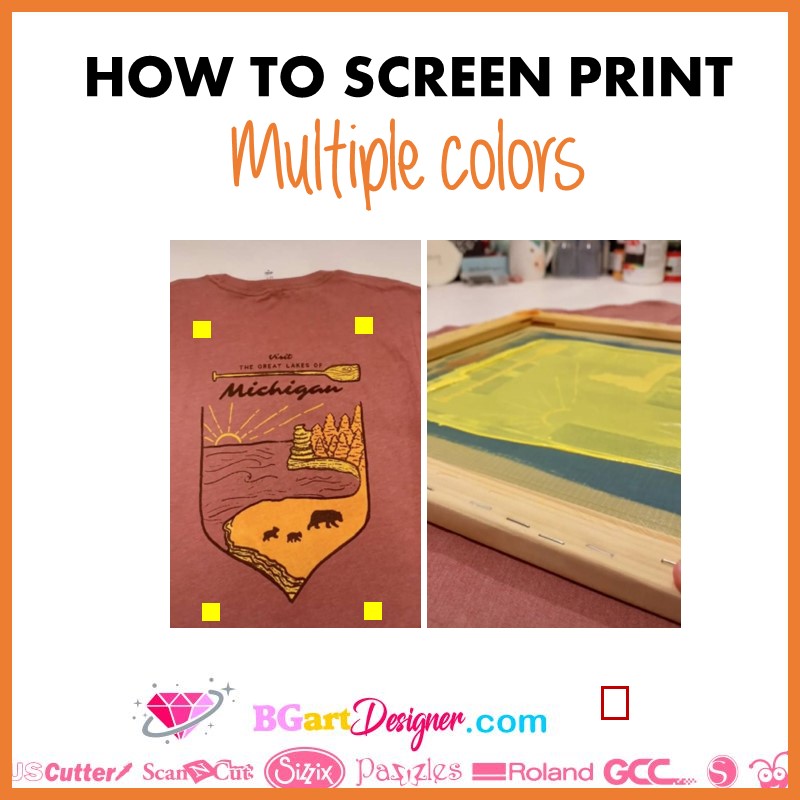
Screen print multiple colors on the same t-shirt! The process is super easy if you follow this method. The step by step process and some tips when screen printing are in this post.
Supplies needed
First of all, go to Cricut design space and find a design. Choose one at BGArtDesigner.com with different color layers to apply this technique. For this project you need to add registration marks. They are key to print multiple colors on a t-shirt. Insert a rectangle in the four corners of the design with the same size. Place the rectangles a little outside the design. Select the 4 rectangles and attach them together.

Then duplicate them according to the number of colored layers in your design. Align all duplicates, all registration marks have to match perfectly. Finally, attach all the pieces of the same color to one of the registration mark sets.

The pieces of the design must be grouped according to the colors for screen printing, and each color layer must be attached to a registration mark set. To select all the pieces at the same time, select all the layers in the layer bar by holding “shift” on the keyboard. Once this is done, you can move aside to attach all remaining color layers.

Once you are ready save the design and click “make it”. Turn on “mirror” for all layers. then set the machine to cut vinyl and cut it out. Now it’s time to weed, but we are going to do it in reverse, that is, we are going to keep the parts that we normally remove, so we can use the vinyl as a stencil.
Tips to screen print multiple colors
Trim the excess vinyl around the design so you don’t waste it. Grab transfer tape and lay the design on it as flat as you can. Don’t use a super sticky transfer tape because it will be difficult to transfer to the screen. The 6:51 vinyl medium tack transfer tape is perfect for this.
Burnish the design on the transfer very well and remove wrinkles around the design as much as possible. Then remove the vinyl backing and transfer the design on the back of the screen. Burnish the design on the screen on both sides. Finally, remove the transfer tape; do it nice and slow so that the vinyl does not come off the screen.
Put some painters tape on all the corners around the registration marks and the areas that the vinyl does not touch the screen. Press the shirt to remove wrinkles and moisture and align the design on it. Once you cover the screen with painters tape, put some index cards or something thick enough under each registration mark.
Above all, make sure they don’t show through the design and adhere them to the t-shirt with painters tape so they don’t move. This is so as not to stain the t-shirt, but so as to know where the registration marks are to place the next layer of the design.
Screen print on a t-shirt
The next step is to take a long squeegee and the ink. After that, pour a fair amount of ink on the top of the screen making a line to cover the entire design. It is important to put enough ink to reach the bottom. There is no waste in screen printing because it is possible to wipe the excess back into the container.
Hold the squeegee with one hand and with the other hand hold the print screen. Drag the ink from top to bottom applying even pressure, don’t go in several directions. You can go over the design a couple of times but not excessively, make sure there are no lumps in the center, it has to look nice and even.

Cover the registration marks so you know where to place the next layer of the design by lining up the registration marks. Finally remove the screen immediately. Wash the screen by first removing all vinyl and painters tape. Then remove all the ink and let the t-shirt dry. You can use a heat gun to speed up the process.
Repeat the process with all layers, aligning the design with the registration marks you left on the index cards. Once they are perfectly aligned screen print as normal, this way it is possible to create a design with multiple colors on the same T-shirt!
